Maintenance
Boats require a rigorous maintenance routine. Keeping up with boat maintenance is critical to improving performance and preventing repairs. We have expert information on maintaining and repairing everything from heads to hulls.
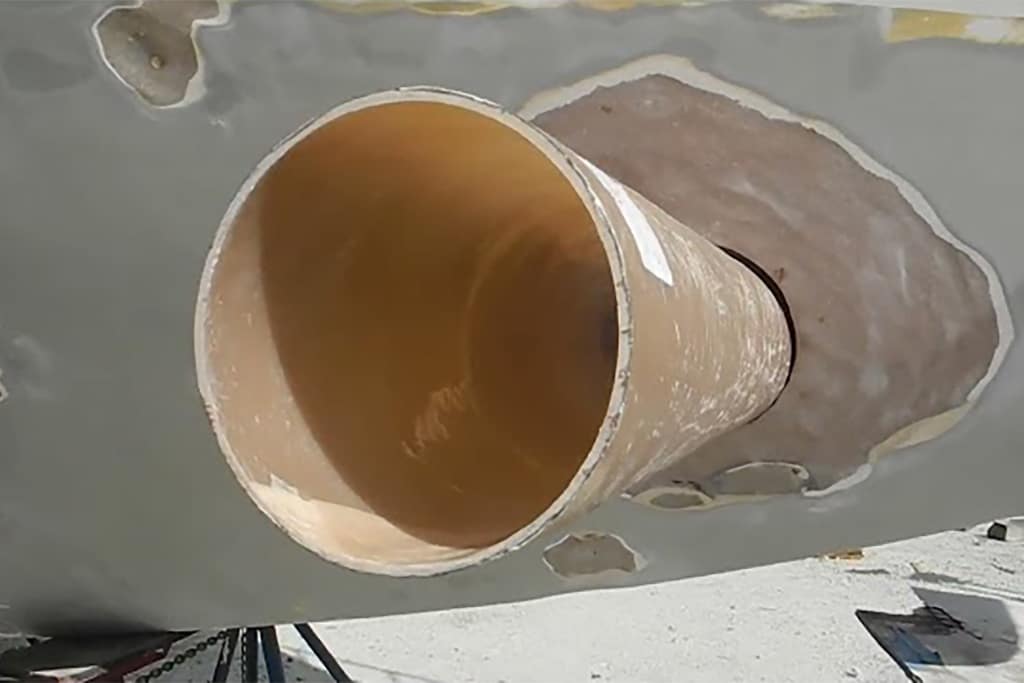
Installing a Bow Thruster
DIY - Installing a Bow Thruster You found a used boat that has everything to meet your goal—everything but a...
Read moreDetails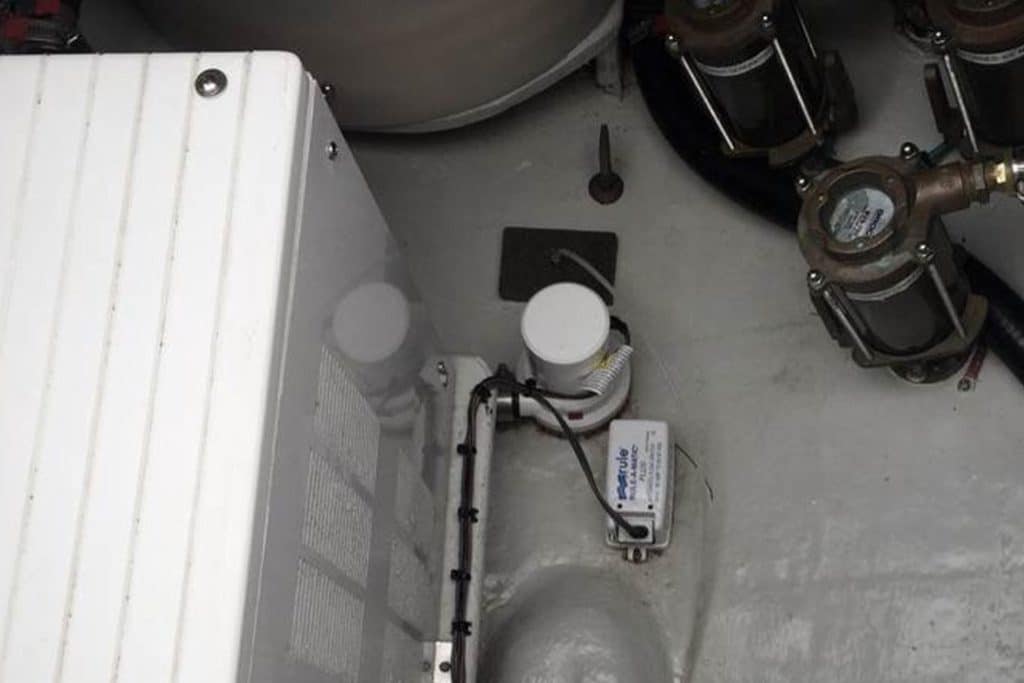
How to Battle Bilge Odors
The Smell of Victory How to battle bilge odors There are many benefits to having a clean bilge. Not only...
Read moreDetails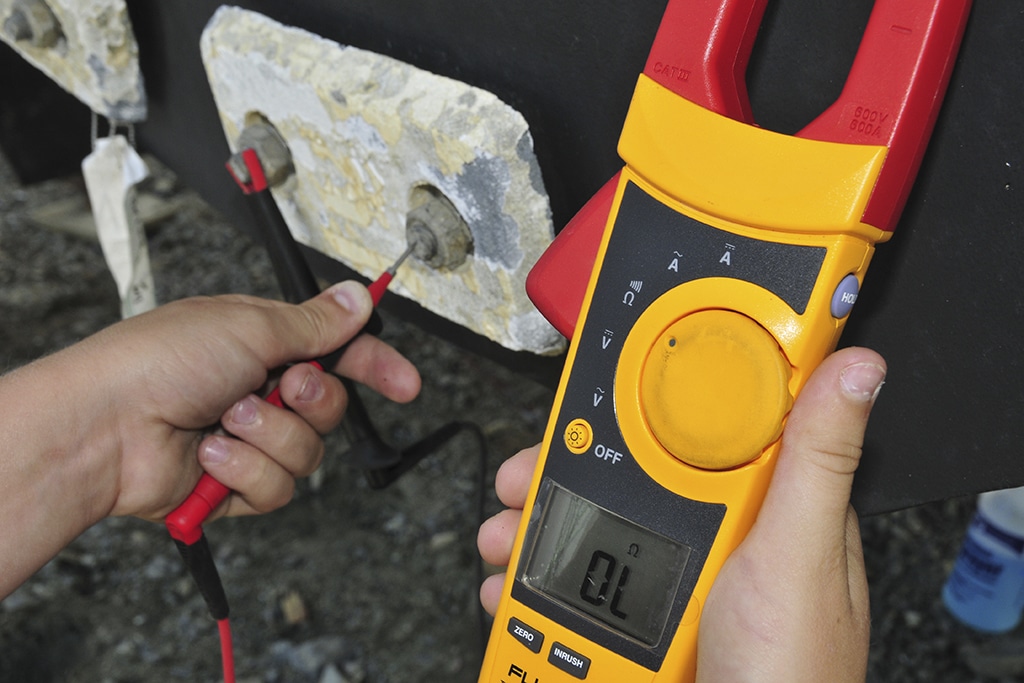
Corrosion Testing
Corrosion Testing The importance of checking anode consumption While I’ve developed many theories about why and how corrosion occurs aboard...
Read moreDetails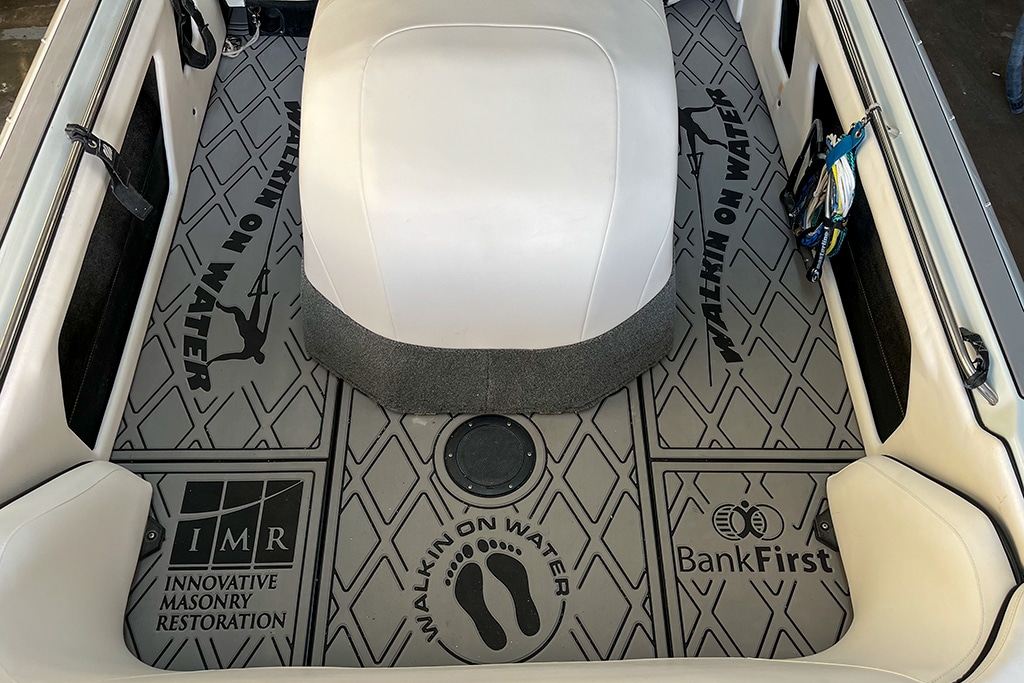
Decked Out
Decked Out The inside track on replacement flooring Boat decks aren’t often treated favorably. Sunscreen, saltwater, beer, potato chips, motor...
Read moreDetails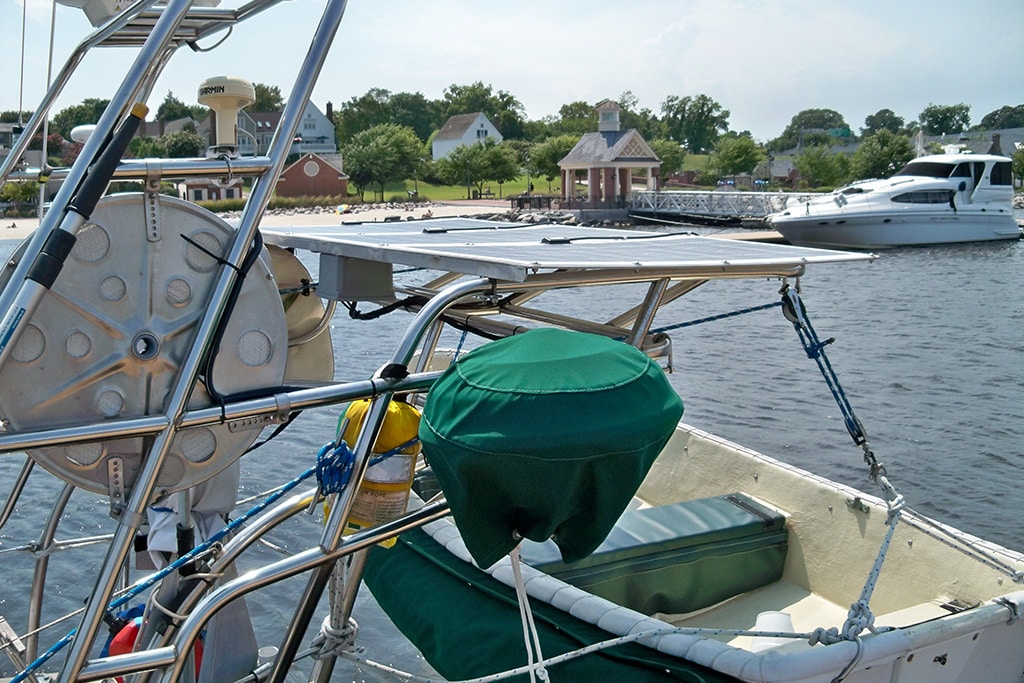
Solar Panels for your Boat
Free Energy The lowdown on solar panel selection and installation Sunshine and boats are a natural together, so why not...
Read moreDetails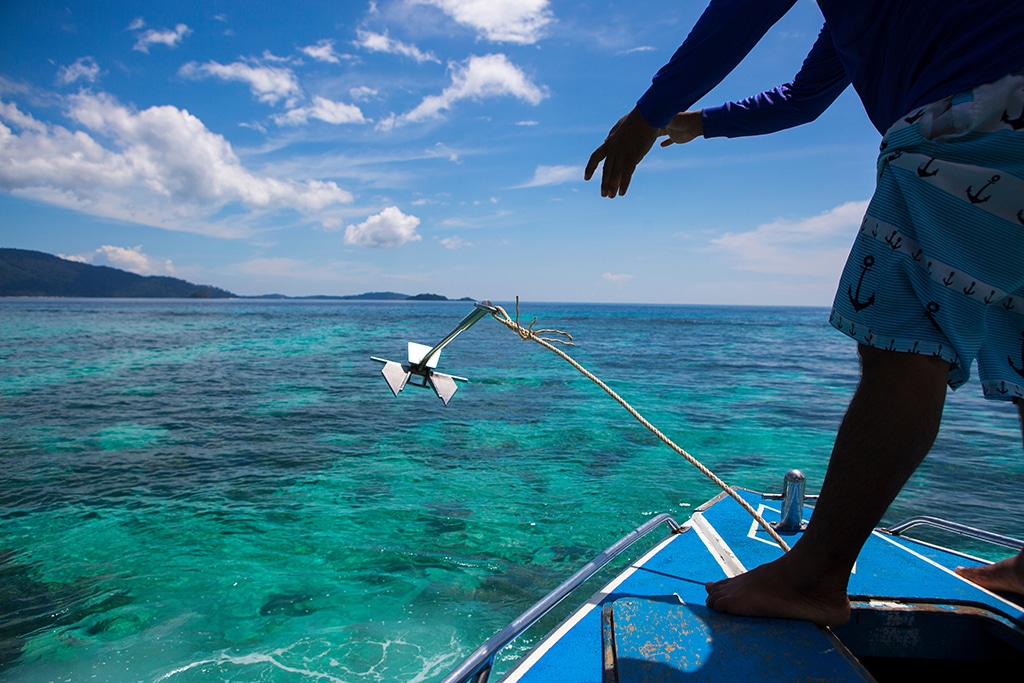
Anchoring in the Bahamas
Anchoring in the Bahamas Tips to safely anchor without disrupting your surroundings Ahhh…anchored in the Bahamas. Your cruising dream for...
Read moreDetails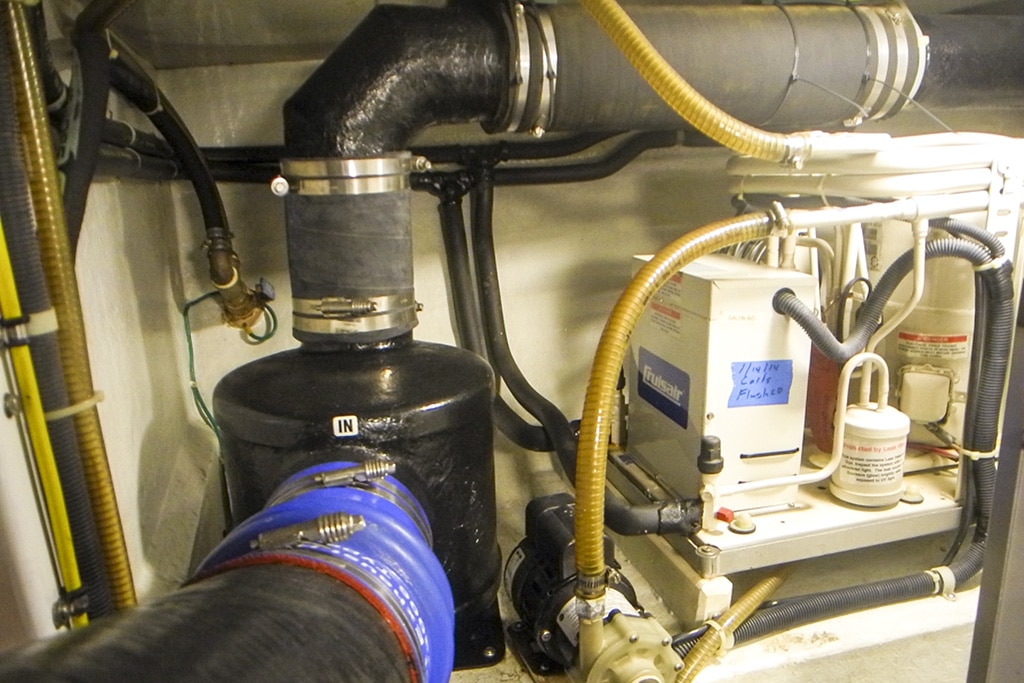
Troubleshooting Your Boat’s Air-Conditioning System
Cool and in Control Learn what to do when the air conditioner stops working. Ah, paradise. You have traveled to...
Read moreDetails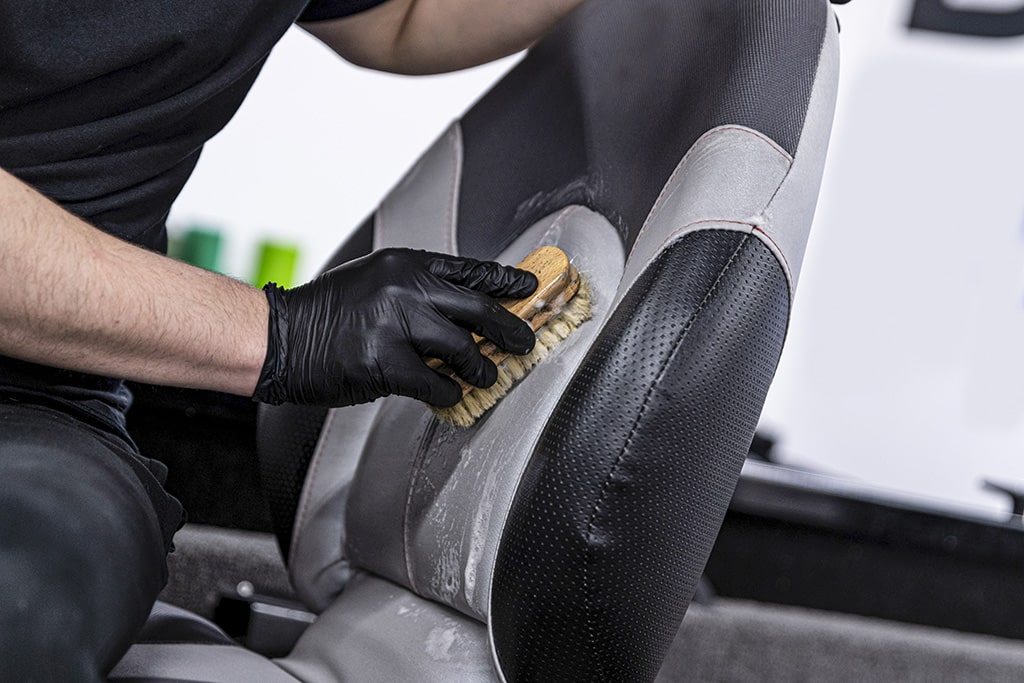
How to Clean Vinyl Boat Seats
Clean That Vinyl Take precautions before seats stain. A friend purchased a used center console that was in really good condition....
Read moreDetails
Galley hacks to keep the party going
Entertaining Emergencies Galley hacks to keep the party going no matter what fails You have invited a half-dozen folks to...
Read moreDetails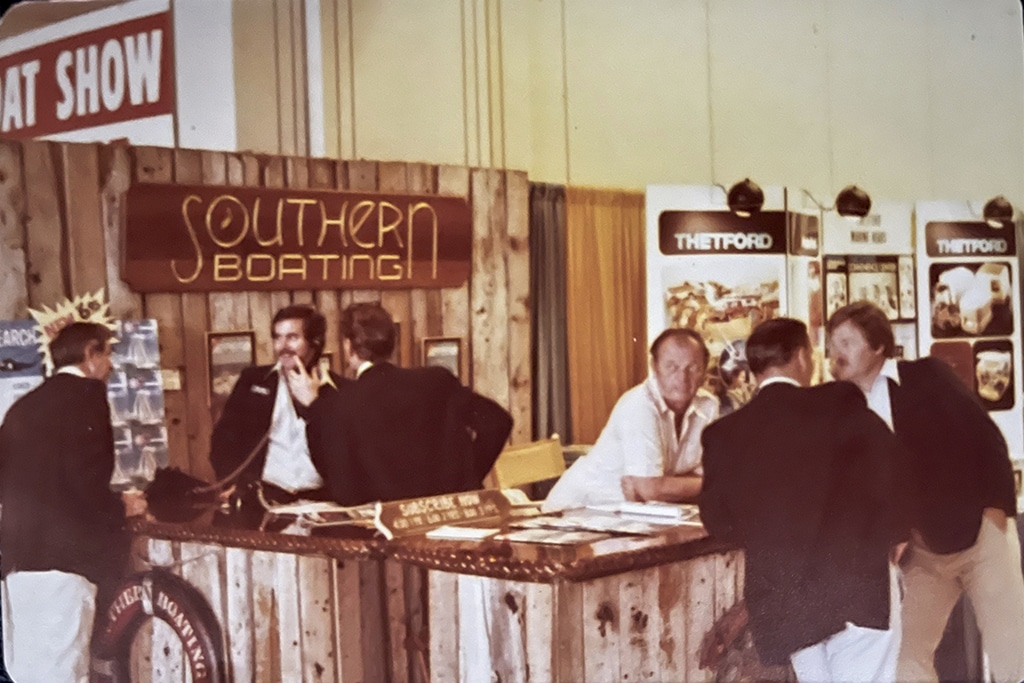
From the Beginning – History of Southern Boating
From the Beginning Southern Boating’s DIY roots In September 1972, Volume 1, Number 1 of Southern Boating magazine appeared on...
Read moreDetails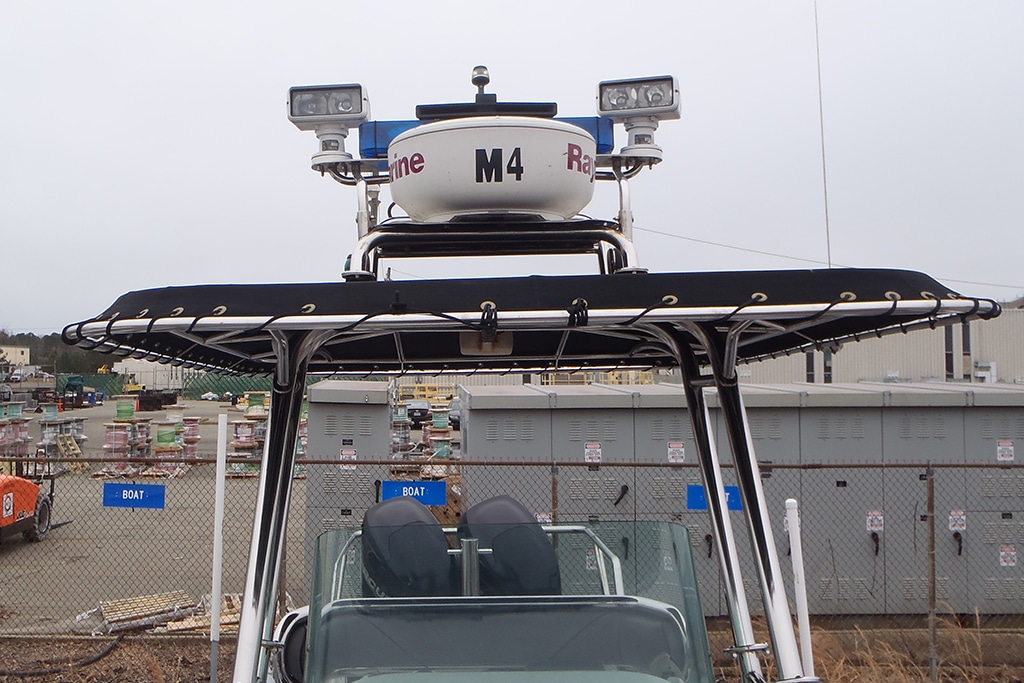
DIY: Picking the Right Spotlight
Under the Spotlight Bright ideas for selection and installation By Frank Lanier, Southern Boating 2021 Spotlights are one of those...
Read moreDetails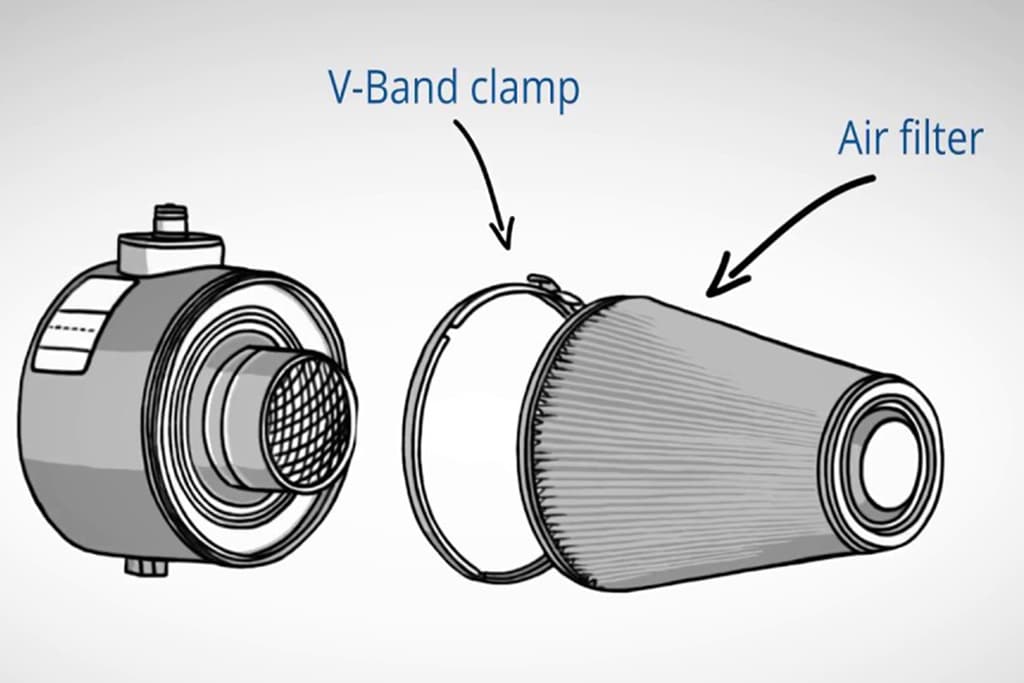
Servicing Walker AIRSEP® Air Filters Video Series
Walker AIRSEP Air Filters are designed to keep down noxious gas and oil mist on turbocharged diesel engines. Check out...
Read moreDetails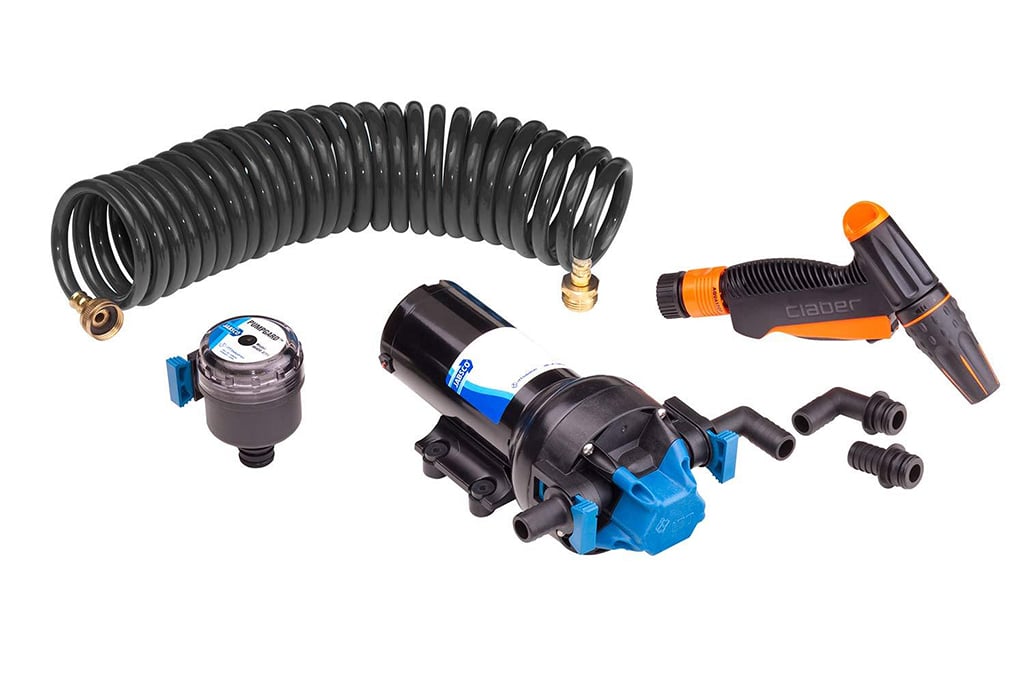
Washing Down Your Boat
Wash It Down Plan out the necessary steps before installing a deck wash down system. By Frank Lanier, Southern Boating...
Read moreDetails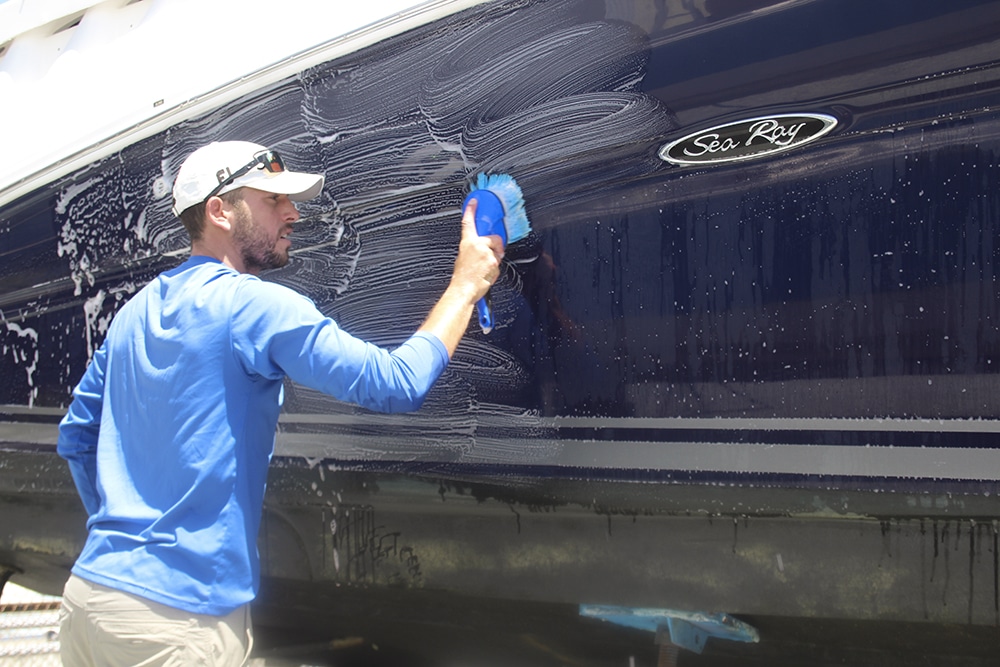
Boat Coating Controversy
Coating Controversy Wax? Plastic polymers? Ceramic coatings? What’s the deal? Mother Nature is brutal on boats. Sun, wind, water, and...
Read moreDetails
How to Install LED Lights on Your Boat
How to Install LED Lights on Your Boat When you install LED lights on your boat, you'll boost the mood...
Read moreDetails


1591 E. Atlantic Blvd, 2nd Floor
Pompano Beach, FL 33060
Office: +1 (954) 522-5515
Contact us: info@southernboating.com