Maintenance
Boats require a rigorous maintenance routine. Keeping up with boat maintenance is critical to improving performance and preventing repairs. We have expert information on maintaining and repairing everything from heads to hulls.
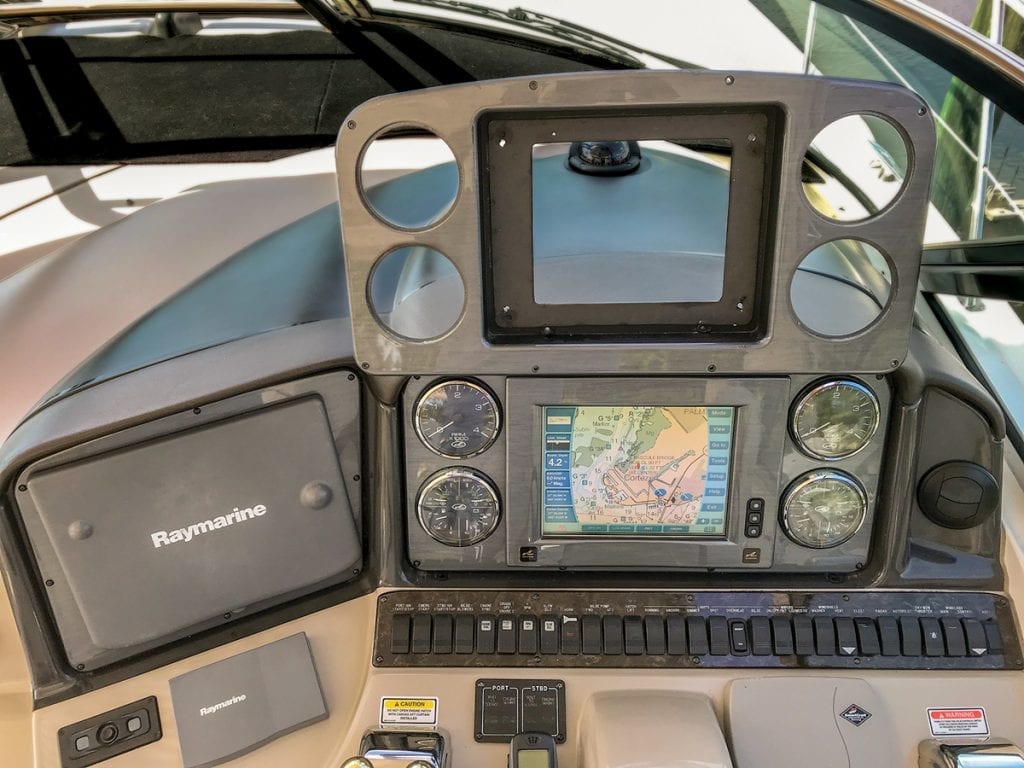
Upgrading Your Dashboard? What You Need to Know
Upgrading Your Dashboard Before buying new electronics, make sure you can upgrade your dashboard. If your display screens freeze up...
Read moreDetails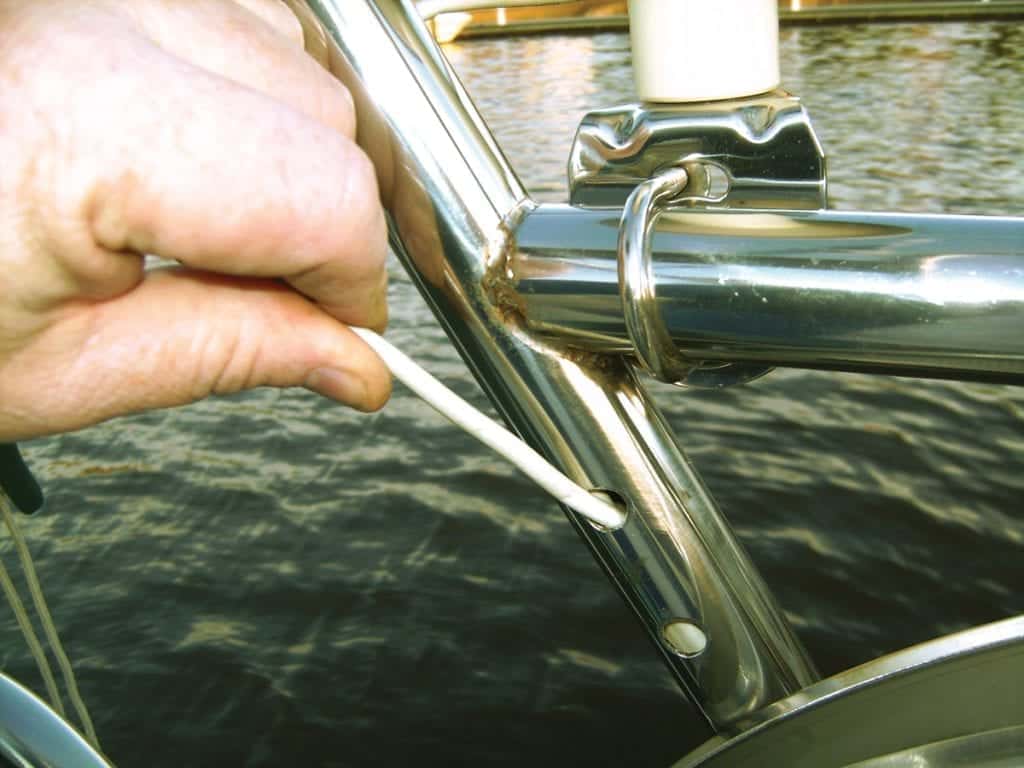
How to Wire a T-Top
How to Wire a T-Top Here's how to wire a T-Top and free up console space. While there never seems...
Read moreDetails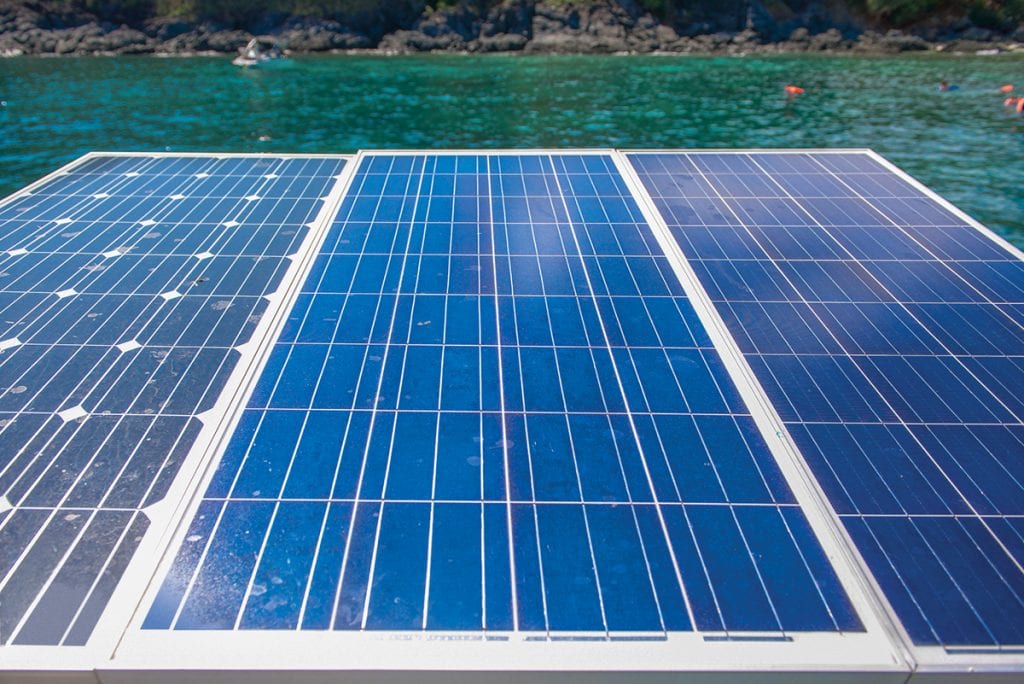
How to Install a Solar Panel on Your Boat
Install a Solar Panel on Your Boat Sunbathers delight! Here's how to install a solar panel on your boat. It’s...
Read moreDetails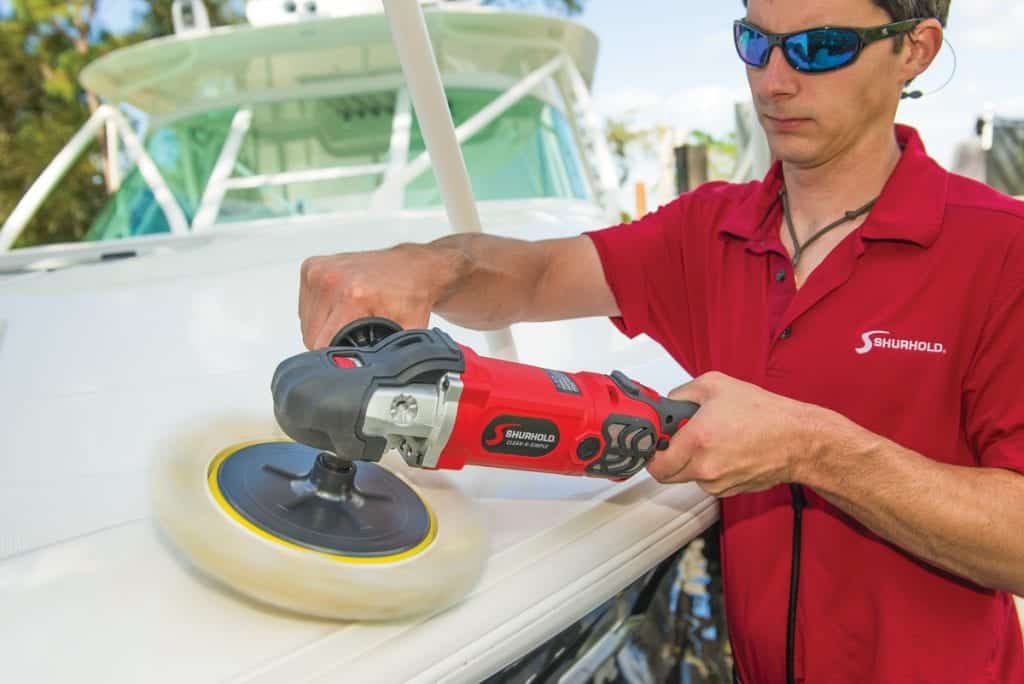
DIY Gelcoat
DIY Gelcoat Gelcoat care, protection and minor repair of this finish are essential to your boat’s maintenance. Here's the lowdown on DIY...
Read moreDetails
Annual Haul Out Guide
A Southern Boating Magazine Supplement: Annual Haul Out Guide Our annual haul out guide has everything you need to know...
Read moreDetails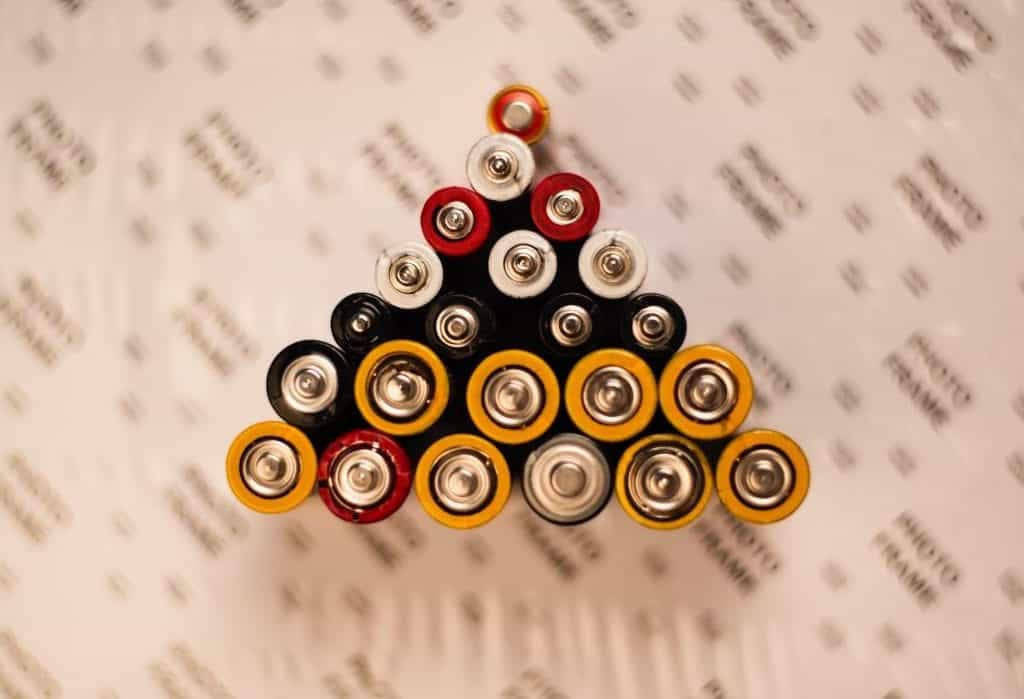
Five Ways to Cut Down on Amp Usage
Five ways to cut down on amp usage Most modern marine equipment has evolved to require much less power....
Read moreDetails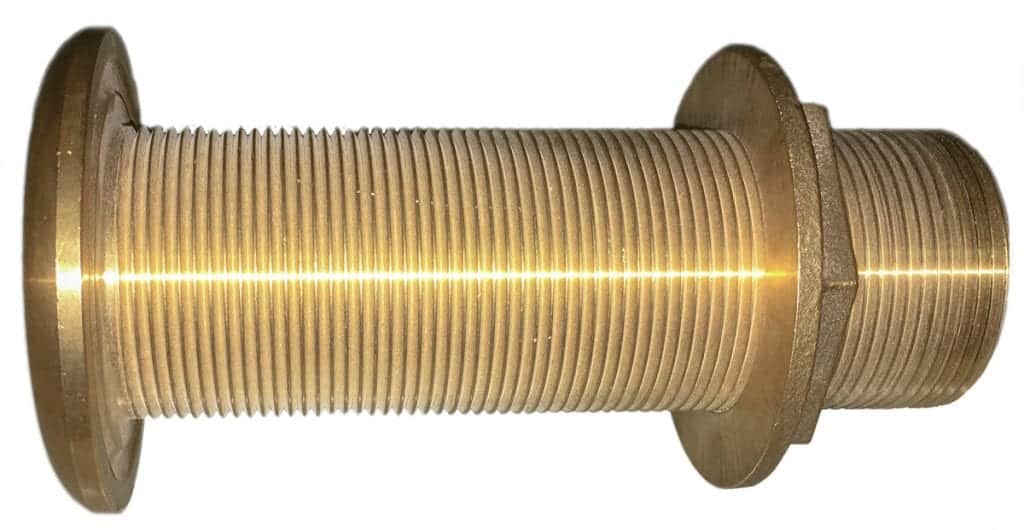
Boats and Thru-hull Holes
When you have to install thru-hull holes, do it right the first time. Most any boat maintenance guru worth his...
Read moreDetails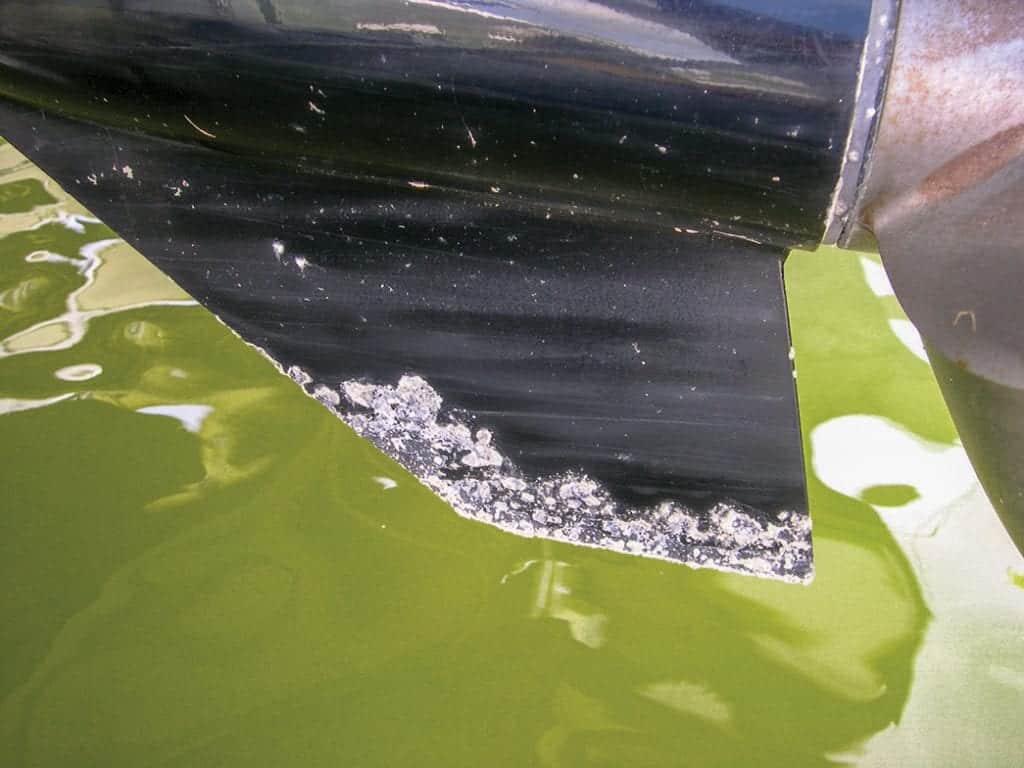
Sacrificial Anodes
Sacrificial Anodes Sacrificial anodes die so your underwater gear may live. A war is raging under your boat. High-priced running...
Read moreDetails
Install a Stereo on Your Boat
Install a Stereo on Your Boat Everyone likes tunes while on the water, but if your boat didn’t come with...
Read moreDetails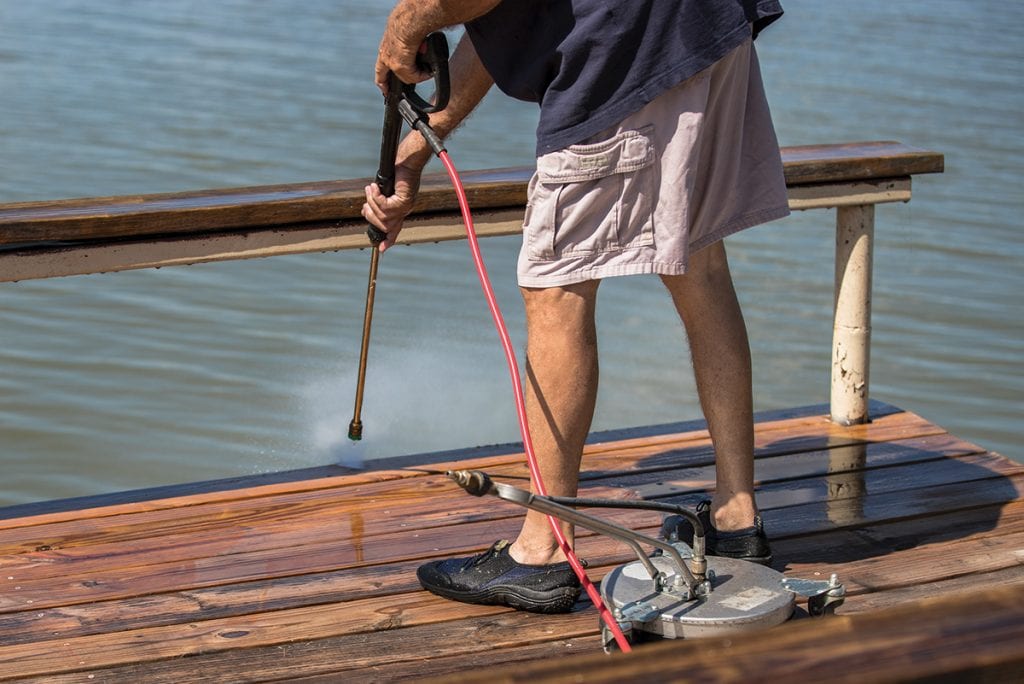
Dock Maintenance
Dock Maintenance Regular dock maintenance will keep it safe for your boat and guests. It wouldn’t be wrong to say...
Read moreDetails
Synthetic Teak
New synthetic teak decking keeps feet cooler. The beauty of real teak wood on boat decks is undeniable, but look-alike...
Read moreDetails
Replace Your Enclosures
Replace Your Enclosures Blurry or worn view? It may be time to replace your enclosures. While under way, if you...
Read moreDetails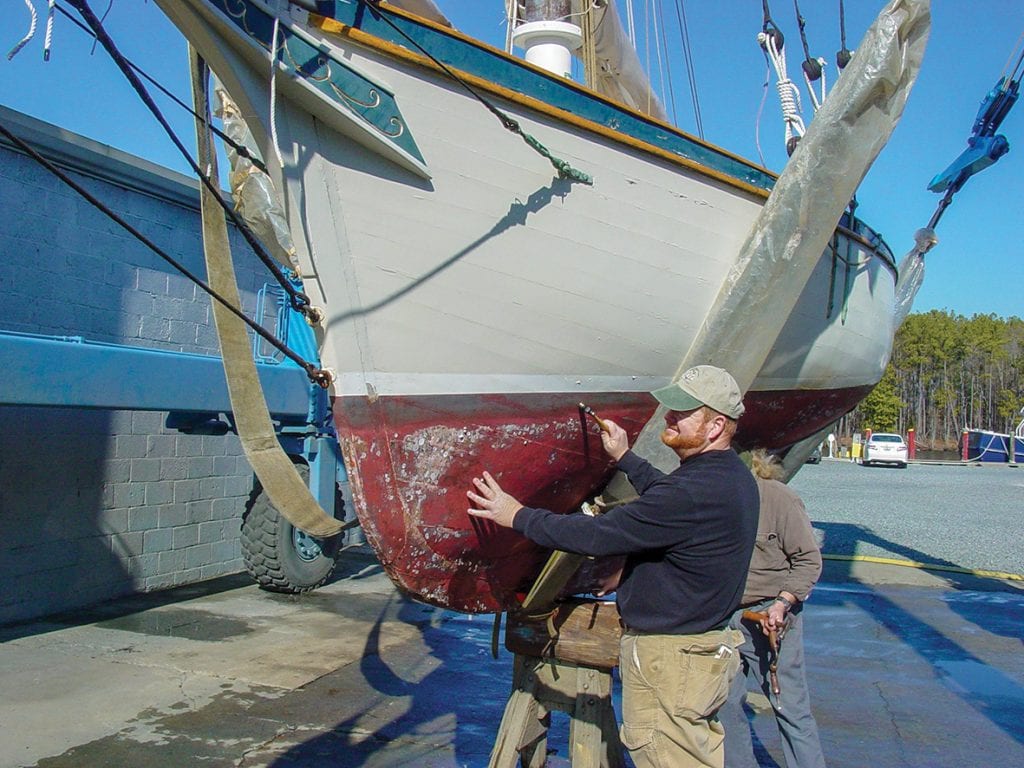
Which Marine Survey Do You Need for Your Boat?
At some point, you'll need a marine survey. We break down the most common marine surveys. Most boat owners will...
Read moreDetails
Check your Clamps and Hoses
Check your clamps and hoses before they check out. Hard slams and big bangs are conditions every mariner endures in...
Read moreDetails
Planning Your ICW Trip
Take the time to enjoy the road less traveled when planning your ICW trip. When it comes to cruising the...
Read moreDetails


1591 E. Atlantic Blvd, 2nd Floor
Pompano Beach, FL 33060
Office: +1 (954) 522-5515
Contact us: info@southernboating.com