Maintenance
Boats require a rigorous maintenance routine. Keeping up with boat maintenance is critical to improving performance and preventing repairs. We have expert information on maintaining and repairing everything from heads to hulls.

Security Tips For Your Boat
Thief-proof your boat with these security tips While most folks envision Black Beard or Captain Kid when marina Tiki-bar talk turns...
Read moreDetails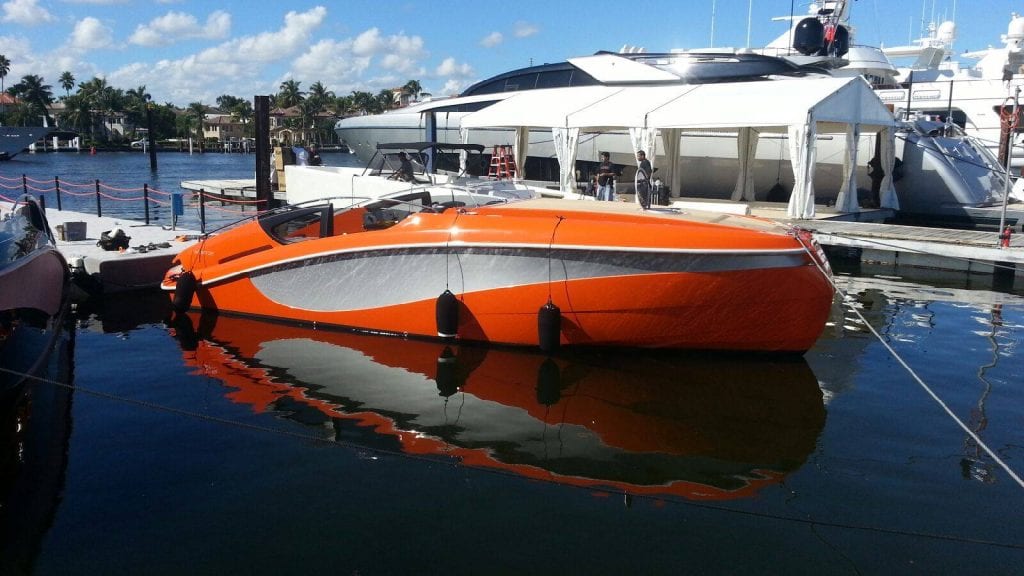
Vinyl Boat Wraps
Vinyl Boat Wraps Protect your boat’s hull in a variety of colors and designs with the use of creative vinyl...
Read moreDetails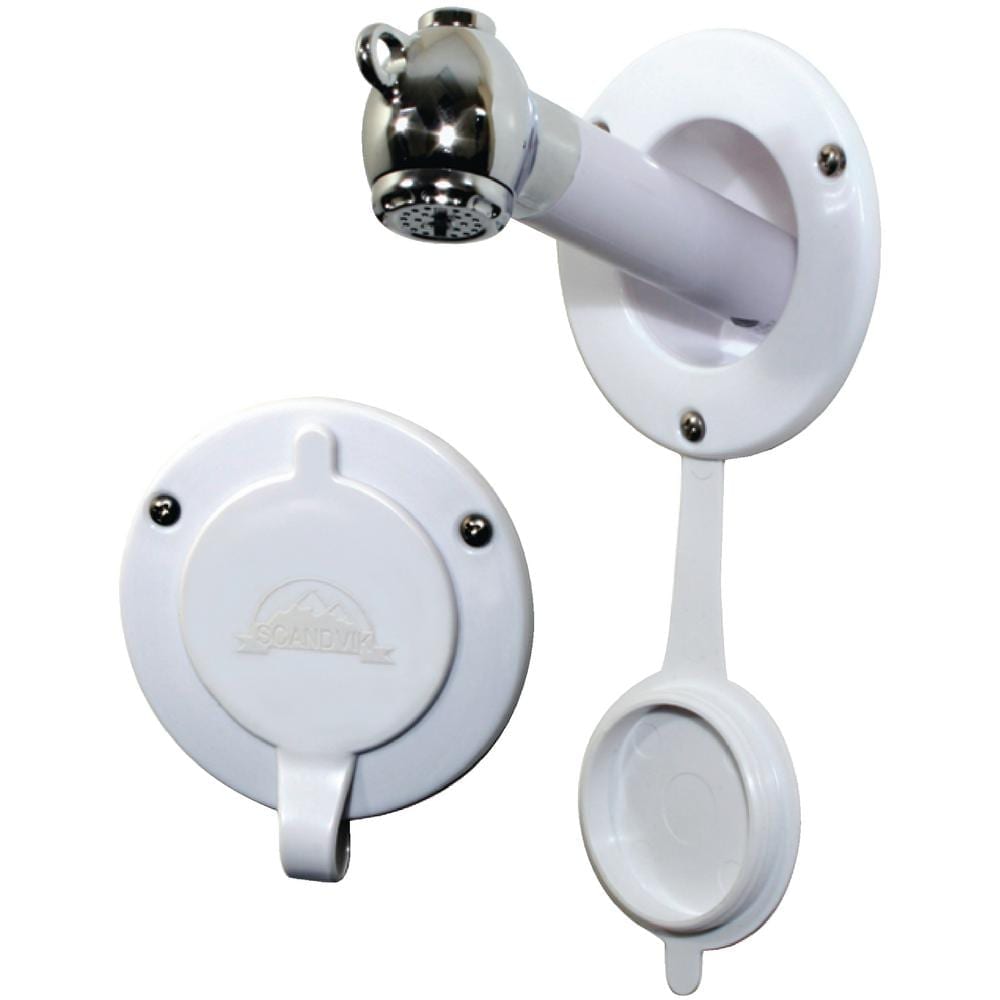
How to Install a Transom Shower on Your Boat
Install a transom shower to rinse away the sand, cool off from the hot sun and wash away the salt....
Read moreDetails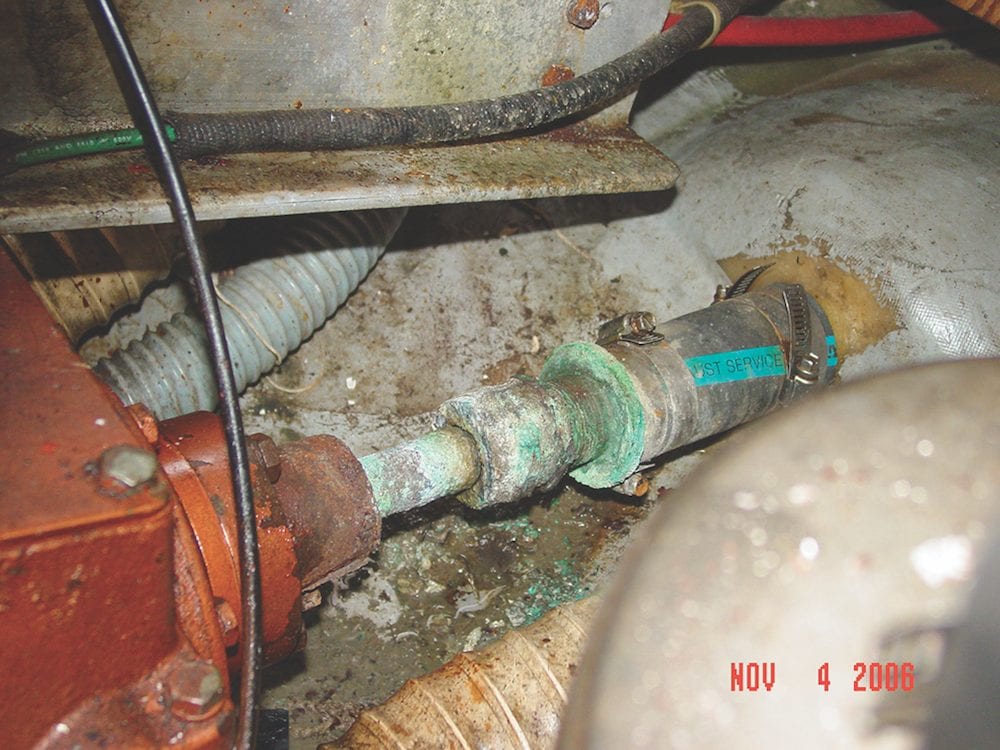
Maintenance Check
Time for a maintenance check. Don’t skip these oft-forgotten items There’s a lot of terrestrial-based wisdom that just doesn’t ring...
Read moreDetails
Forget a makeover. Resurface!
Instead of a complete facelift, save yourself a bundle and resurface. Compared to home interior design trends, boat and yacht...
Read moreDetails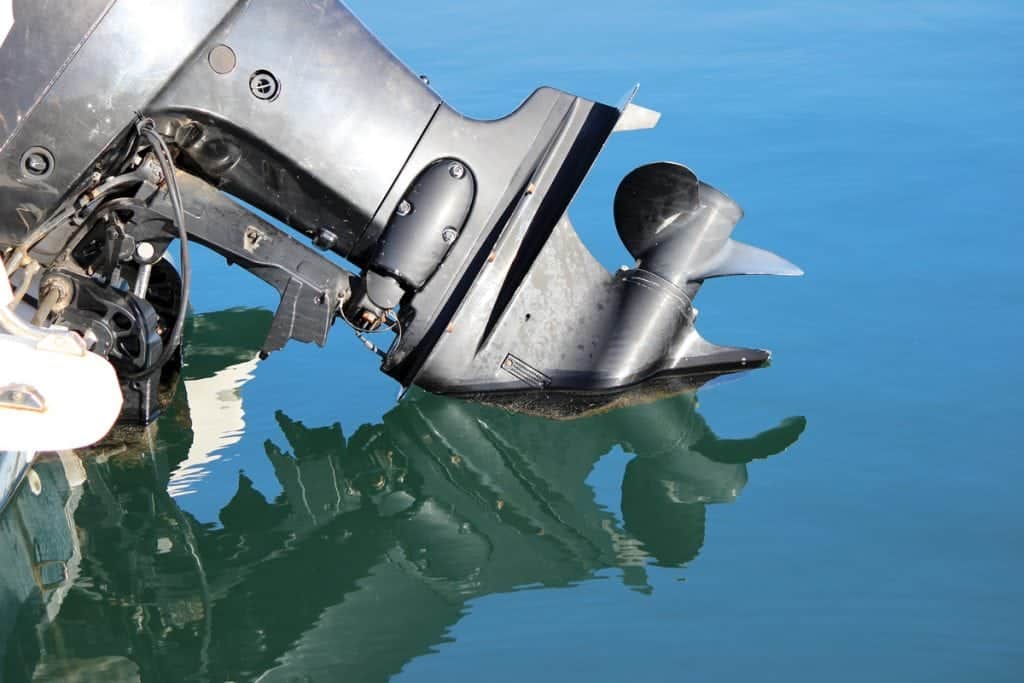
Tilt and Trim Troubleshooting
Tilt and Trim troubles? Here are some top tips for tilt and trim troubleshooting.The time you most appreciate your motor’s...
Read moreDetails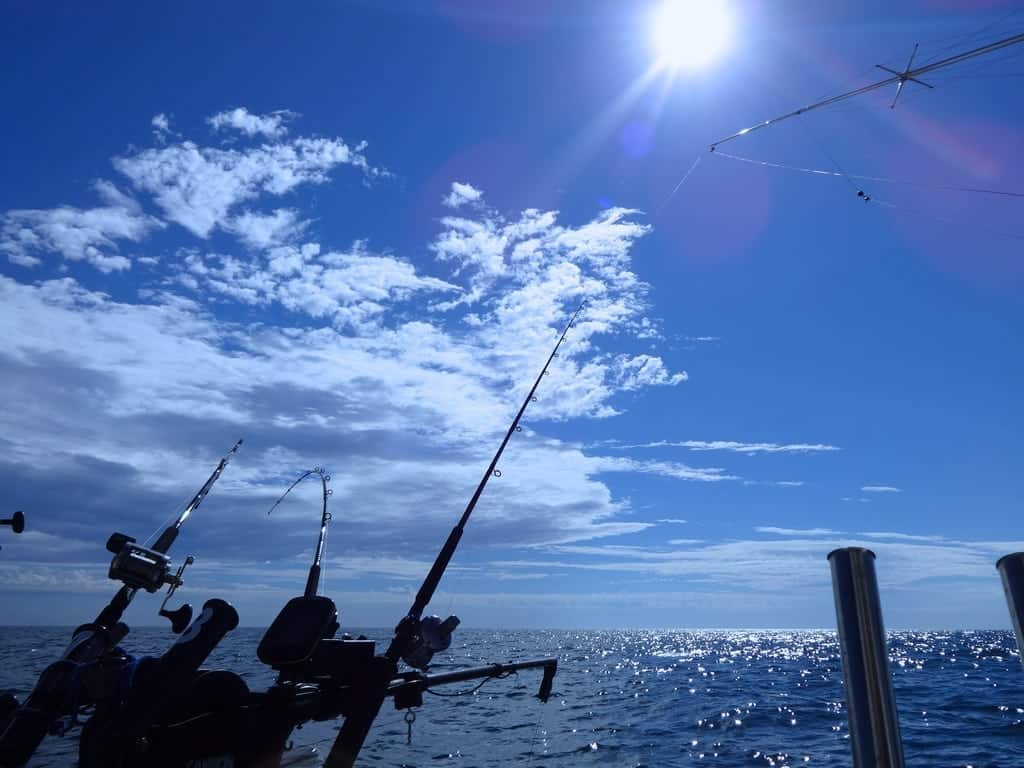
How to Install Rod Holders
Most boat owners have experienced moments when that one missing thing on board would help make boating easier. Take, for...
Read moreDetailsTrailering Don’ts
There are a few constant trailering do's. But there are far more trailering don'ts. Trailering a boat is more popular...
Read moreDetails
So you’ve run aground, now what?
How to re-float your boat after going aground. Most boaters have heard the saying: “You’ve either already gone aground or...
Read moreDetails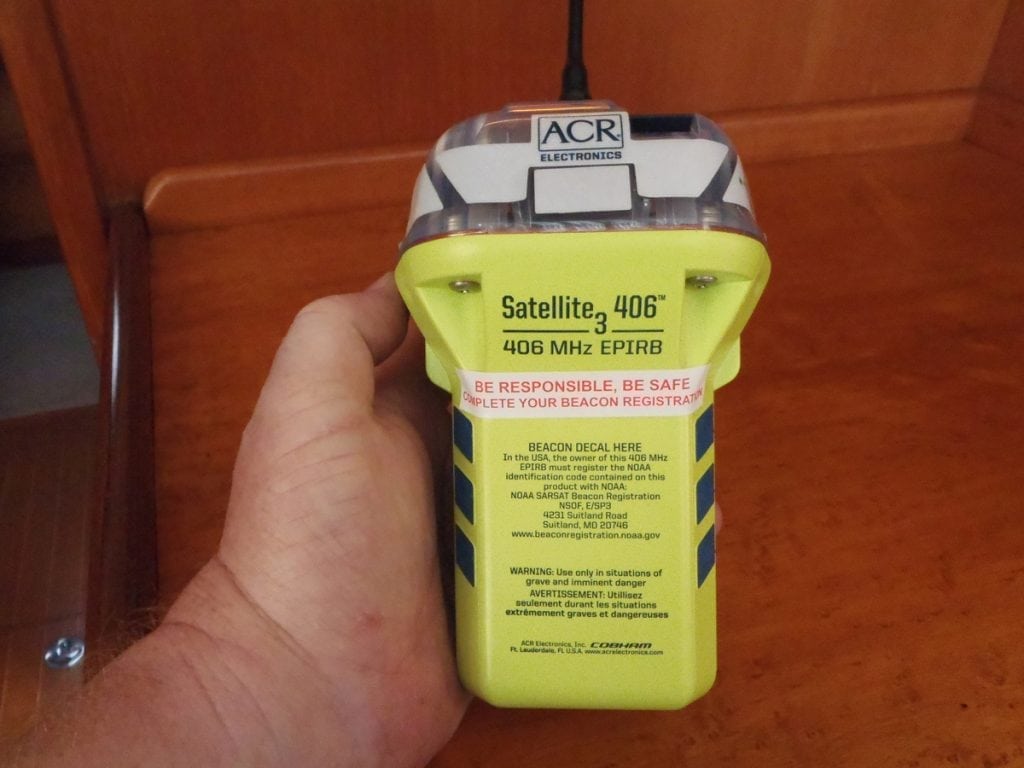
Inspect Your EPIRB or PLB
The only thing worse than not having crucial safety gear on board is to have it fail when needed. So...
Read moreDetails
Lose Onboard Weight
Once your boat is back in the water, don't undo the good your yard has done by carrying around unnecessary weight...
Read moreDetails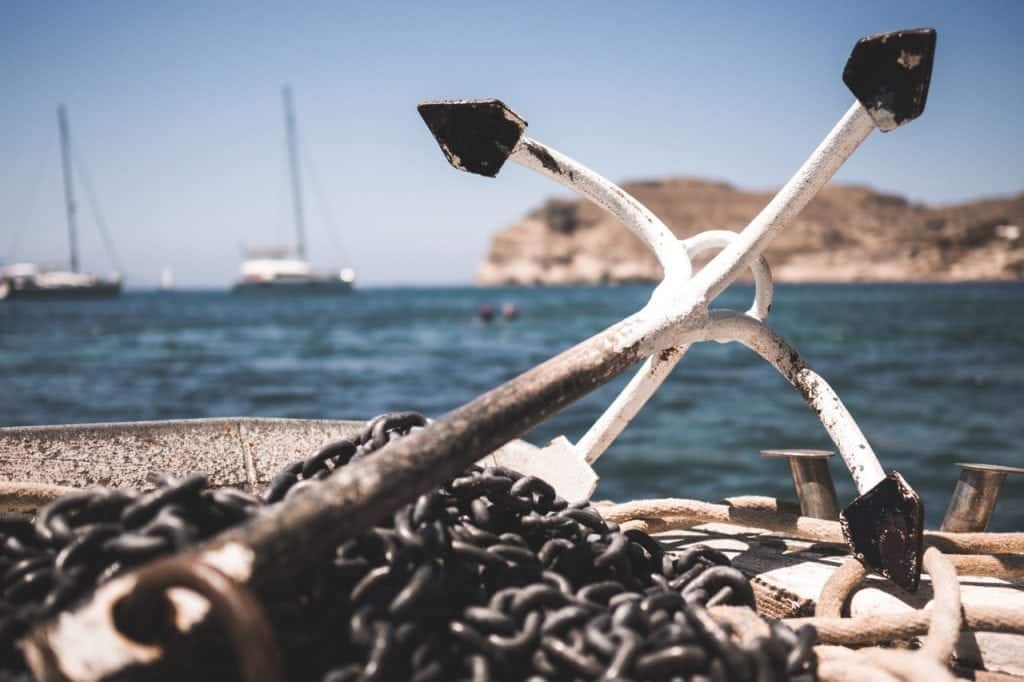
Ground Tackle: to refit or not to refit?
That is the question. The answer is that ground tackle is an essential component to boating. As you prepare for...
Read moreDetails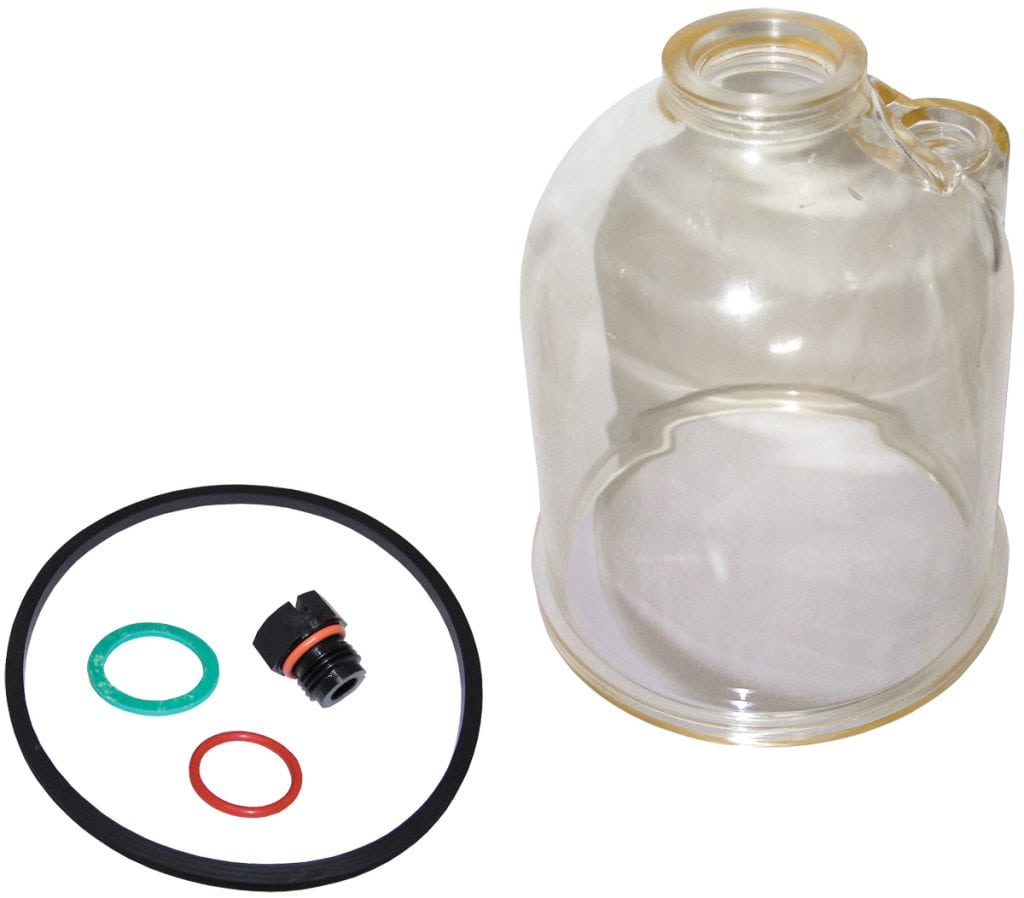
Spare Parts to Keep Aboard
The Spare Essentials: Pack properly for potential problems and keep these spare parts aboard Every boating adventure promises an amalgam of...
Read moreDetails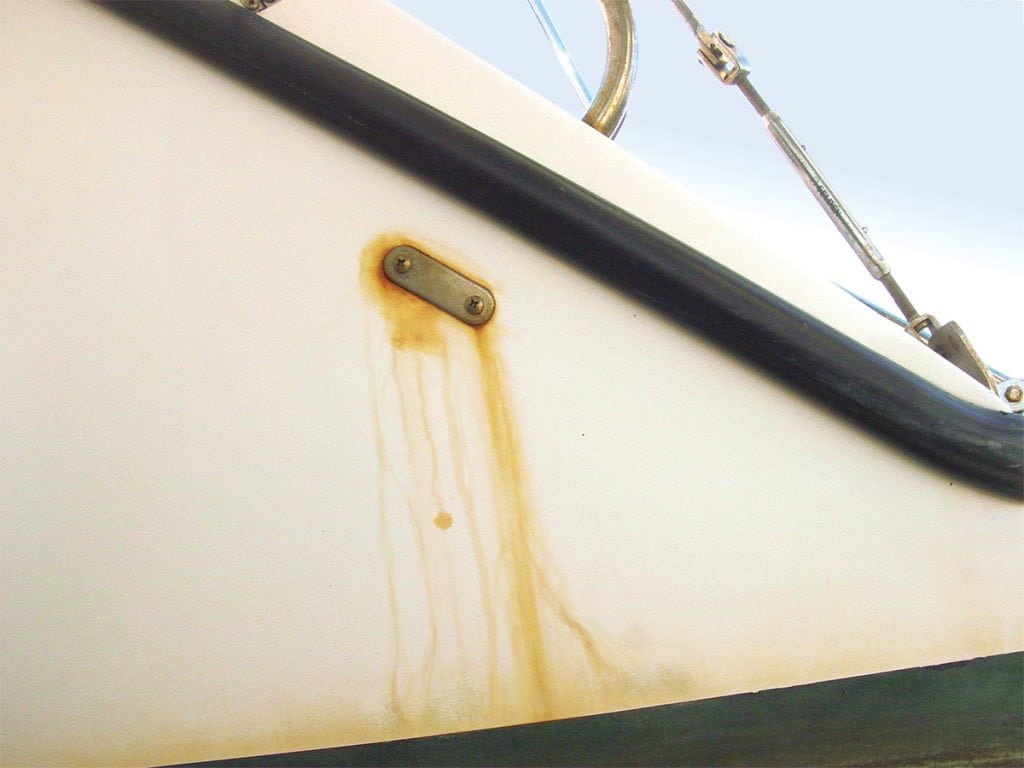
How to Remove Stainless Steel Stains
When Stainless Steel Stains: Read up on stainless steel before rivers of rust ruin your ride. “All that glitters is not...
Read moreDetails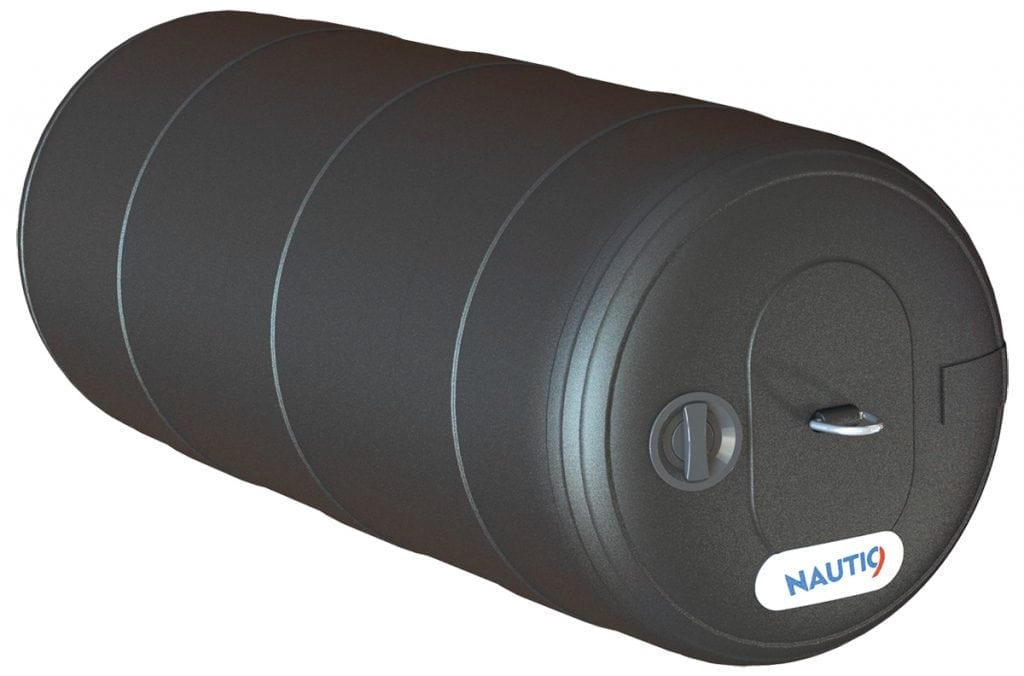
Nautic9 Fenders
Nautic9 Fenders save space on board with inflatable and collapsible fenders from 9- to 48-inch diameters of varying lengths. Fenders...
Read moreDetails


1591 E. Atlantic Blvd, 2nd Floor
Pompano Beach, FL 33060
Office: +1 (954) 522-5515
Contact us: info@southernboating.com