Maintenance
Boats require a rigorous maintenance routine. Keeping up with boat maintenance is critical to improving performance and preventing repairs. We have expert information on maintaining and repairing everything from heads to hulls.
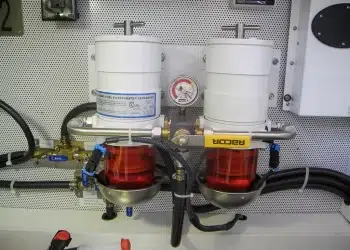
Essential Advice: Fuel Preparation for a Safe Bahamas Crossing
Plan ahead before your Bahamas crossing. Bahamas, here we come! With a terrific weather forecast, you are ready to make...
Read moreDetails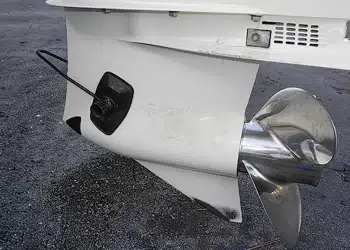
Outboard Motor Maintenance Fundamentals: Keep Your Engine Clean And Vibrant
Keep Your Outboard Motor CleanYou couldn’t imagine drinking the water your boat floats in. That’s exactly what your engine ingests...
Read moreDetails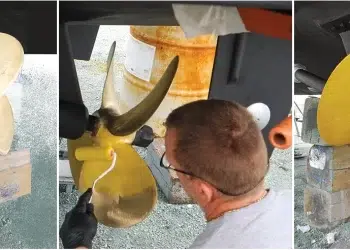
See What Happens With Boat Bottom Cleaning Efficiency
The Secret to Speed? A Spotless Boat Bottom Below the waterline of your boat is one big target for sea...
Read moreDetails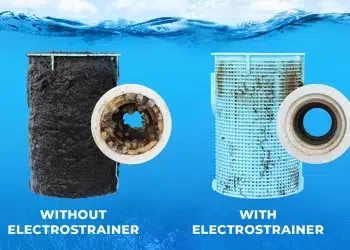
Prevent Marine Growth In Your Pipework With ElectroStrainer
ElectroStrainer: The Smart Technology Defending Boats Against Marine Growth It’s easy to see barnacles and biofouling on the hull of...
Read moreDetails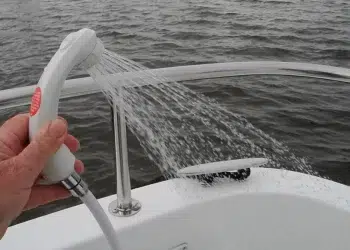
Maintaining Boat Freshwater Systems: A Sure Way To Stay Cool
A Guide to Boat Freshwater System Maintenance Keep it flowing fresh on deck. When it's HOT there’s only one thing...
Read moreDetails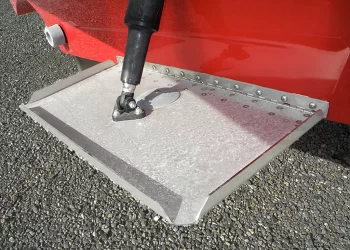
Trim Tab Maintenance Guide: Ensuring a Ride You’ll Love
Take care of the systems on board for a smooth ride. Today’s trim tabs are not the trim tabs from...
Read moreDetails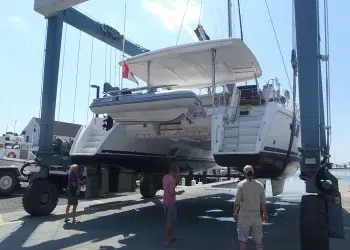
Life Raft Readiness: A Comprehensive Maintenance and Inspection Guide
Ready to Launch Life raft inspections and stowage Like bear pepper spray and supplies for the zombie apocalypse, life rafts...
Read moreDetails
It’s A Boat Decking Revolution: Improvements For Extra Comfort & Safety
The latest synthetic boat decking is rugged, simple to clean, and easy on the feet. Most boaters have a love-hate...
Read moreDetails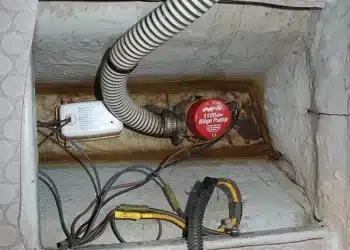
Stay Afloat with Easy Bilge Pump Maintenance: Tips and Tricks
Bilge Pump Maintenance Keep the bilge area clean and test the pump to make sure it is working. Dewatering device—that’s...
Read moreDetails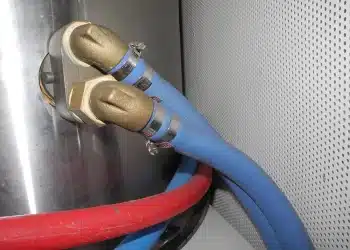
A High Quality Water Heater Creates a Comfortable Boating Experience
Hot Water Aboard! Easy ways to raise your boat’s water temperature.At the end of a wonderful day aboard, a hot...
Read moreDetails
Expert Boat Refit Advice: Know What You’re Getting Into
Choosing to Refit is Not a Simple Decision Know what you’re getting into before deciding to do a refit. The...
Read moreDetails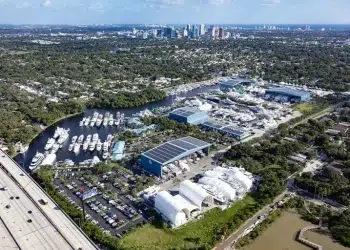
What To Look For When You Need A Boat Yard
Yard Work What to look for in a yard when it’s time to do some serious work on the boat....
Read moreDetails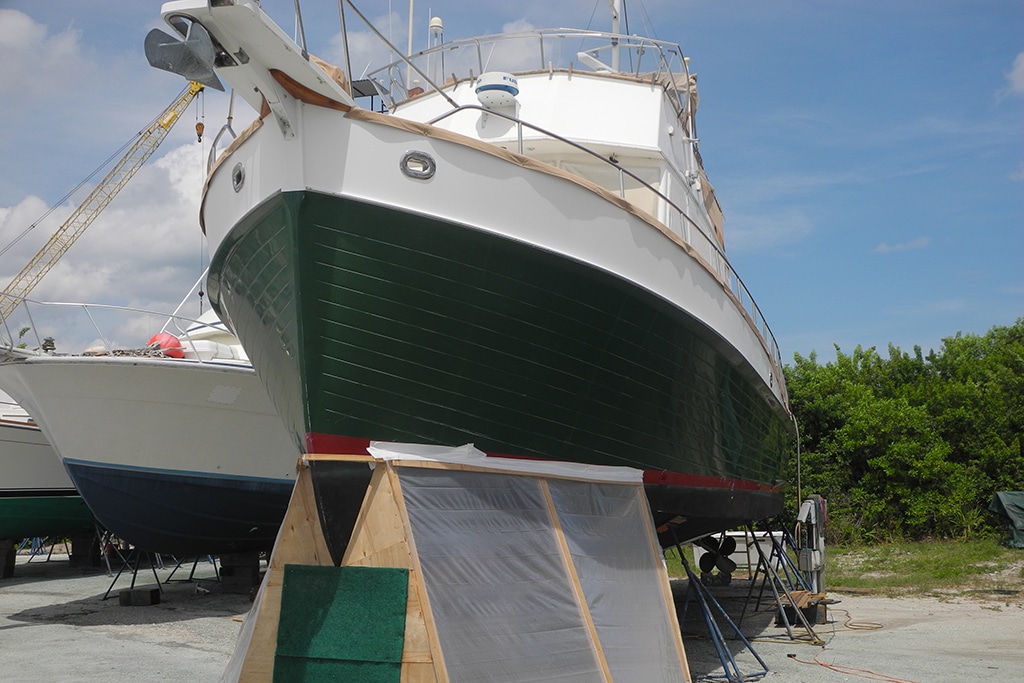
New Boat for Less
New Boat for Less Find joy in buying a used boat by keeping your goals in focus. Daydreaming of a...
Read moreDetails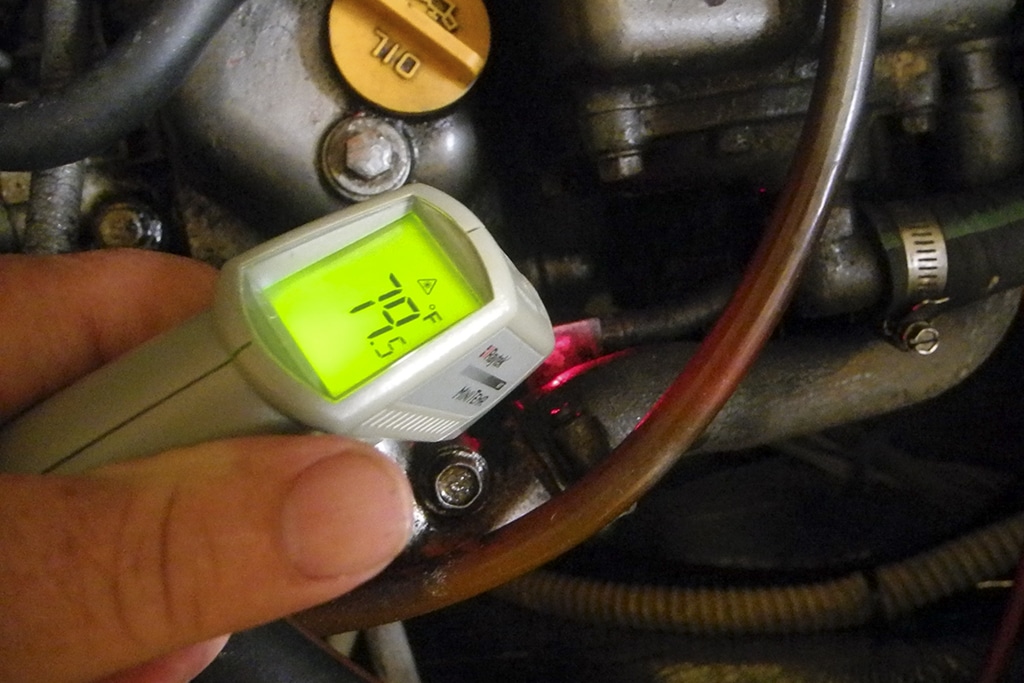
Scanning your Engine Temperature
Engine Scan Keep an infrared thermal device in your onboard toolbox to check engine temperature and more. Finally, a long-awaited...
Read moreDetails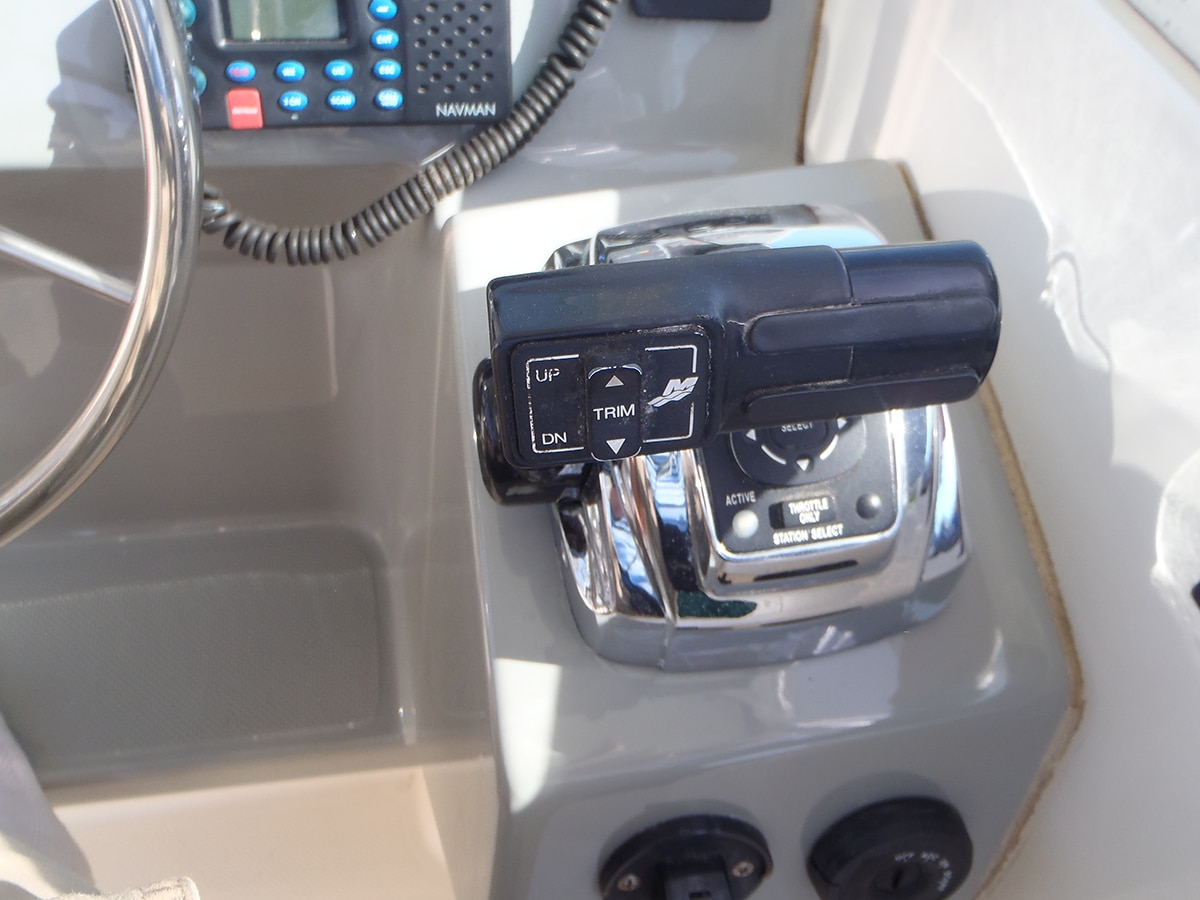
Troubleshooting Tilt and Trim
Optimize Performance Troubleshooting outboard tilt and trim problems Failure of your boat’s tilt and trim feature will affect all phases...
Read moreDetails


1591 E. Atlantic Blvd, 2nd Floor
Pompano Beach, FL 33060
Office: +1 (954) 522-5515
Contact us: info@southernboating.com