DIY
DIYers you’ve landed in the right place! Our extensive DIY articles will help you tackle any project, big or small. Our expert writers provide comprehensive information to help you troubleshoot problems and work toward preventing future ones.
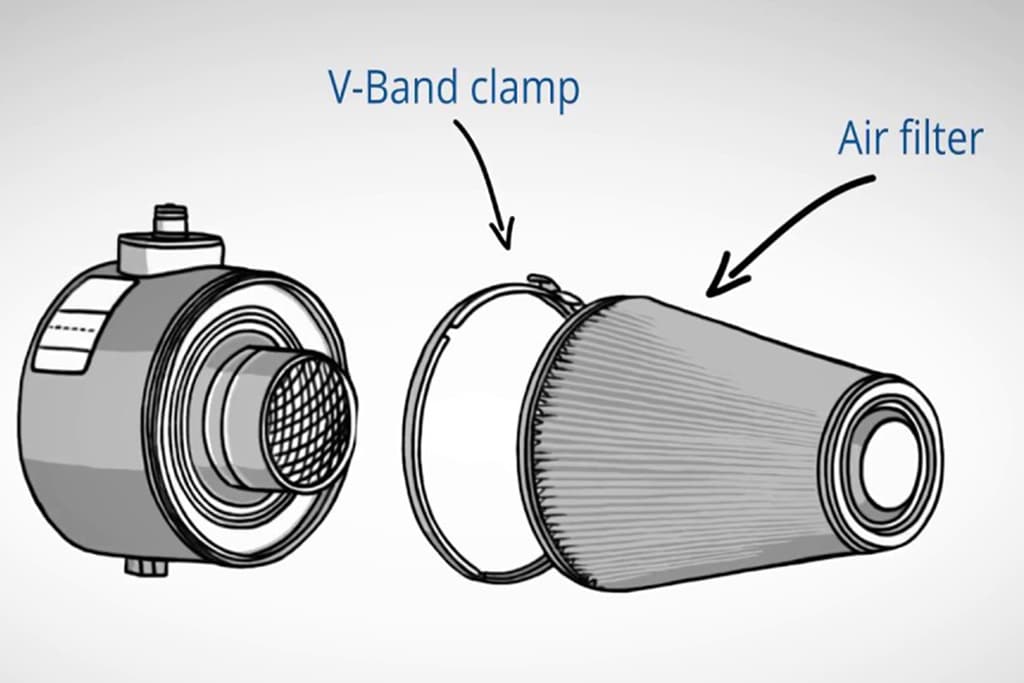
Servicing Walker AIRSEP® Air Filters Video Series
Walker AIRSEP Air Filters are designed to keep down noxious gas and oil mist on turbocharged diesel engines. Check out...
Read moreDetails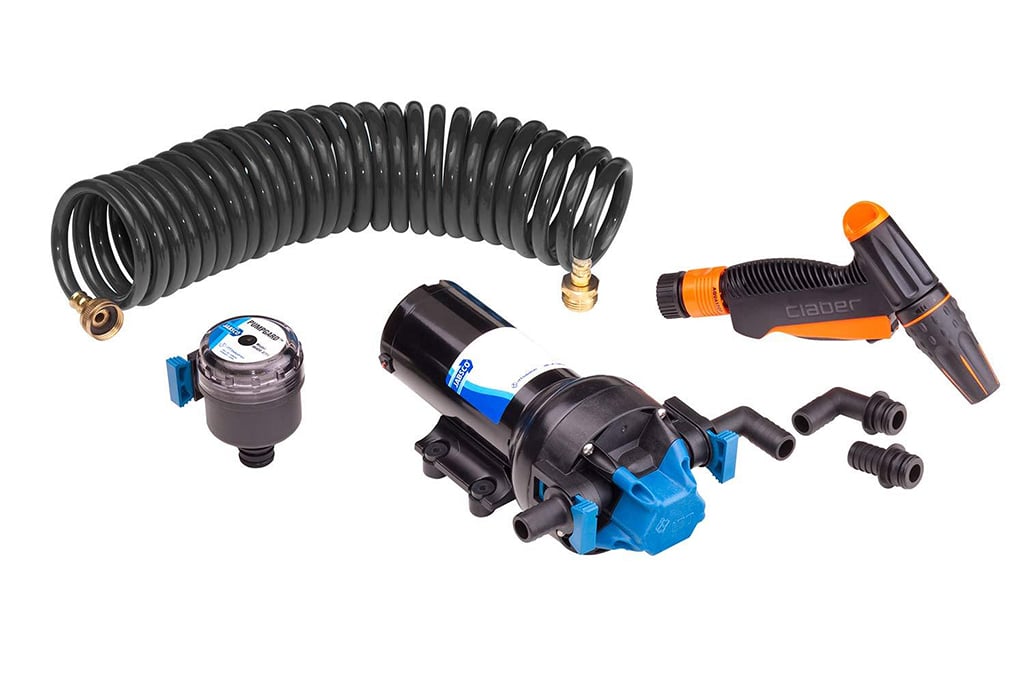
Washing Down Your Boat
Wash It Down Plan out the necessary steps before installing a deck wash down system. By Frank Lanier, Southern Boating...
Read moreDetails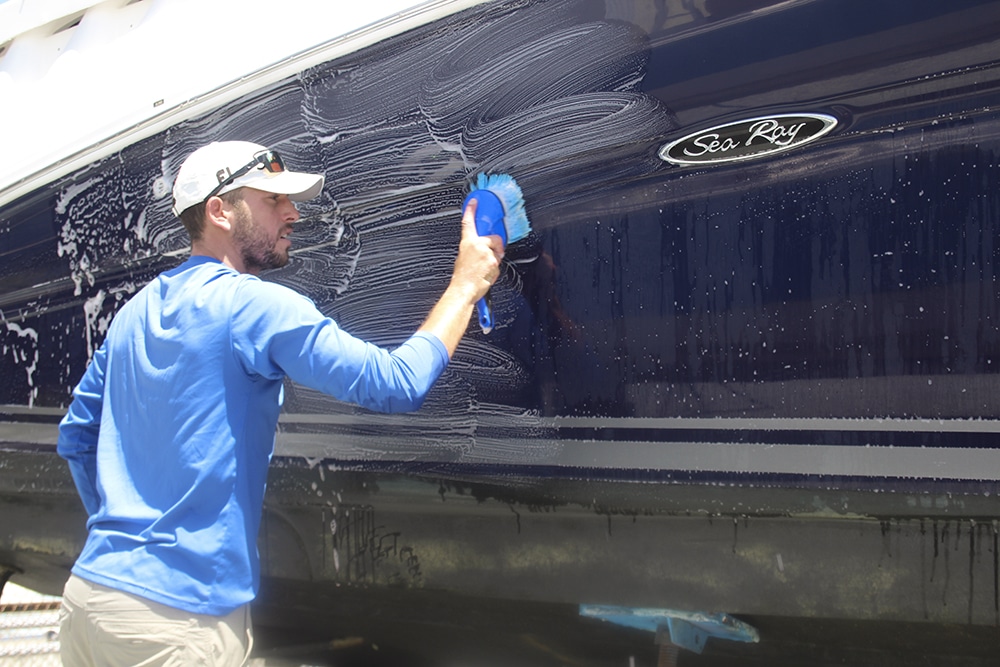
Boat Coating Controversy
Coating Controversy Wax? Plastic polymers? Ceramic coatings? What’s the deal? Mother Nature is brutal on boats. Sun, wind, water, and...
Read moreDetails
How to Install LED Lights on Your Boat
How to Install LED Lights on Your Boat When you install LED lights on your boat, you'll boost the mood...
Read moreDetails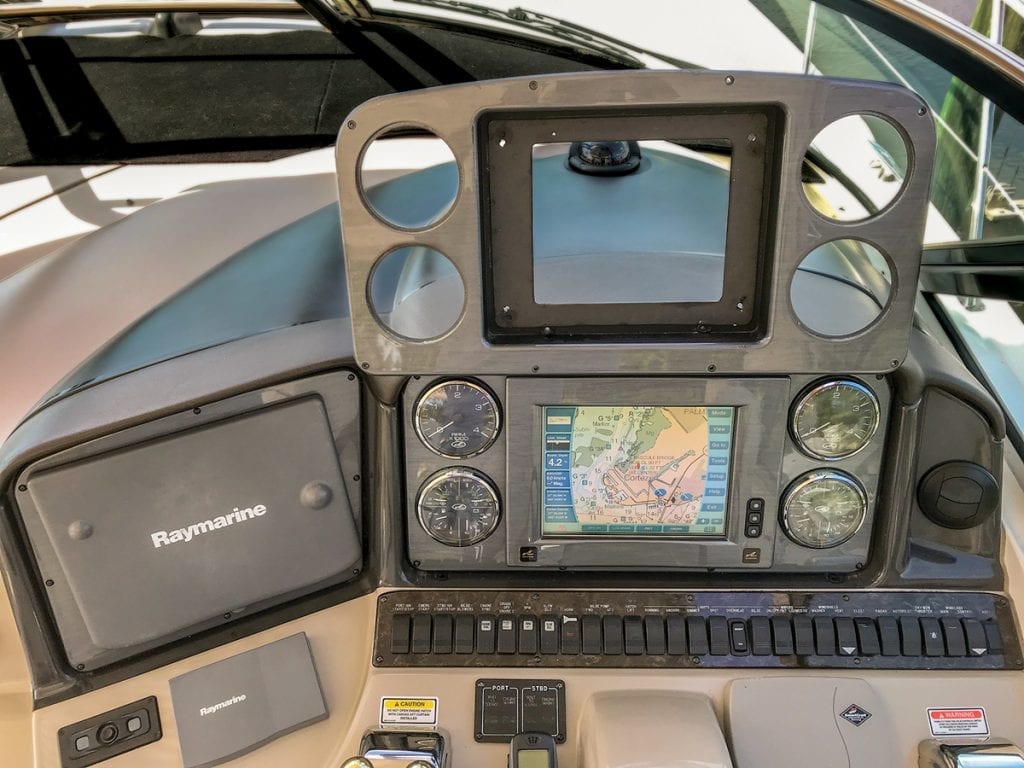
Upgrading Your Dashboard? What You Need to Know
Upgrading Your Dashboard Before buying new electronics, make sure you can upgrade your dashboard. If your display screens freeze up...
Read moreDetails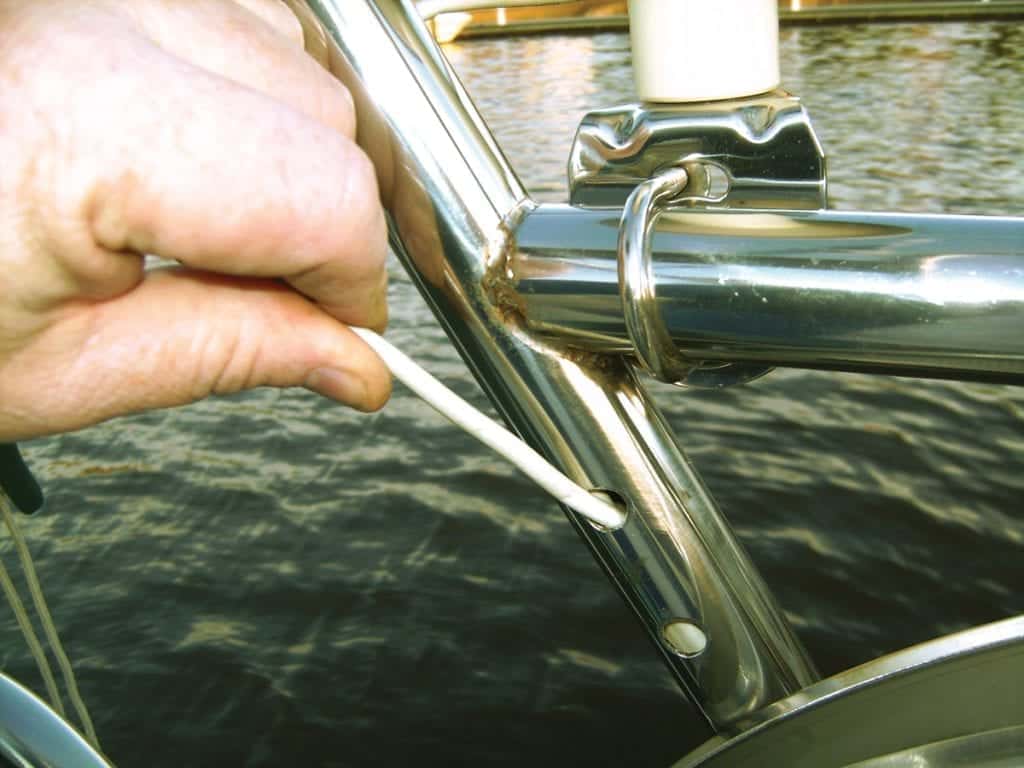
How to Wire a T-Top
How to Wire a T-Top Here's how to wire a T-Top and free up console space. While there never seems...
Read moreDetails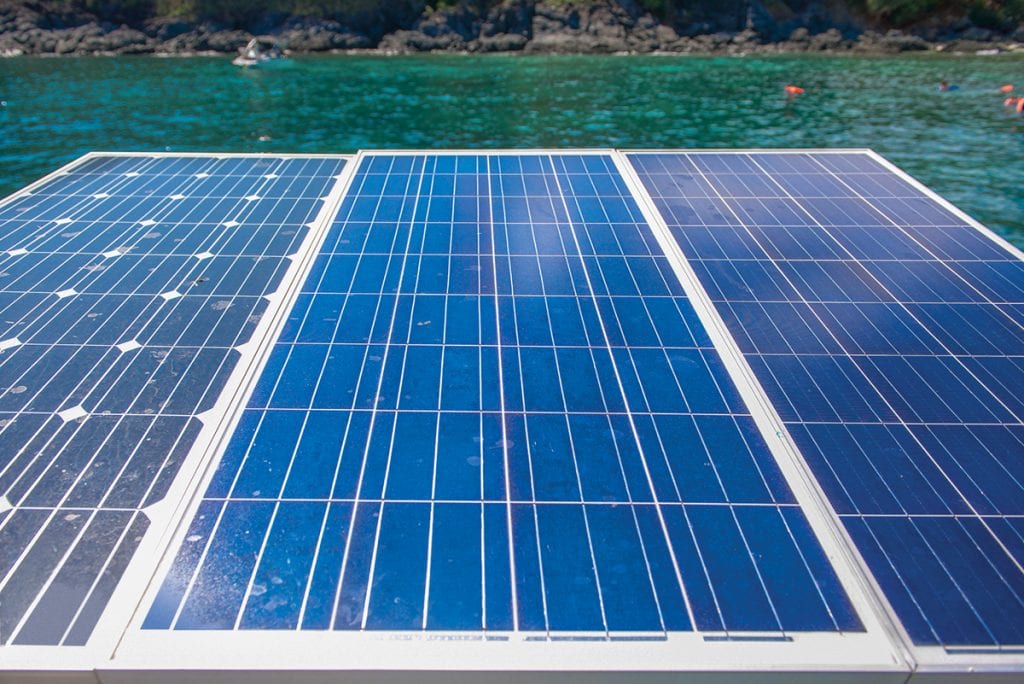
How to Install a Solar Panel on Your Boat
Install a Solar Panel on Your Boat Sunbathers delight! Here's how to install a solar panel on your boat. It’s...
Read moreDetails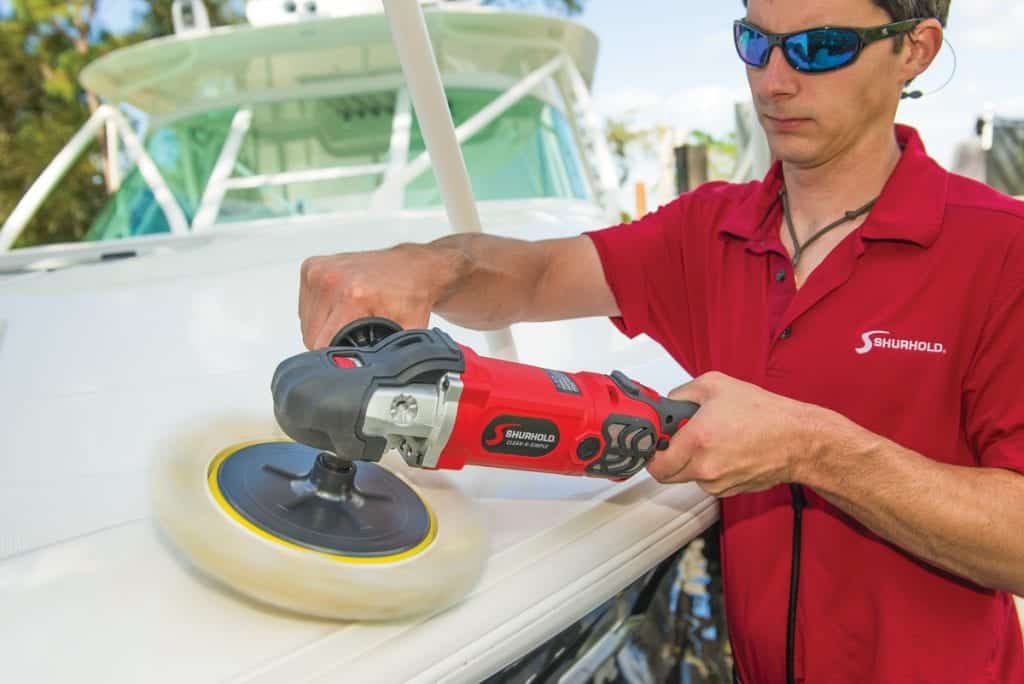
DIY Gelcoat
DIY Gelcoat Gelcoat care, protection and minor repair of this finish are essential to your boat’s maintenance. Here's the lowdown on DIY...
Read moreDetails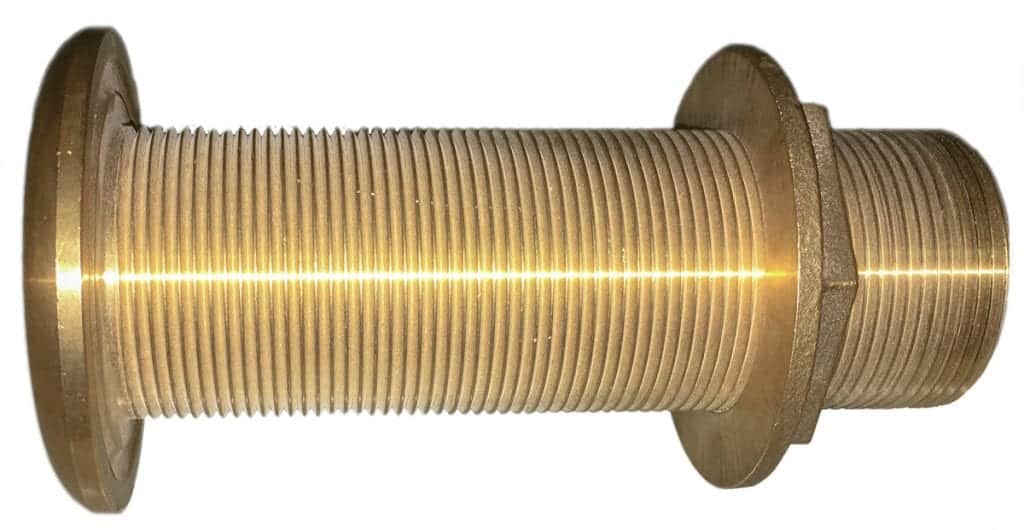
Boats and Thru-hull Holes
When you have to install thru-hull holes, do it right the first time. Most any boat maintenance guru worth his...
Read moreDetails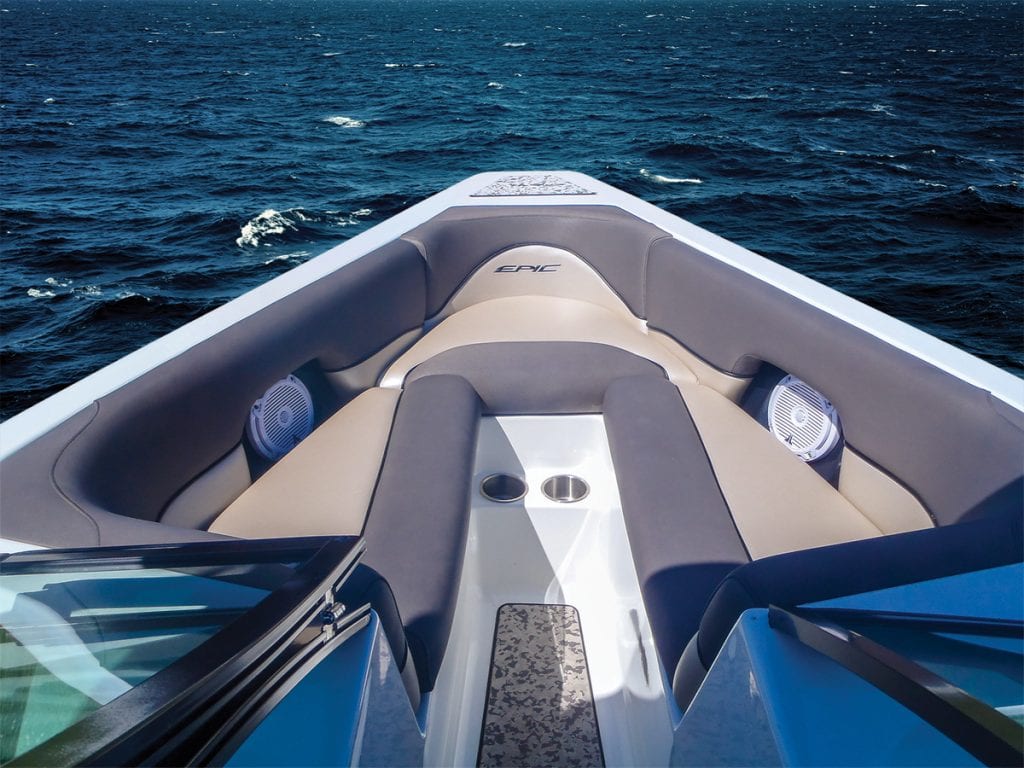
Install a Stereo on Your Boat
Install a Stereo on Your Boat Everyone likes tunes while on the water, but if your boat didn’t come with...
Read moreDetails
Synthetic Teak
New synthetic teak decking keeps feet cooler. The beauty of real teak wood on boat decks is undeniable, but look-alike...
Read moreDetails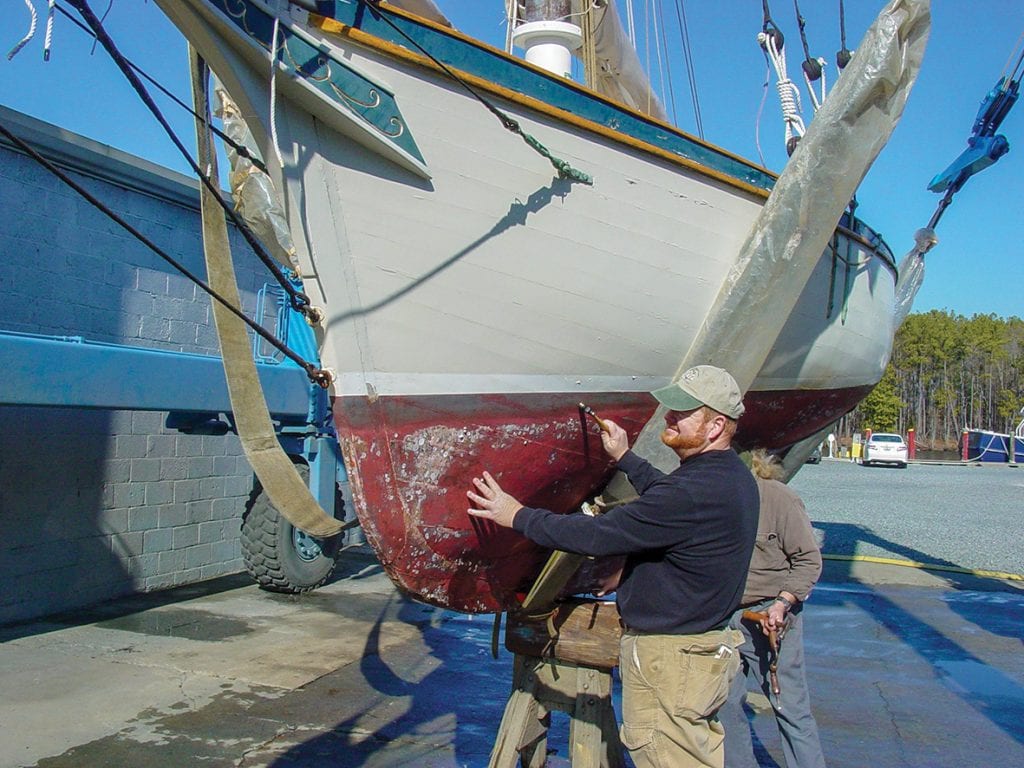
Which Marine Survey Do You Need for Your Boat?
At some point, you'll need a marine survey. We break down the most common marine surveys. Most boat owners will...
Read moreDetails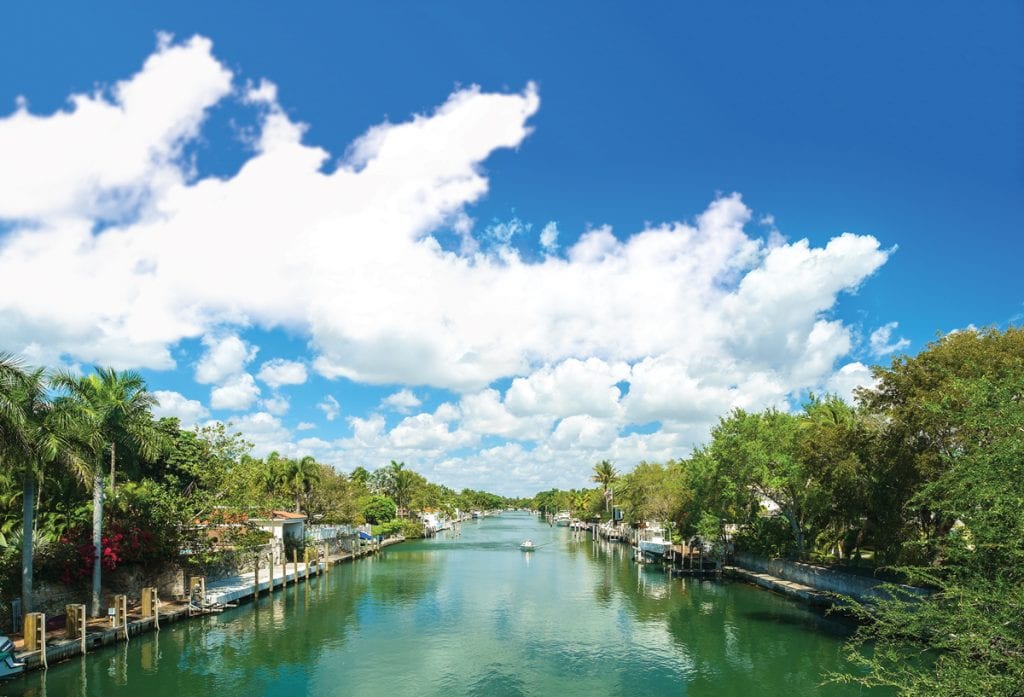
Planning Your ICW Trip
Take the time to enjoy the road less traveled when planning your ICW trip. When it comes to cruising the...
Read moreDetails
Security Tips For Your Boat
Thief-proof your boat with these security tips While most folks envision Black Beard or Captain Kid when marina Tiki-bar talk turns...
Read moreDetails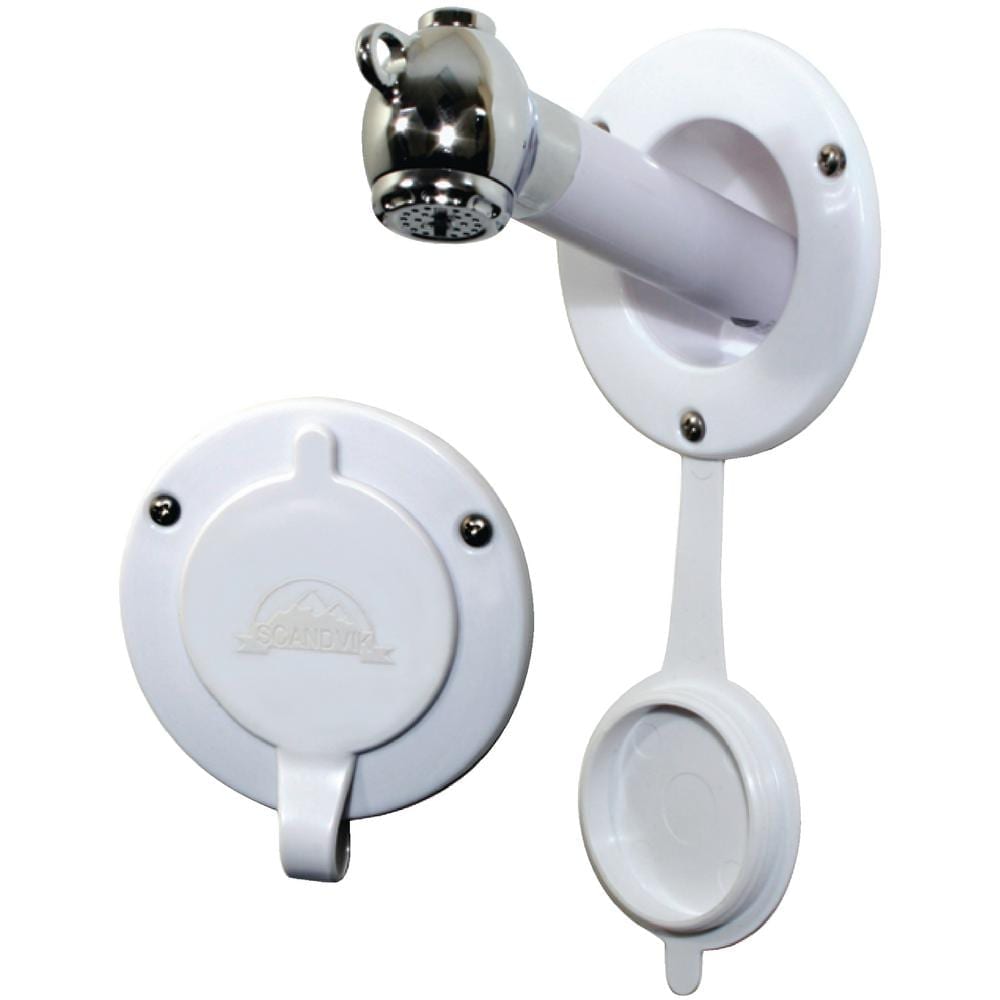
How to Install a Transom Shower on Your Boat
Install a transom shower to rinse away the sand, cool off from the hot sun and wash away the salt....
Read moreDetails


1591 E. Atlantic Blvd, 2nd Floor
Pompano Beach, FL 33060
Office: +1 (954) 522-5515
Contact us: info@southernboating.com