DIY
DIYers you’ve landed in the right place! Our extensive DIY articles will help you tackle any project, big or small. Our expert writers provide comprehensive information to help you troubleshoot problems and work toward preventing future ones.

Forget a makeover. Resurface!
Instead of a complete facelift, save yourself a bundle and resurface. Compared to home interior design trends, boat and yacht...
Read moreDetails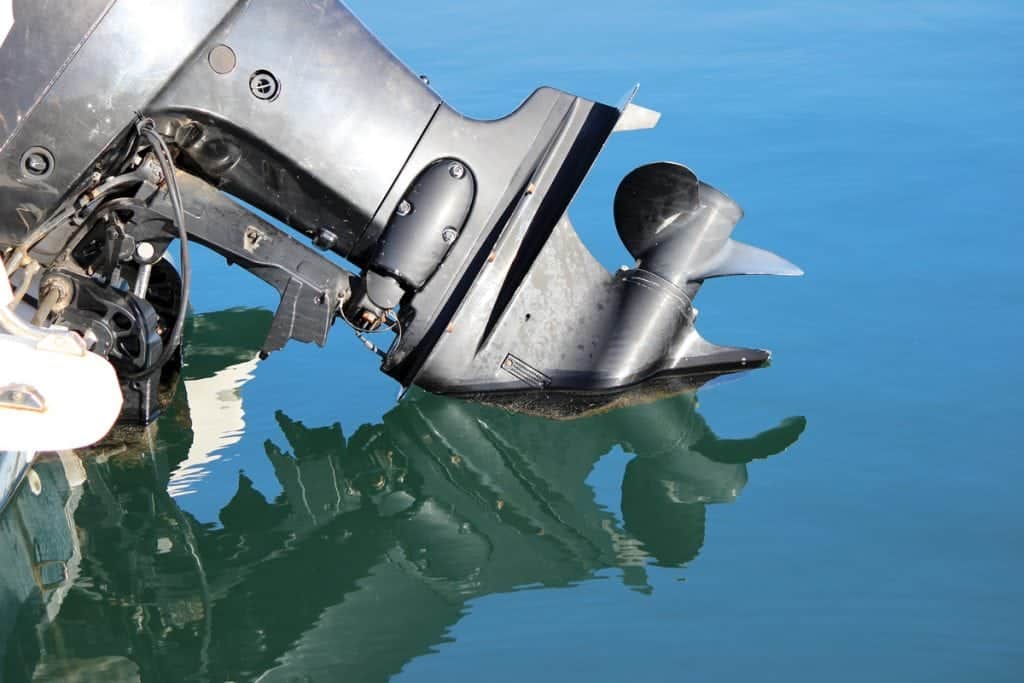
Tilt and Trim Troubleshooting
Tilt and Trim troubles? Here are some top tips for tilt and trim troubleshooting.The time you most appreciate your motor’s...
Read moreDetails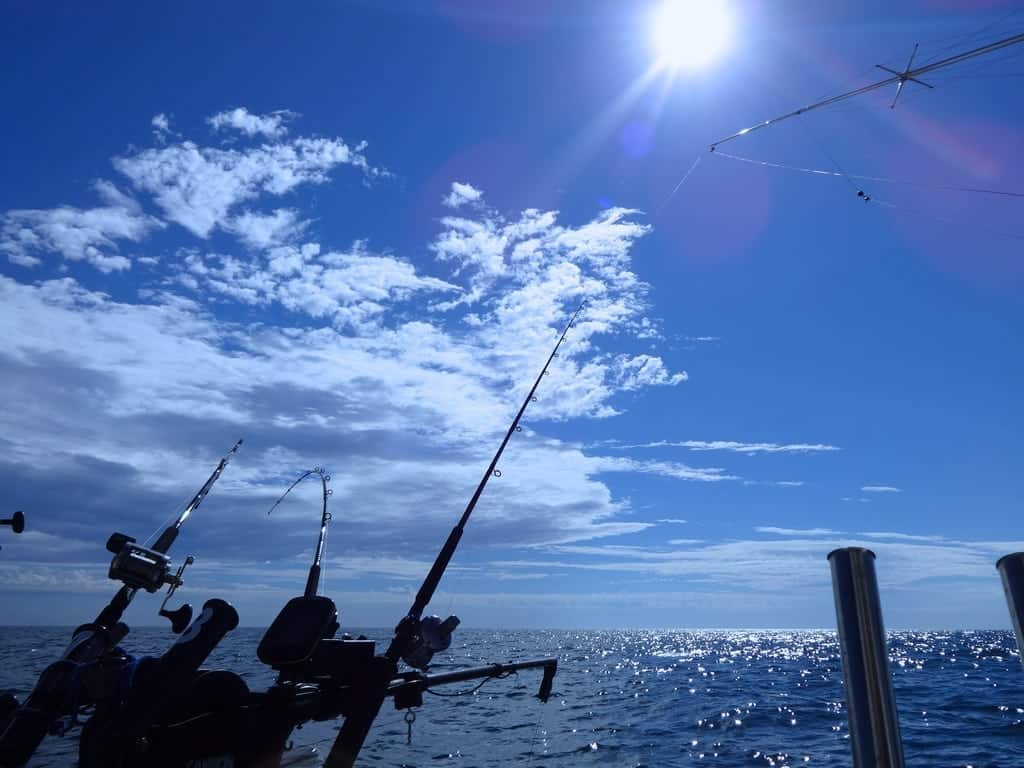
How to Install Rod Holders
Most boat owners have experienced moments when that one missing thing on board would help make boating easier. Take, for...
Read moreDetailsTrailering Don’ts
There are a few constant trailering do's. But there are far more trailering don'ts. Trailering a boat is more popular...
Read moreDetails
So you’ve run aground, now what?
How to re-float your boat after going aground. Most boaters have heard the saying: “You’ve either already gone aground or...
Read moreDetails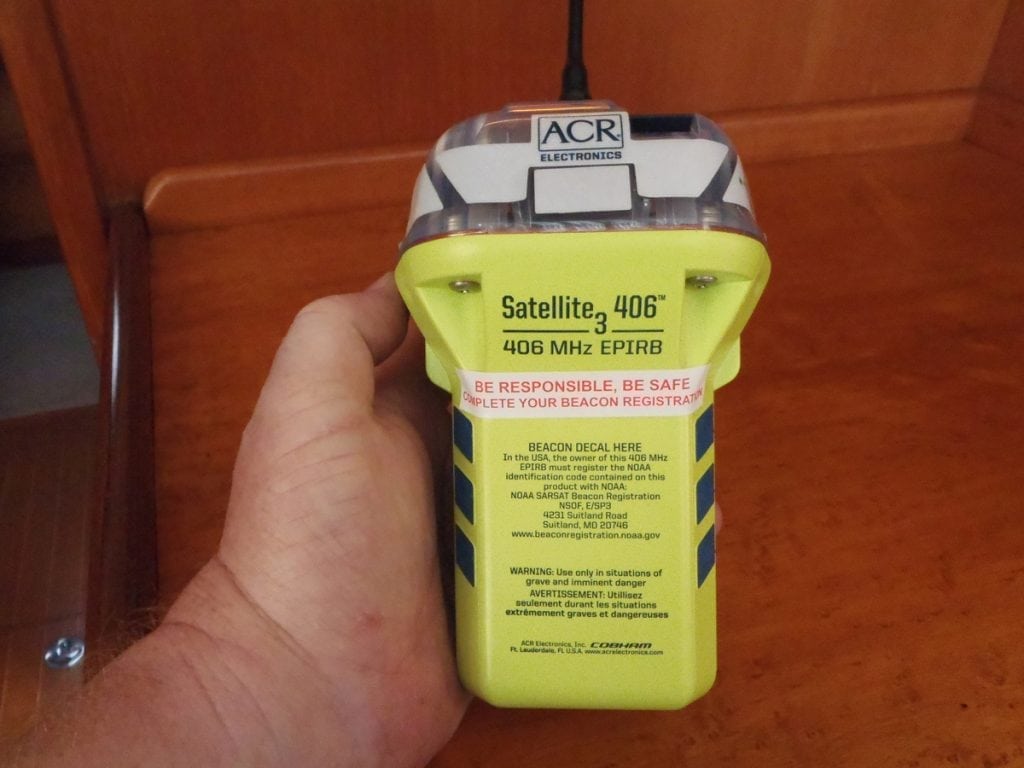
Inspect Your EPIRB or PLB
The only thing worse than not having crucial safety gear on board is to have it fail when needed. So...
Read moreDetails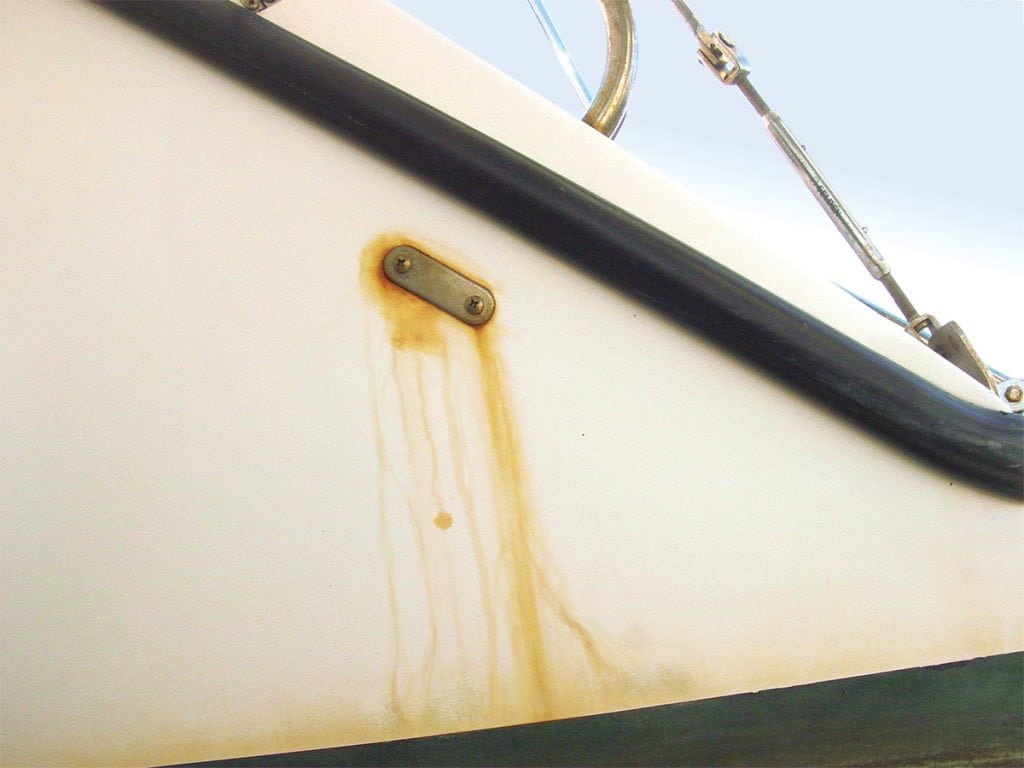
How to Remove Stainless Steel Stains
When Stainless Steel Stains: Read up on stainless steel before rivers of rust ruin your ride. “All that glitters is not...
Read moreDetails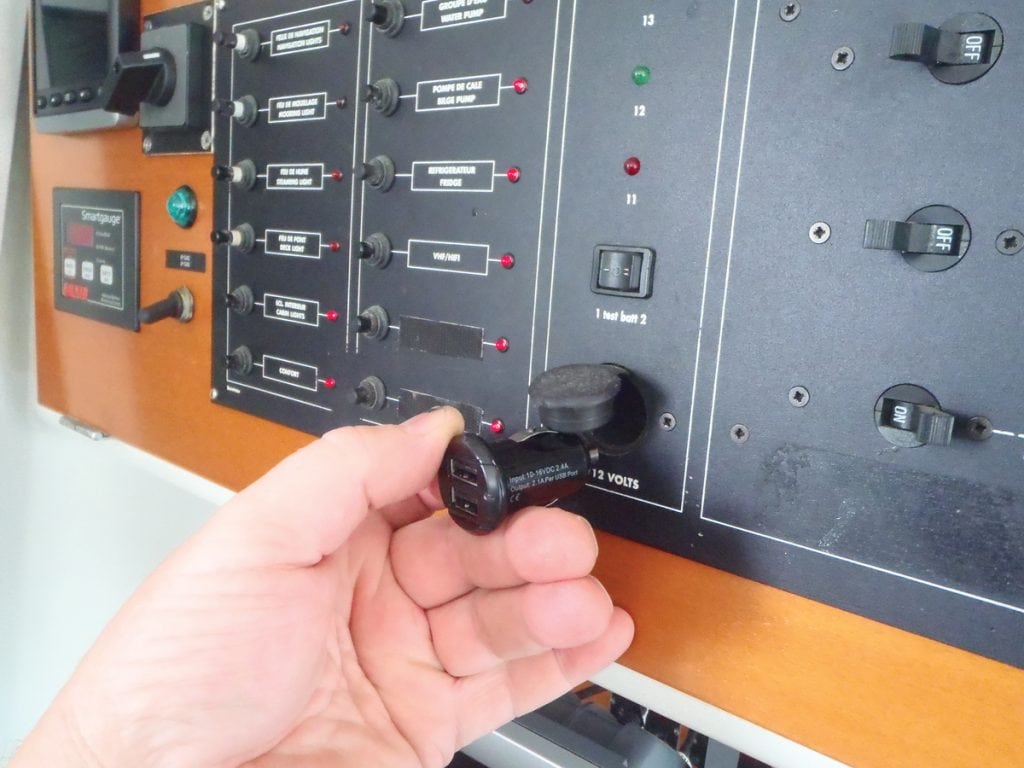
How to install a USB charger
We've got all the tips on how to install a USB charger. You’d be hard-pressed to find a boat owner...
Read moreDetails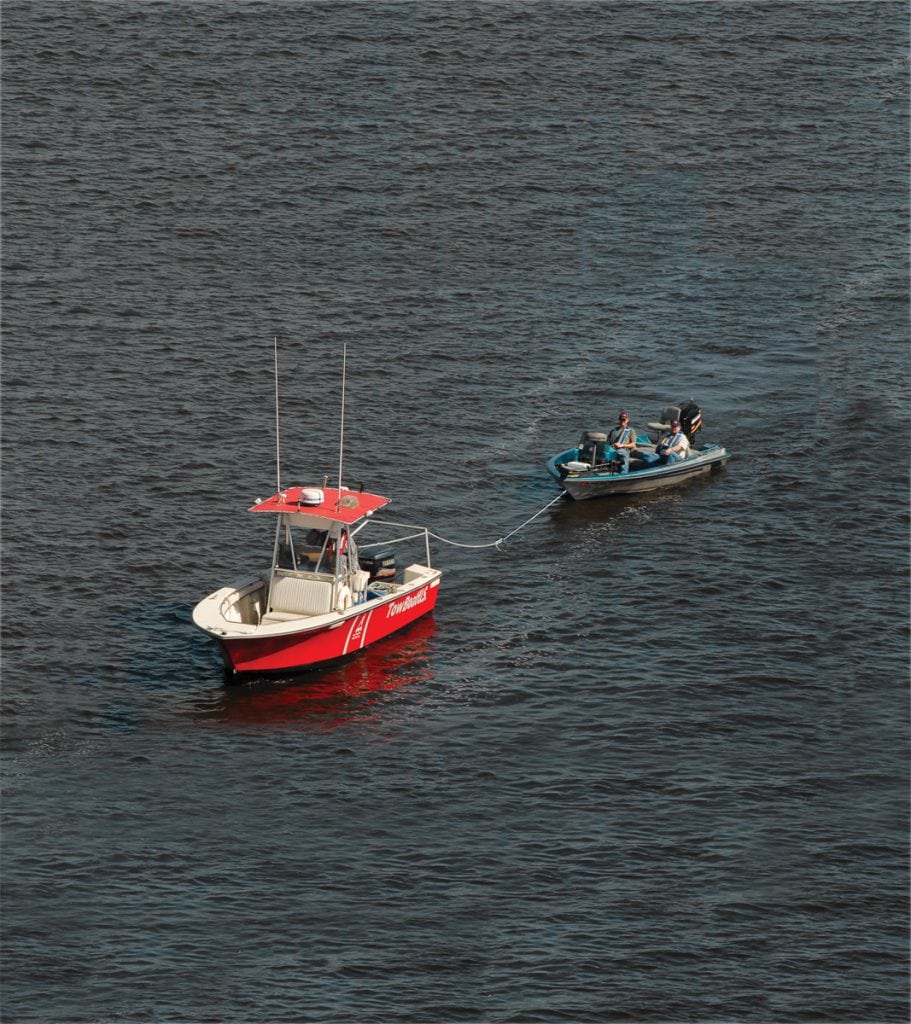
Top Twelve Towing Tips
Top Twelve Towing Tips Be a better boater with these towing tips. When discussing “the laws of the sea” down...
Read moreDetails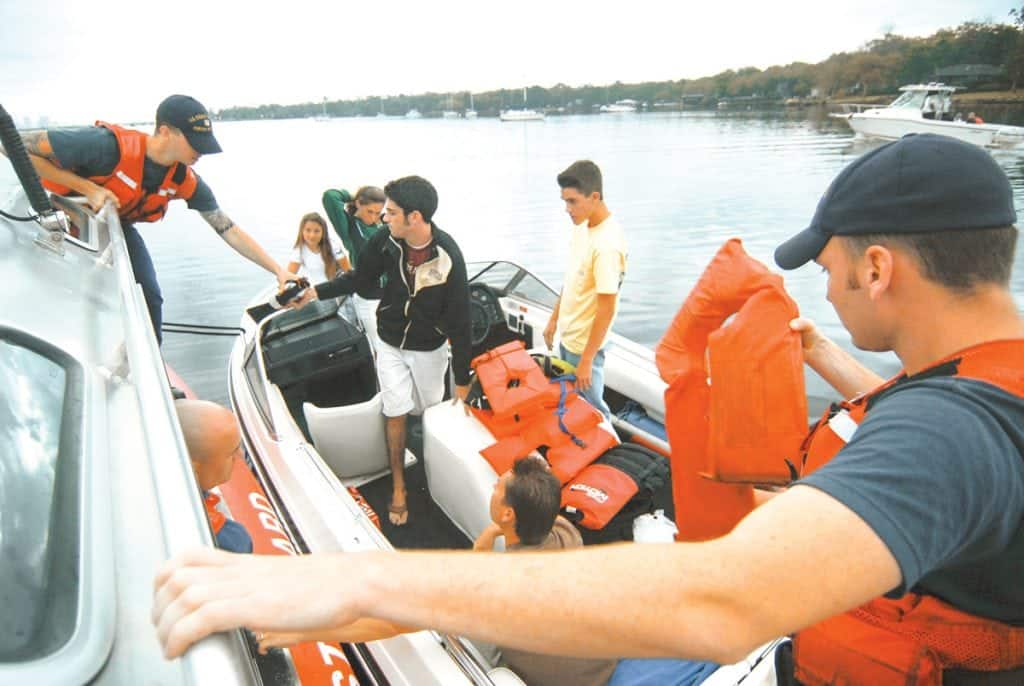
U.S. Coast Guard Safety Check
If the U.S. Coast Guard boards your boat, it pays to be calm and ready. The U.S. Coast Guard isn’t...
Read moreDetails
Top Three Boat Systems
Every boat owner should know these top three boat systems—and know them well. Congratulations! You’ve purchased your dream boat, and you’re...
Read moreDetails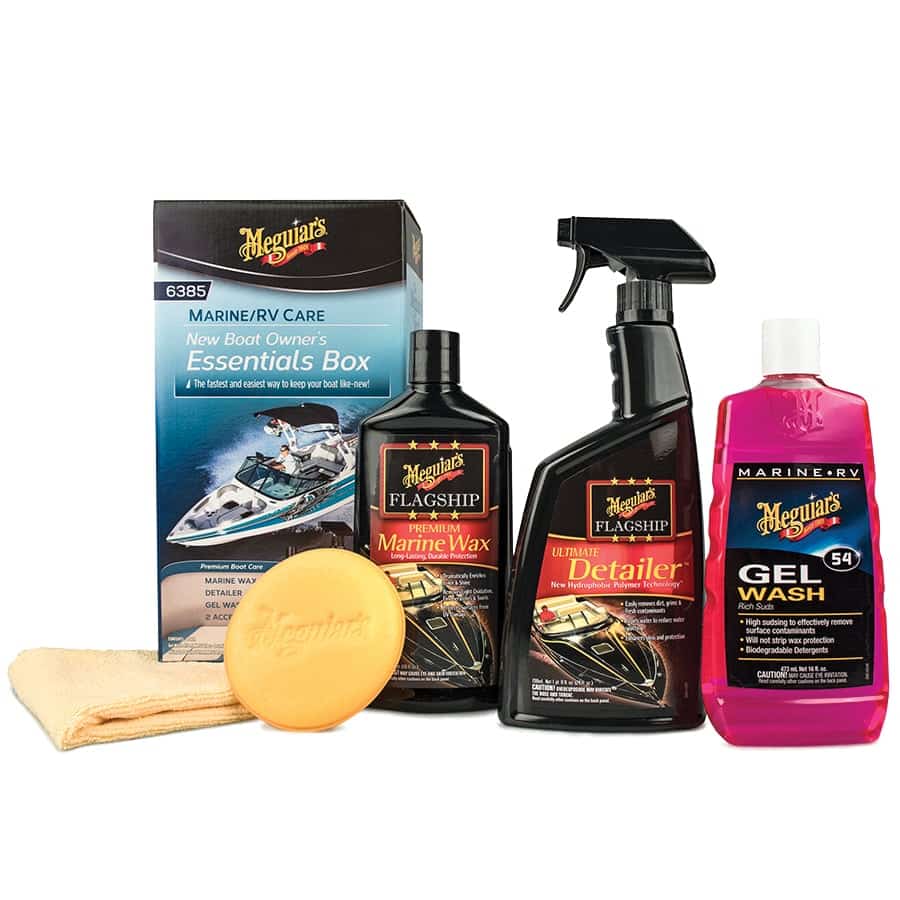
Meguiar’s New Boat Owner’s Essentials Box
Meguiar's New Boat Owner's Essentials Box starter kit enables new boat owners to care for and maintain the appearance of their vessel....
Read moreDetails
Soft Water Solutions
Prevent damage to your boat’s fit and finish with a portable water softening system. While cruising long distances or making...
Read moreDetails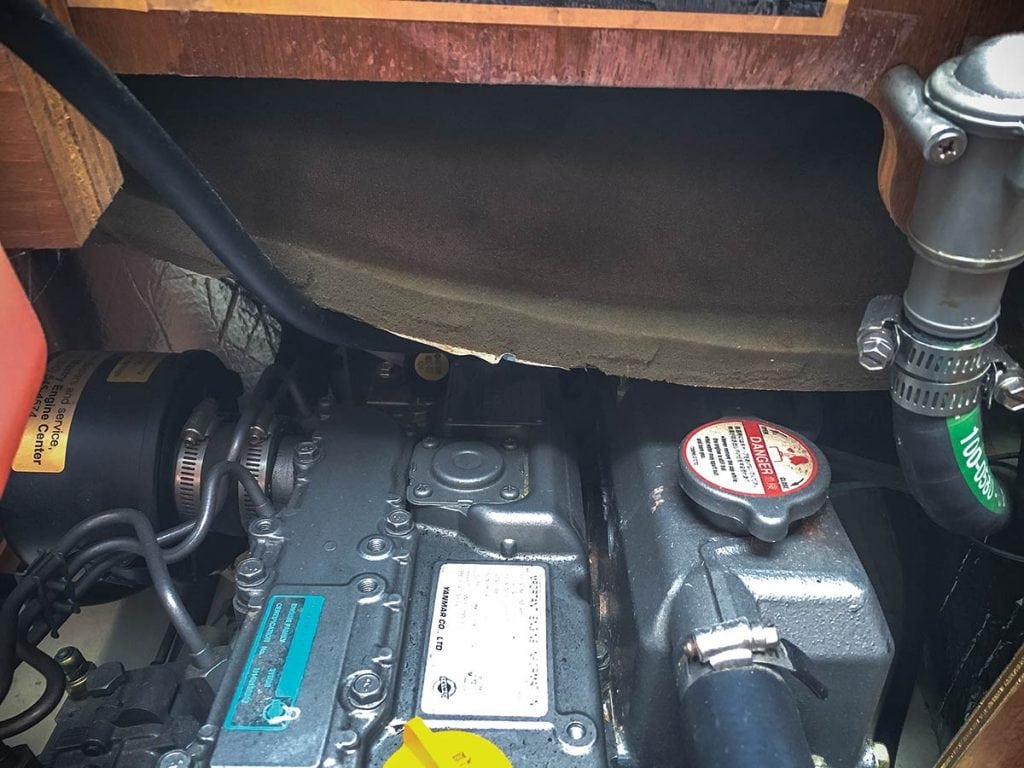
Soundproofing Your Boat
How to install soundproofing for quieter cruising For most, boats are a way to escape the rat race of terrestrial...
Read moreDetails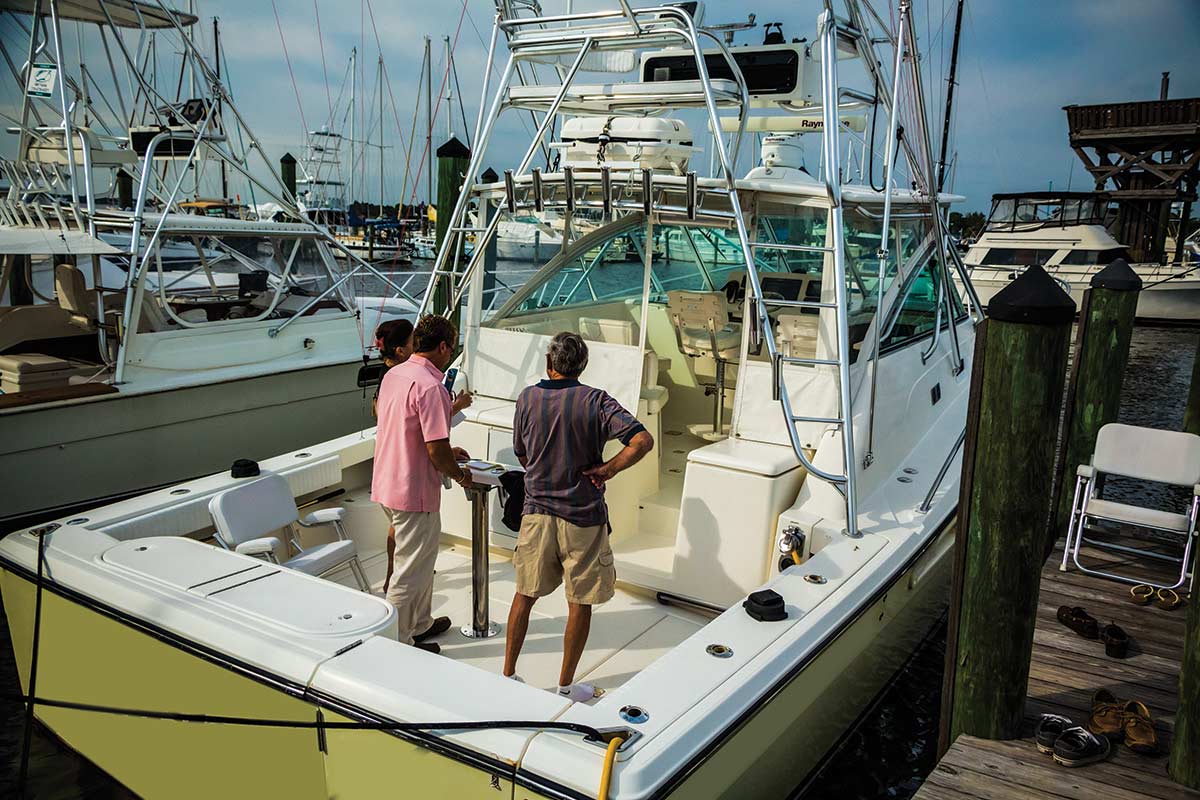
How to Buy a Better Used Boat
A marine surveyor offers advice based on more than 35 years of experience. There’s a reason why sales of pre-owned boats...
Read moreDetails


1591 E. Atlantic Blvd, 2nd Floor
Pompano Beach, FL 33060
Office: +1 (954) 522-5515
Contact us: info@southernboating.com