DIY
DIYers you’ve landed in the right place! Our extensive DIY articles will help you tackle any project, big or small. Our expert writers provide comprehensive information to help you troubleshoot problems and work toward preventing future ones.
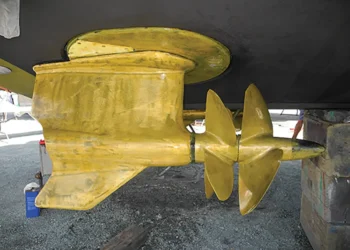
Boat Steering Systems 101: A DIY Inspection and Repair Guide
Visual inspections are best when doing it yourself. Learning DIY maintenance for your boat's steering system may be easier than...
Read moreDetails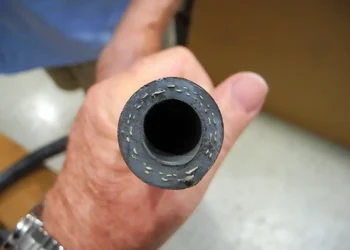
DIY Marine AC Maintenance Advice: How to Stay Cool on Board
Simple DIY Chores to Maintain Your Marine AC Air conditioning aboard your boat is a wonderful luxury, dockside or underway....
Read moreDetails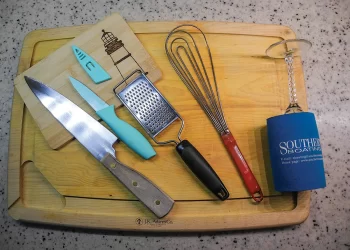
How to Stock and Organize Your Boat Galley for Your Next Trip
Pleasure boating convenient and in styleGetting ready for a boat trip? Prepping your galley is just as important as prepping...
Read moreDetails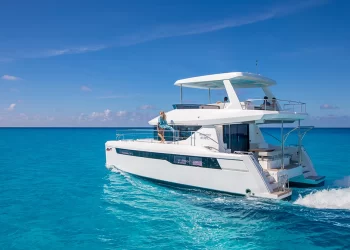
Planning the Perfect Boating Vacation: Tips for a Stress-Free Charter Experience
Lay out a basic plan for your boating vacation prior to booking your trip.Be it a sailing excursion to the...
Read moreDetails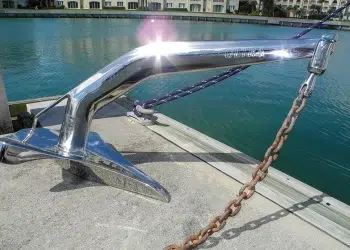
How to Maintain Your Anchor System: A Comprehensive Checklist for Cruisers
Check the entire anchoring system each time you anchor or at the start of the season.Ground tackle is not fishing...
Read moreDetails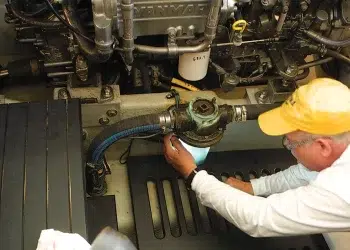
Marine strainer maintenance: Do You Know These Easy Insider Tips?
Always do preventive maintenance to keep the strainer clean. A strainer on your boat is designed to protect a raw-water pump....
Read moreDetails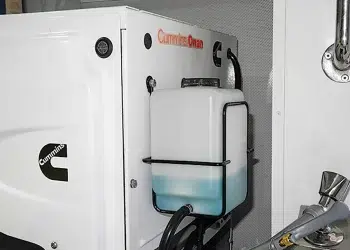
Marine Generator Maintenance: Helpful Tips You Need To Prevent Issues
Watch the podcast or read below: https://youtu.be/qxgJ4fPQ60s?feature=shared&t=482 Out of sight? Out of mind. Many generators are housed inside a sound...
Read moreDetails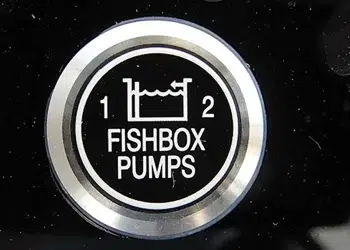
Live Bait Well Maintenance Tips for a Successful Fishing Trip
The key to a successful catch Whether you’ve been fishing for years or this is your first season with a...
Read moreDetails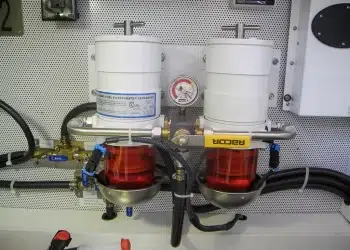
Essential Advice: Fuel Preparation for a Safe Bahamas Crossing
Plan ahead before your Bahamas crossing. Bahamas, here we come! With a terrific weather forecast, you are ready to make...
Read moreDetails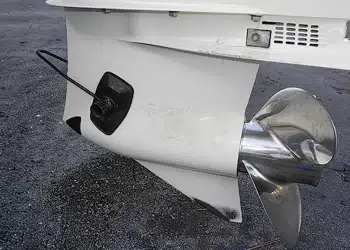
Outboard Motor Maintenance Fundamentals: Keep Your Engine Clean And Vibrant
Keep Your Outboard Motor CleanYou couldn’t imagine drinking the water your boat floats in. That’s exactly what your engine ingests...
Read moreDetails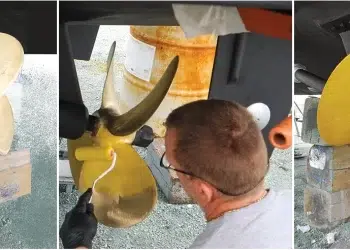
See What Happens With Boat Bottom Cleaning Efficiency
The Secret to Speed? A Spotless Boat Bottom Below the waterline of your boat is one big target for sea...
Read moreDetails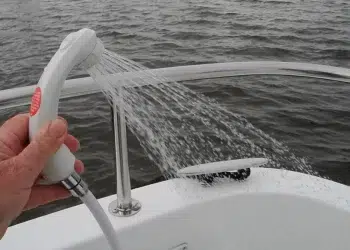
Maintaining Boat Freshwater Systems: A Sure Way To Stay Cool
A Guide to Boat Freshwater System Maintenance Keep it flowing fresh on deck. When it's HOT there’s only one thing...
Read moreDetails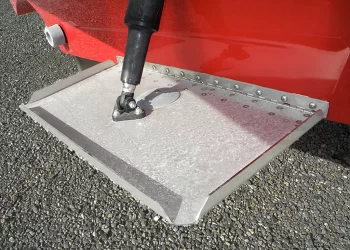
Trim Tab Maintenance Guide: Ensuring a Ride You’ll Love
Take care of the systems on board for a smooth ride. Today’s trim tabs are not the trim tabs from...
Read moreDetails
Life Raft Readiness: A Comprehensive Maintenance and Inspection Guide
Ready to Launch Life raft inspections and stowage Like bear pepper spray and supplies for the zombie apocalypse, life rafts...
Read moreDetails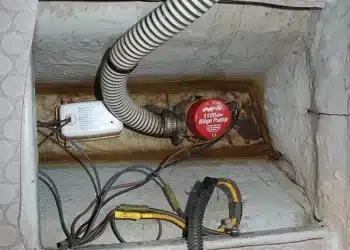
Stay Afloat with Easy Bilge Pump Maintenance: Tips and Tricks
Bilge Pump Maintenance Keep the bilge area clean and test the pump to make sure it is working. Dewatering device—that’s...
Read moreDetails


1591 E. Atlantic Blvd, 2nd Floor
Pompano Beach, FL 33060
Office: +1 (954) 522-5515
Contact us: info@southernboating.com