Keep Your Outboard Motor Clean
You couldn’t imagine drinking the water your boat floats in. That’s exactly what your engine ingests with raw-water cooling: saltwater crystals, gritty freshwater, sand, or mud. Let’s not forget the microscopic organisms such as zebra mussels, barnacle larvae, or oyster spats. All this and more are pumped through your boat’s engine cooling system. Some of this may remain inside the system and should be flushed out. These are fundamentals to outboard motor maintenance.
Why Flush?
Engine cooling systems are defined in two different styles, open loop and closed loop. Open loop is usually used on outboard engines. The closed-loop cooling system is seen more on inboard engines using heat exchangers.
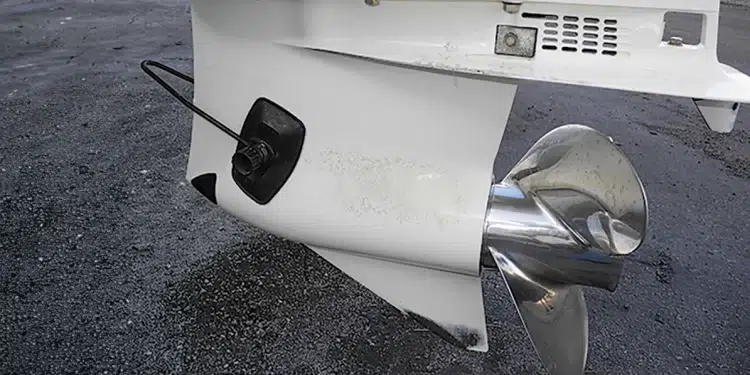
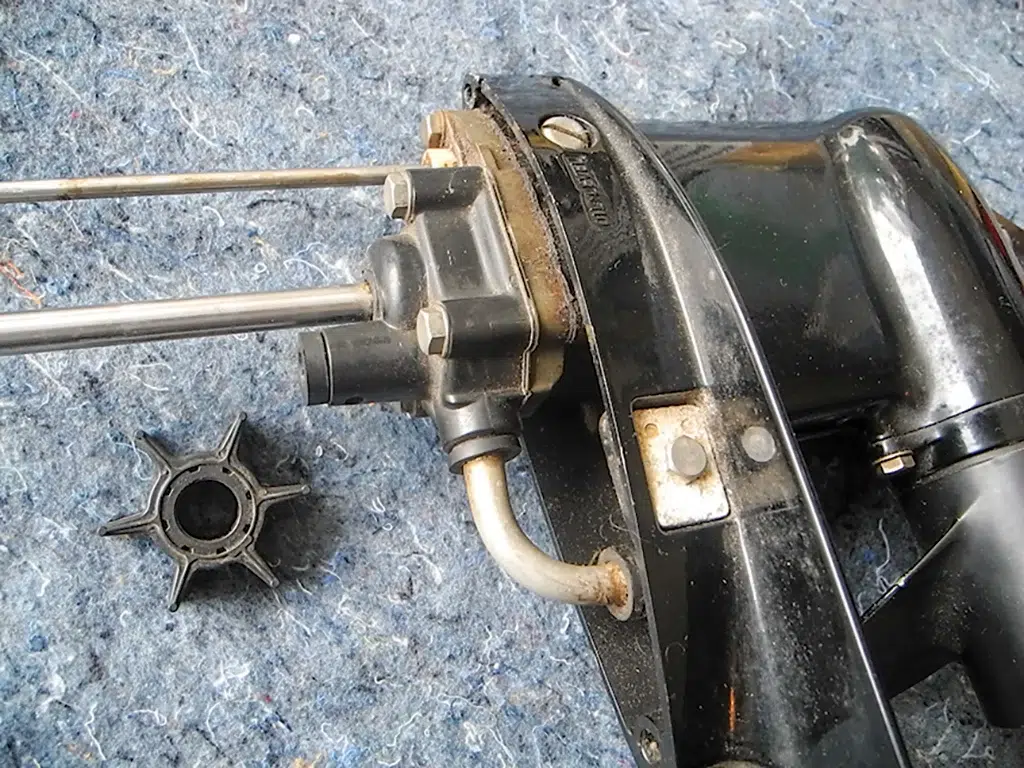
Simply stated, an open-loop outboard motor pulls raw water up from the lower unit by using a rubber vane impeller pump. Next, the water is pumped up to the power head through the engine block. Finally, the raw water is discharged out through the exhaust system, usually flowing underwater through the hub of the propeller. A tattle tale side stream of water will also discharge above the waterline on the starboard side of the engine to confirm water flow.
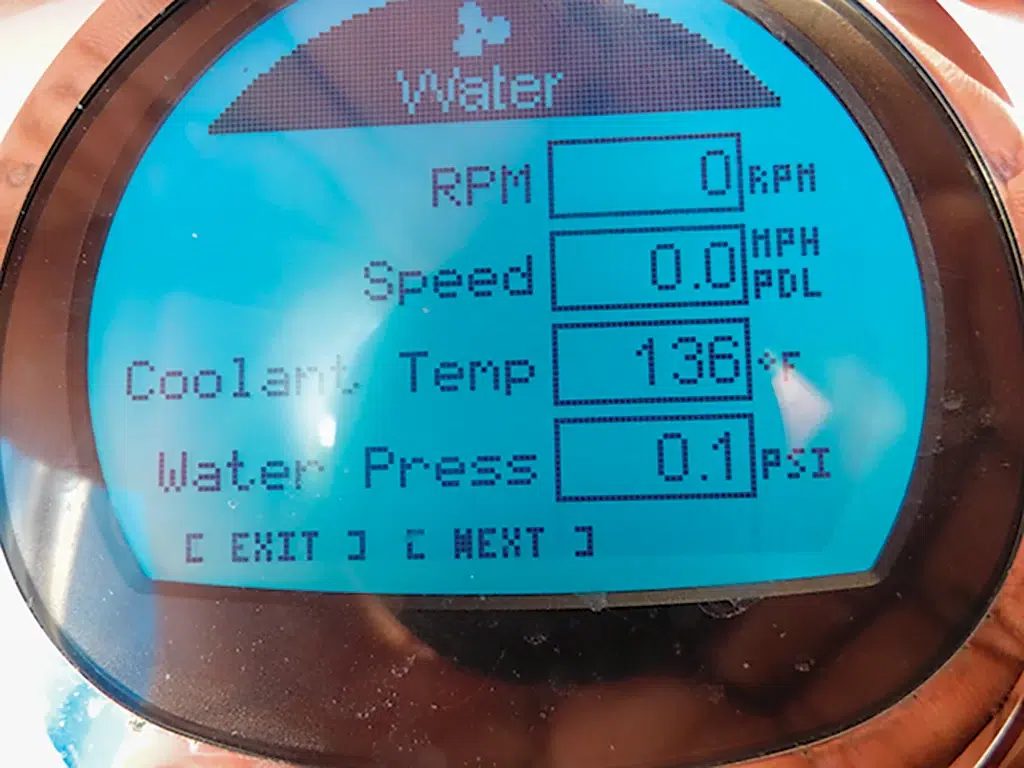
The raw water flows through the engine block to cool the power head, fuel pump, and exhaust system. Most engines have one or more thermostats to regulate the water flow and temperature in the engine block. A happy engine stays cool and is less likely to overheat when the raw-water cooling system flows smoothly. But remember, this raw water is full of minerals, salt, sand, dirt, and organisms.
At the End of the Day…
Consider what happens when you put the boat away for the day. Maybe your next boat trip isn’t for another month. A lot is going on inside the raw-water cooling flow path in the engine.
While the water drains out, it may still leave debris in the engine. That debris can grow salt crystals. All sorts of marine life may attach to the internal metal of the engine itself. A bit of sand might clog the thermostat preventing proper operation. All these concerns could cause the engine to run hotter temperatures than designed. Failure to flush can lead to a shorter engine life because of internal metal corrosion.
Outboard Motor Maintenance Tips
Outboard motorboats are often dry stored, either on a trailer, dry stack, or a lift behind the house. After a good day on the water, many boaters bring the boat home and do a lot of docking maneuvers. Reverse and forward and reverse again to land the boat at your dock or trailer. But look at the water as you aggressively reverse the engine. See the dirty water blowing forward? Your engine is ingesting that dirty water, stirred-up sand, and mud. Consider planning your docking further in advance to aim better at the landing dock. If you use reverse less, the water will be clearer and less agitated. Then you are not pulling up as much gritty water into the engine.
Subscribe For Regular DIY Articles
Freshwater Flush
When possible after each boat trip, flush the outboard motor cooling system with freshwater. Use the convenient garden hose connector on the port side of the outboard. Read the engine manual to learn the proper method and amount of time suggested to flush the motor. This is done on the trailer or lift without running the outboard motor. Many people try to do this while the engine is warm from running and the thermostat is open. However, the colder water temperature from the garden hose will cool and close the thermostat anyway. Then the freshwater flush will bypass the closed thermostat and flush the rest of the cooling system not including the raw-water pump in the lower unit.
A special motor flushing device clamps your garden hose to the lower unit of the outboard. These clamps are also known as earmuffs and are sold in most boat stores. Connect the garden hose, turn it on, and start the engine. The water flow will go through the raw-water pump to satisfy the engine cooling needs. Run it at a fast idle to achieve the power head temperature to open the thermostat and flush the engine system.
Instead of the earmuffs, consider using a large bucket or small drum full of freshwater to submerge the raw-water intake port. A product called a flush bucket or flush bag is a slightly quieter option than the earmuffs. Seems like a good idea to have a collapsible water bucket that is easy to stow when you don’t need it. But be sure to carefully follow the instructions for use.
Final Outboard Motor Maintenance Tip: Salt-free, Please!
Part of regular engine flushing should also include a salt-dissolving product to remove the salt crystals from the engine cooling system. A product such as Salt Away with a mixing unit can be attached to the muffs and help flush out the salt and debris during the regular flush process. Connect the flushing attachment to the lower unit water intake area, turn on the garden hose to run water through the system, start the engine at idle and advance to a fast idle, then open the mixing unit to flow the solvent into the engine and run until completely flushed. Check the manual for recommended amount of time.
These easy flushing steps will keep your outboard in top shape and ready to go again next time. Follow your engine service manual for recommended service visits for water pump impeller and thermostat changes along with oil and gear case oil changes.
-by Capt. Chris Caldwell


