

Install a Stereo on Your Boat
Everyone likes tunes while on the water, but if your boat didn’t come with a factory-installed stereo, you don’t have to suffer the sound of silence. Let’s take a look at what’s involved to install a stereo on your boat.
Stereo receiver
When choosing a stereo to install on your boat, you need to consider both the unit and mounting options. Back in the day, the standard stereo was a 7×2-inch box that included a CD player. Today’s trends are stereos designed exclusively to play music from strictly digital media sources: MP3 players, iPods, and smartphones. As no CD player is required, the design and size of today’s stereos vary greatly from traditional units, and most have a smaller cutout.

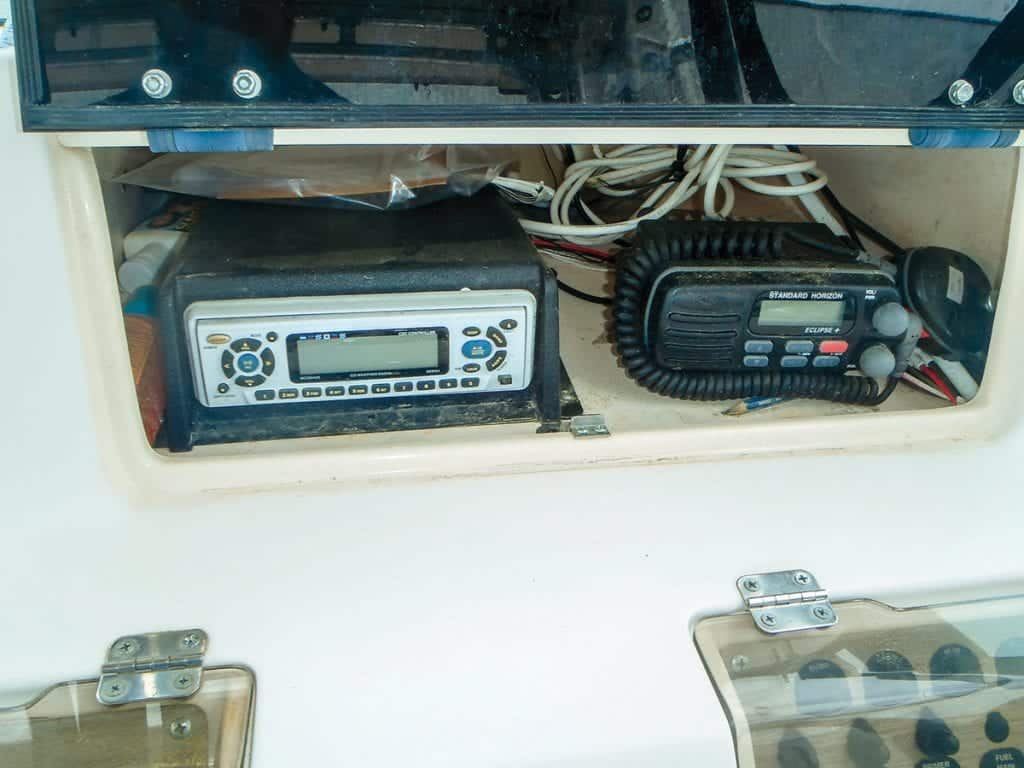
The “black box” type of stereos add yet additional dimension to the mix. These units consist of a small box housing the amplifier, radio and all the wiring connections. They’re controlled by a waterproof, hockey puck shaped, wired remote that’s mounted in a convenient location (helm, swim platform, etc.).
These remote units can also be sized to fit easily into a dashboard to take up less real estate at the helm. When shopping for a new stereo, you might logically assume that all “marine” stereos are waterproof, but surprisingly, that’s not the case. Some units are fully waterproof, but others may be splash resistant or waterproof only when the faceplate is sealed. Partially waterproof units can have an open chassis that is prone to water intrusion should moisture find its way past the faceplate gasket. Thoroughly read the information on any potential stereo purchase to ensure you know just how protected it is against moisture.
Unless the unit is completely waterproof, you’ll want to choose a dry location for your stereo that provides as much protection against the elements as possible. Dry may be a relative term for smaller, open boats (center consoles and the like), but even then, there will be some locations that provide better protection than others. When you install a stereo on your boat, choose a waterproof stereo or remote control. It’s always a good option, especially when mounting choices are less than ideal.
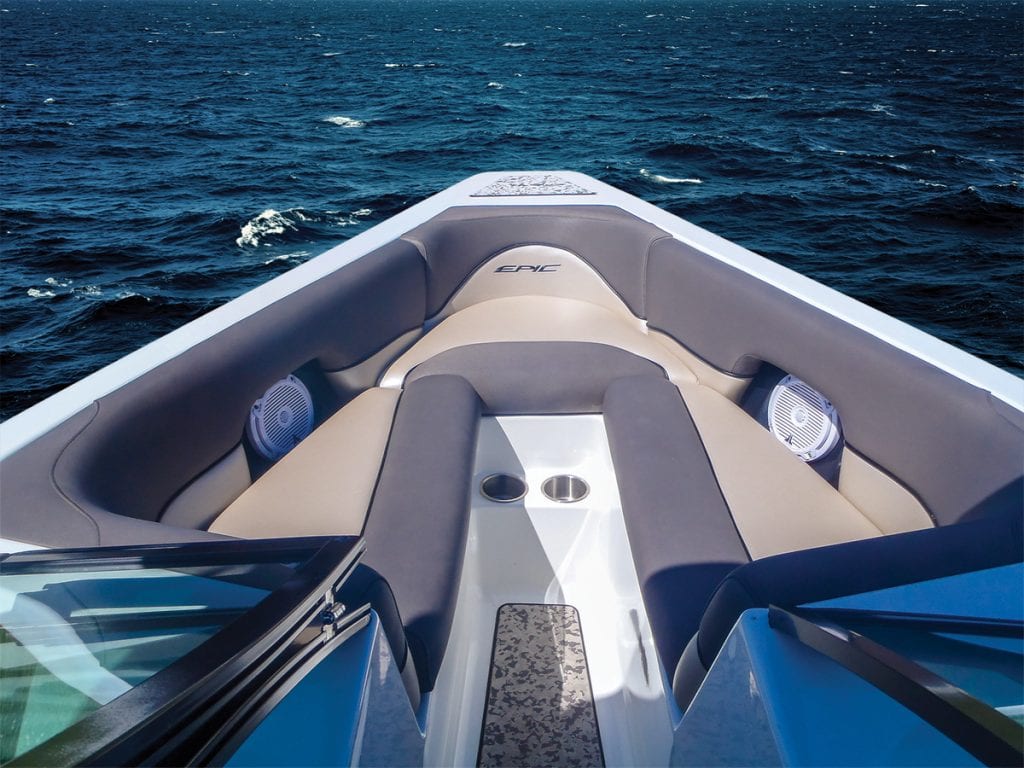
Speakers
Speakers will either be flush mounted or box speakers, both of which have their own set of pros and cons. Flush-mount speakers can be installed in tight, out-of-the-way spaces and present a cleaner looking installation. As to downsides, they require you to cut a hole in your boat to install. For best frequency response, flush-mount speakers must have sufficient air space around the cone. You also don’t want an open-air path behind the speaker, which can reduce the bass response. The speaker installation instructions should spell out minimal space requirements and other such requirements for best performance.
Box speakers are an attractive option for a number of reasons. They don’t require you to cut holes for mounting, and the box enclosure is already designed and set for optimal performance. This means you don’t have to worry about the required air space around the speaker. The only real downside to box speakers is that they take up more space than flush-mount units.
Speaker position
When planning to install a stereo on your boat, keep in mind that speakers are directional, meaning they project sound in the direction they are pointed. As such, you want them to be directed to where your ears will be. This isn’t as critical in your car or home because there are numerous surfaces for the sound to bounce off of, but when they ate installed in an open boat, the sound they produce can easily be lost.

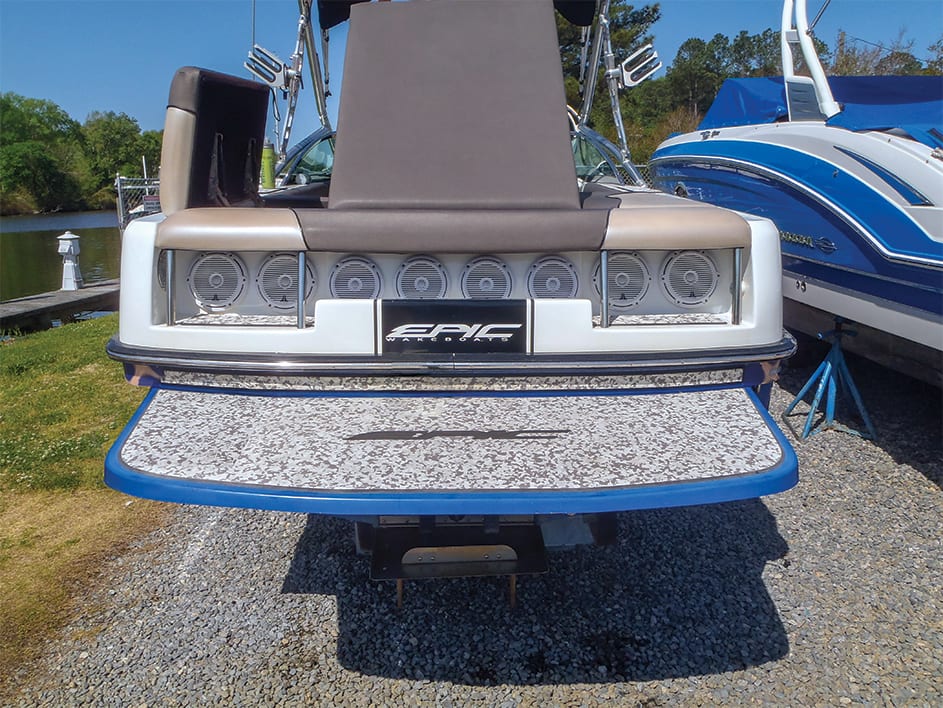
Select speaker locations that not only optimize sound but also minimize exposure to water as much as possible. Stereo sound is way better than mono sound, so choose locations that allow you to hear at least two speakers at the same time. Otherwise, you’ll only be getting half of the
music experience.
Before you cut the hole
You’ve chosen an ideal location for the stereo, but is it really all that? Take a moment to step back and visualize the installation as a whole. Mentally walk through it to head off any potential problems. For example, you’ve found the perfect spot for the stereo or remote head, but is there a path to run the control cable or wire bundle? You’ll also want to be doubly sure of what’s on the other side of the selected mounting location. Drilling into hoses or electrical cables or even the hull itself is never conducive to a good stereo install.
This mental walk-through also provides a good opportunity to make a list of tools and materials needed to complete the job and prevent extra trips to the chandlery. For many, the most daunting part of any stereo installation is routing the wires and cabling. It doesn’t have to be that way, however, if you plan the run first and have the proper tools. One of the handiest tools for pulling wires and cables is an electrician’s “fish tape” or wire snake. Snakes must be stiff enough to maintain their shape while pushing, yet supple enough to twist around curves and bends. Those made of tempered wire are commonly used, although newer, more flexible units of fiberglass or other composite materials are also popular.
Regardless of the one you choose, you’ll want to be able to twist the snake to better make turns and bends, reducing or eliminating the number of additional holes needed to facilitate installation.
Installing a stereo system is a satisfying day or weekend project that’s within the ability of most any DIYer. Just take a little time to plan out the installation beforehand to help ensure you’ll enjoy the sweet sound of success for years to come.
Cable Pulling 101
- When pulling wire or coax, use a firm, steady motion and always pull at the flattest angle possible to reduce friction. This approach puts less stress on the wire while reducing the chances of tears or damage to insulation or wiring.
- When using a snake, feed it through first with nothing attached, then attach the cable or wire bundle to the end of the snake and pull everything back through slowly. Make this attachment as small as possible for easier pulling (covering the joint with a few tight wraps of electrical tape will make it more streamlined).
- When pulling larger wire bundles, stagger the wires where attached to the snake, which both reduces the profile of the joint and makes it easier to pull around tight bends. Include and leave an extra pull string in place when pulling wire or coax to assist with future installations.
By Frank Lanier, Southern Boating January 2019