10 Must-Have Galley Tools
Ten tools that will make tasks in the galley ten times easier
You’ve bought a boat. Congratulations! Now your thoughts are spinning, and your mind quickly floods with all the other fun tasks to get your boat ready. For the person in charge of the galley, one of the most notable jobs is stocking it with these 10 Must-Have Galley Tools.
Whether you have a 30-foot sailboat or a 90-foot motor yacht, it’s important to “think like a boater” during this process and get your mind out of your home kitchen. The boat’s power source is much different and, in most cases, you won’t have much cupboard or counter space.
When going through this list of essential galley tools, we bypassed the presumed, such as your typical pots, pans, knives, forks, spoons, etc., and instead focused on the items you possibly didn’t consider. Some may seem obvious and some may seem like camping supplies, but they’ll save you time, help you avoid a critical faux pas, and make you look like you know what you’re doing. Here are the 10 Must-Have Galley Tools.
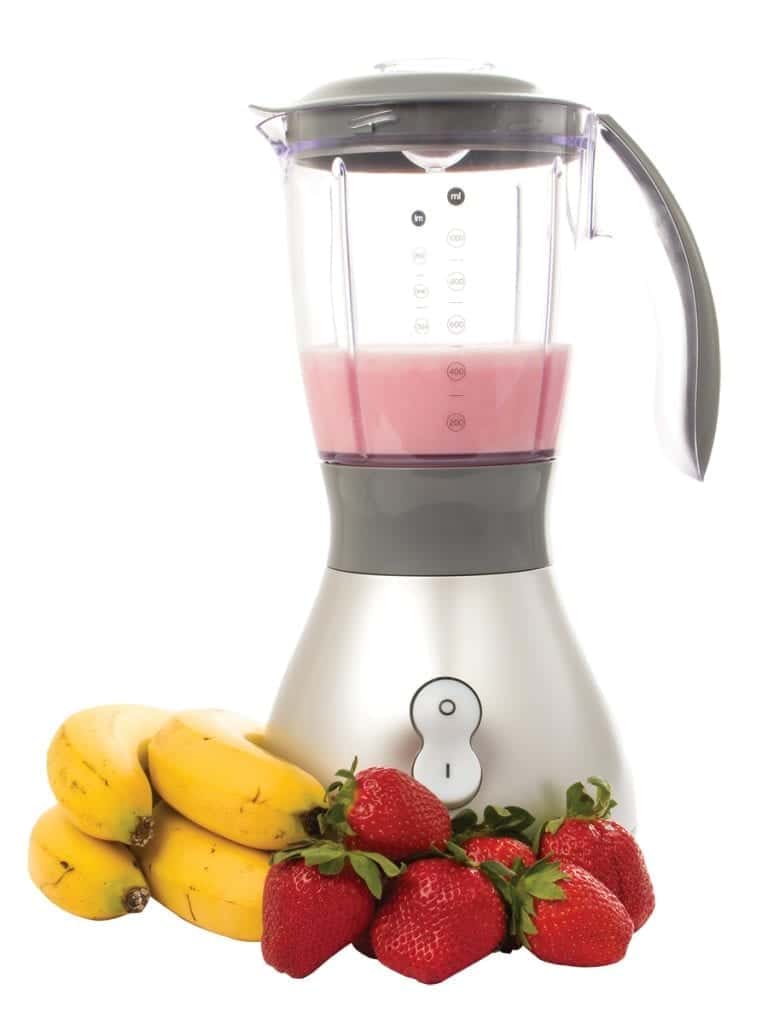
1. Blender

2. Pour-over coffee filter
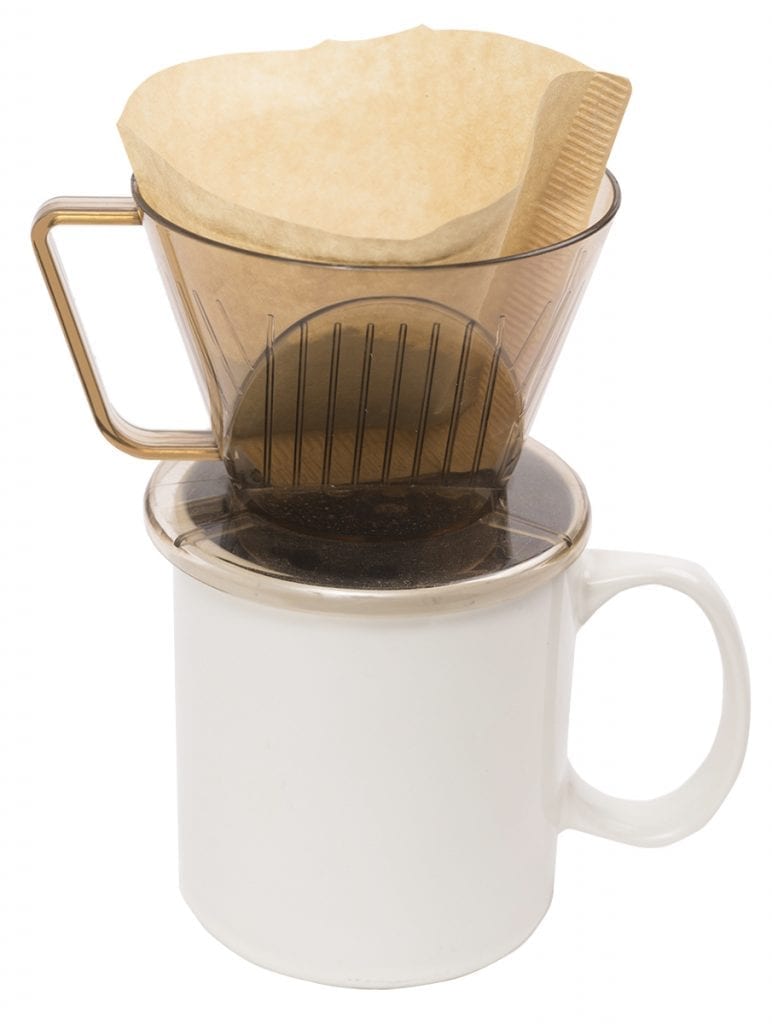
like having the electricity cut out. When that happens and people haven’t had their coffee, stress levels could infinitely rise. Avoid this and get one.

3. Airtight Containers
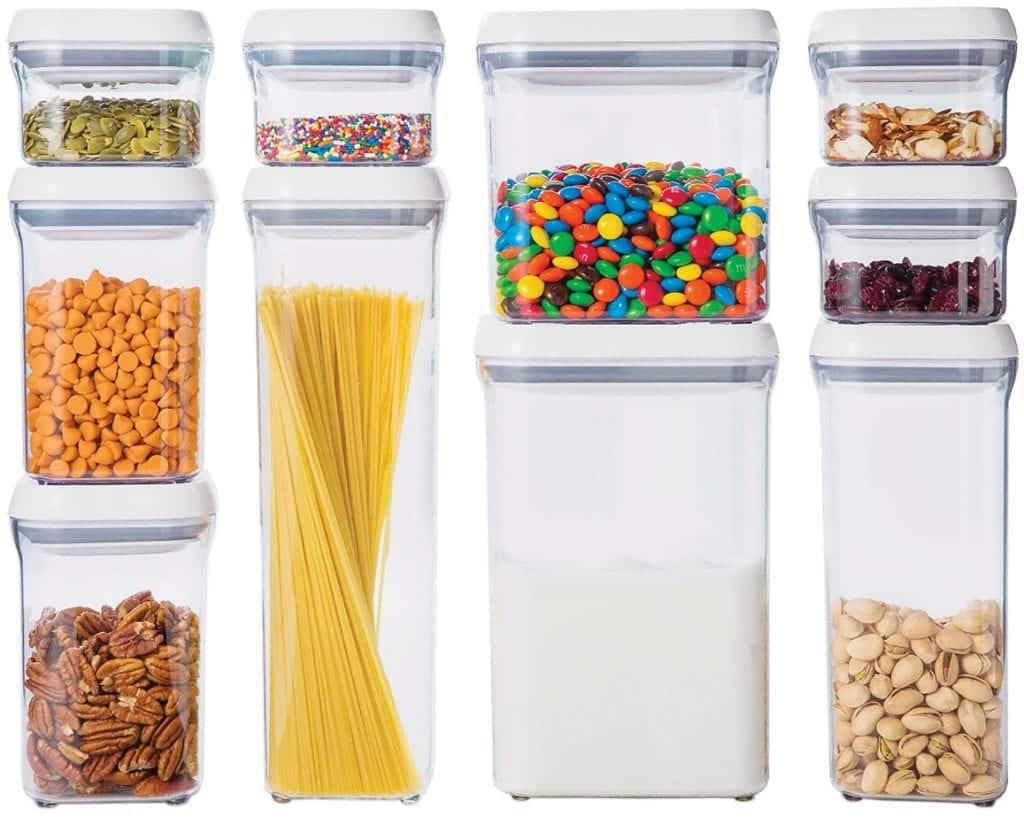

Step one: Put all rice, flour, cereal, and pasta products into the freezer for at least one hour before storing them in your cabinets. This kills any possible larva in your packaged foods. (Yes, hate to burst your bubble if you didn’t already know, but the FDA allows a certain percentage of bugs in all our food. Google it.)
Step two: Remove all cardboard. Never ever, ever, ever have cardboard on a boat. Roaches love to make condos out of cardboard, especially if it’s corrugated and think it’s a fun place to start a family.
Step three: Get those airtight containers. OXO food containers are airtight for freshness, heavy-duty to protect and remain sealed through a storm, and, most important, will keep your food off-limits to pesky, unwanted guests. As for the human guests, well, that takes a different approach.
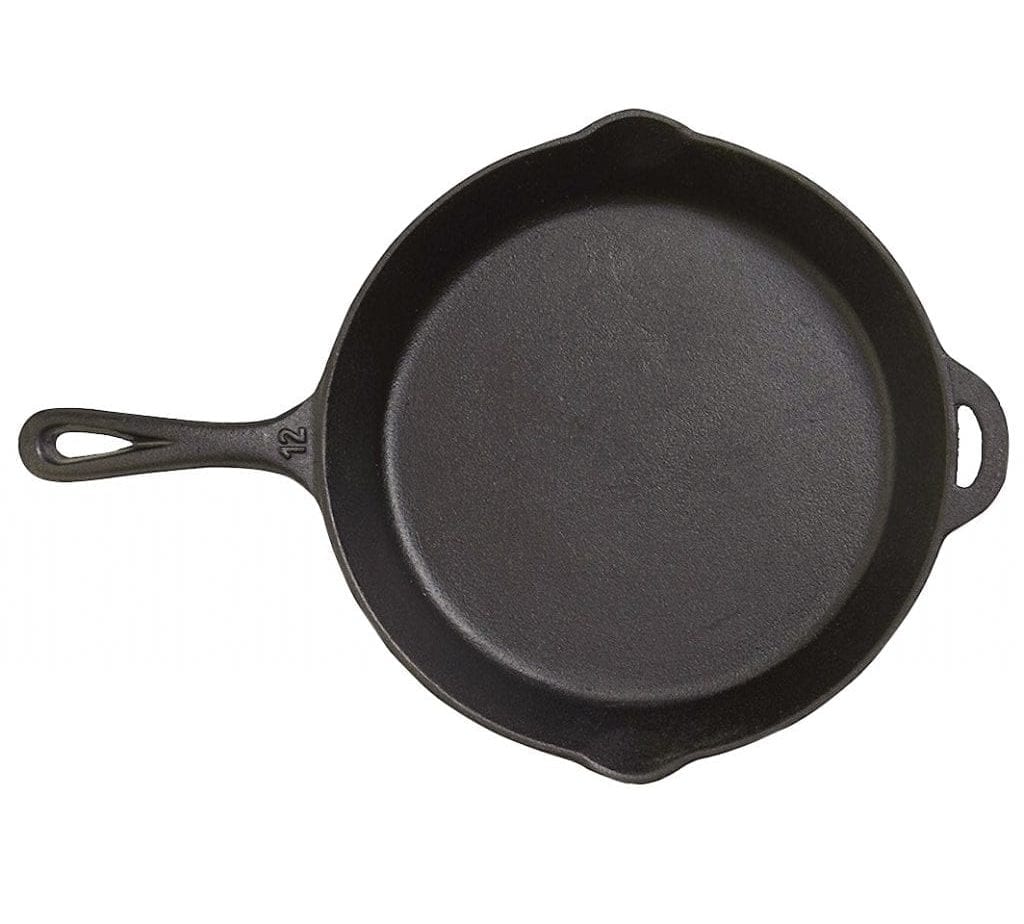
4. Cast-iron skillet

5. Handheld Can Opener
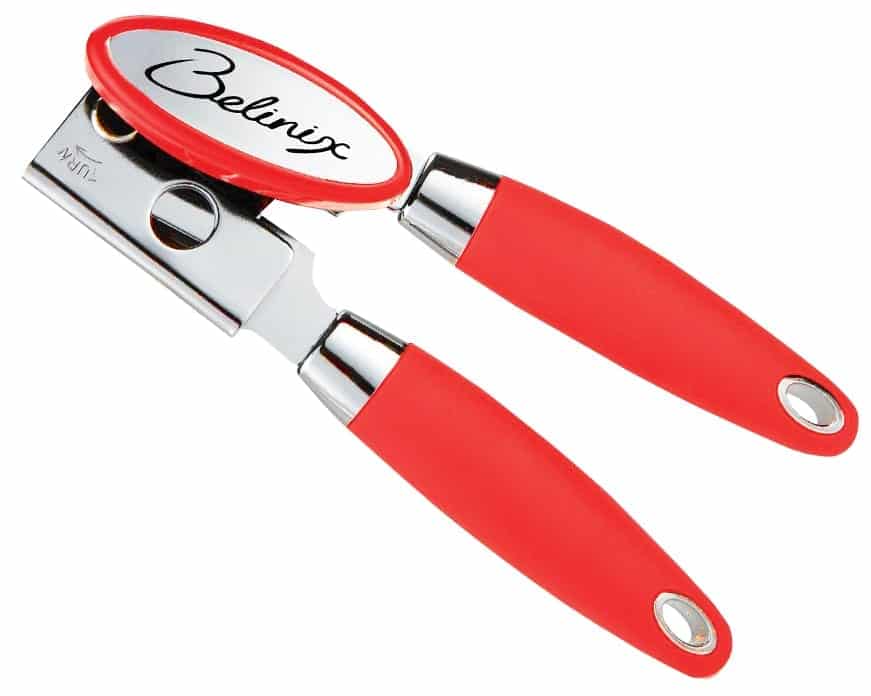

Yes, you will use your canned items regularly at times for certain recipes and need to open them, but in the event that you run out of food or you end up on a deserted island, it’s a good idea to have some canned goods. But they won’t do you any good if you can’t open them. I mean, have you ever seen the movie Adrift? Or any boat movie for that matter? Point made.
6. Mandoline
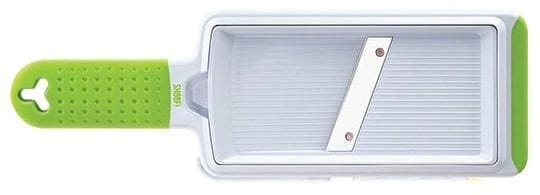

Onions, potatoes, tomatoes, and more are evenly sliced or julienned to make you look like an expert, all while saving time. Again, we emphasize small! You only need a handheld mandoline. It won’t take up any of your precious counter space.
Like these Top Ten Galley Tools? You’ll like our Top Ten Galley Upgrades.
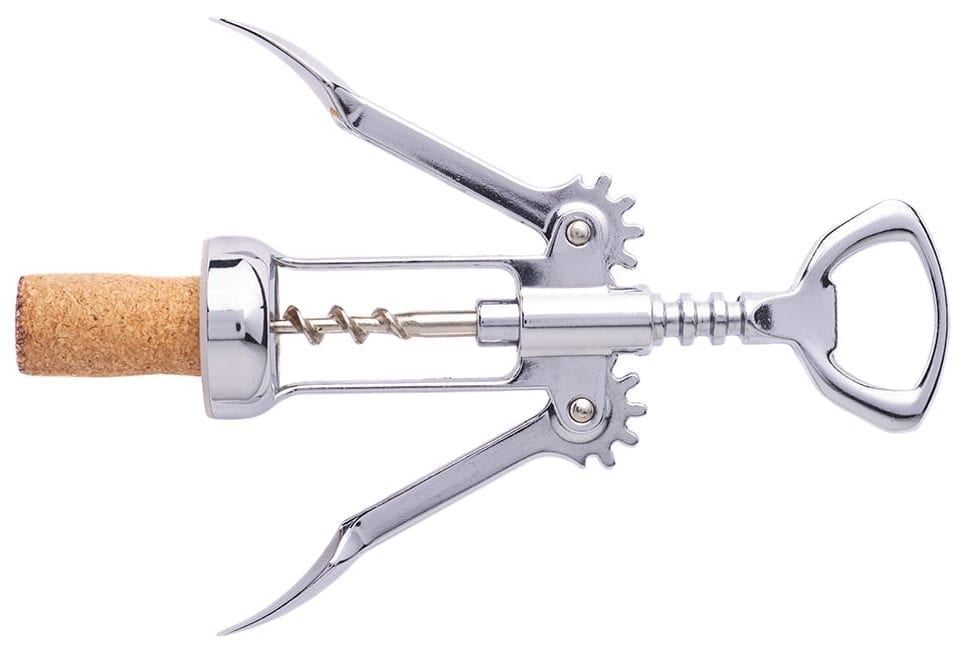
7. Extra Wine Key

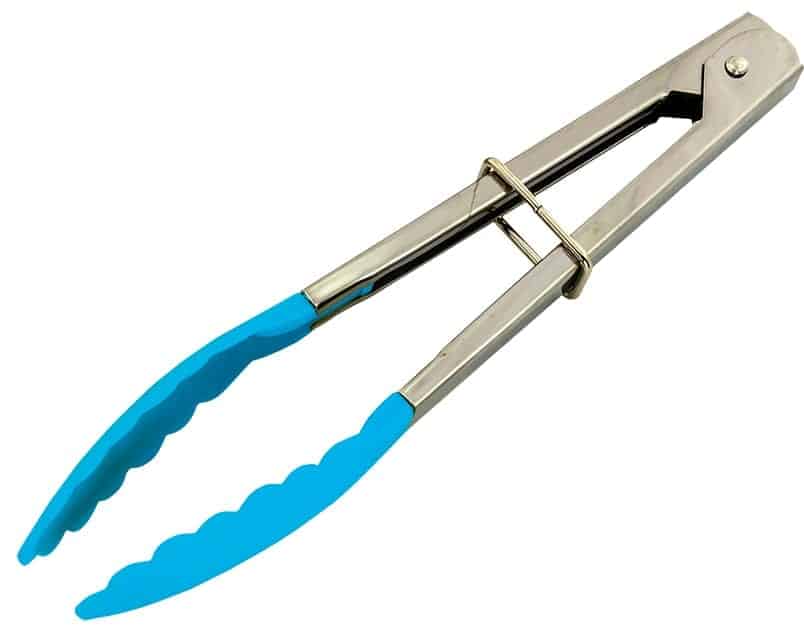
8. Tongs

9. A good gas barbecue


10. Mini food processor


Ask the Chef about their 10 Must-Have Galley Tools
If you’re not the chef, it’s crucial to ask what he or she might need to make the
creating process run smoothly. If you are the chef, bring the tools you like to cook
with so you’re comfortable. All chefs have their own little quirks and their own
way of doing things. They like to use certain recipes and might have different
techniques learned from their master chefs and grandmothers.
Food is an art; give the chef, aka the artist, the proper tools, aka For the person in charge of the galley, one of the most notable jobs is stocking it with these 10 Must-Have Galley Tools. to make the best creations. You’ve invested in the perfect yacht, so don’t try to cut corners on the galley—this is the place that makes your yachting experience extraordinary.
Always remember, dolphins do not deliver and until they do, you’ll have to get your
supplies on land and prepare for your voyage in advance…before you leave the dock.
Plan your meals, put a snapshot in your mind of the things you’ll need, and pay no attention to the person in the aisle who’s glaring as you take extra time at the grocery store to carefully choose what you need while out at sea. It’ll make for another enjoyable day on the boat.
By Blair Barbour and Darcy Whitney, Southern Boating August 2019