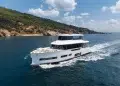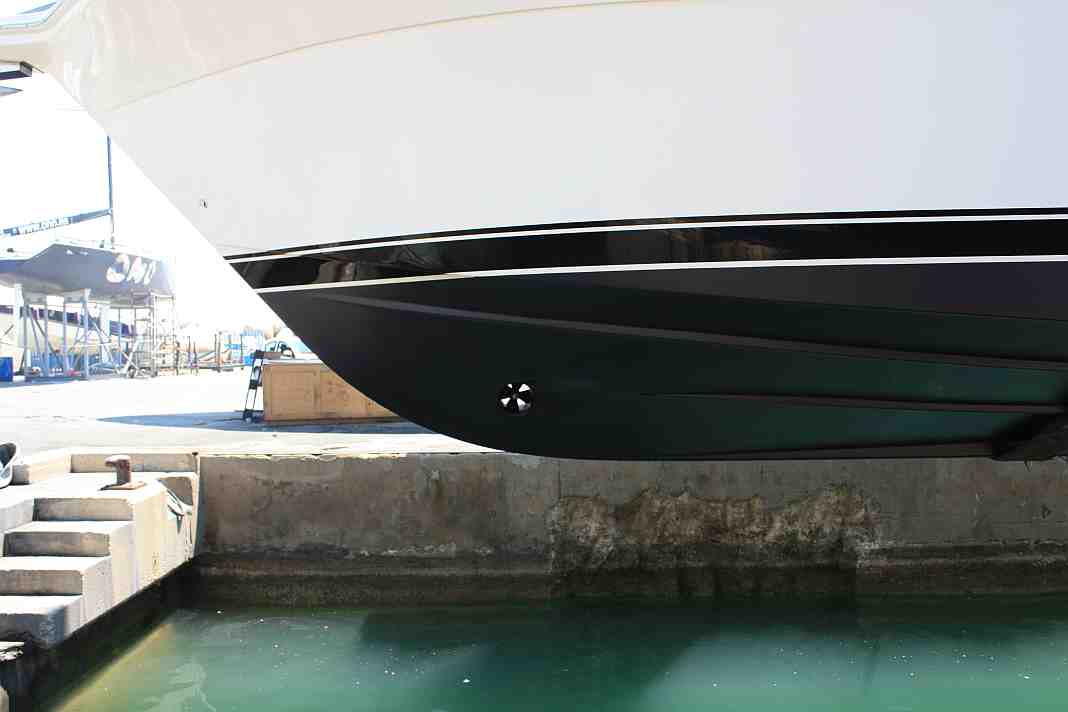
Bow Thruster Maintenance
Proper bow thruster maintenance will ensure the best performance from your bow thruster Bow thrusters are part of what I ...
Proper bow thruster maintenance will ensure the best performance from your bow thruster Bow thrusters are part of what I ...
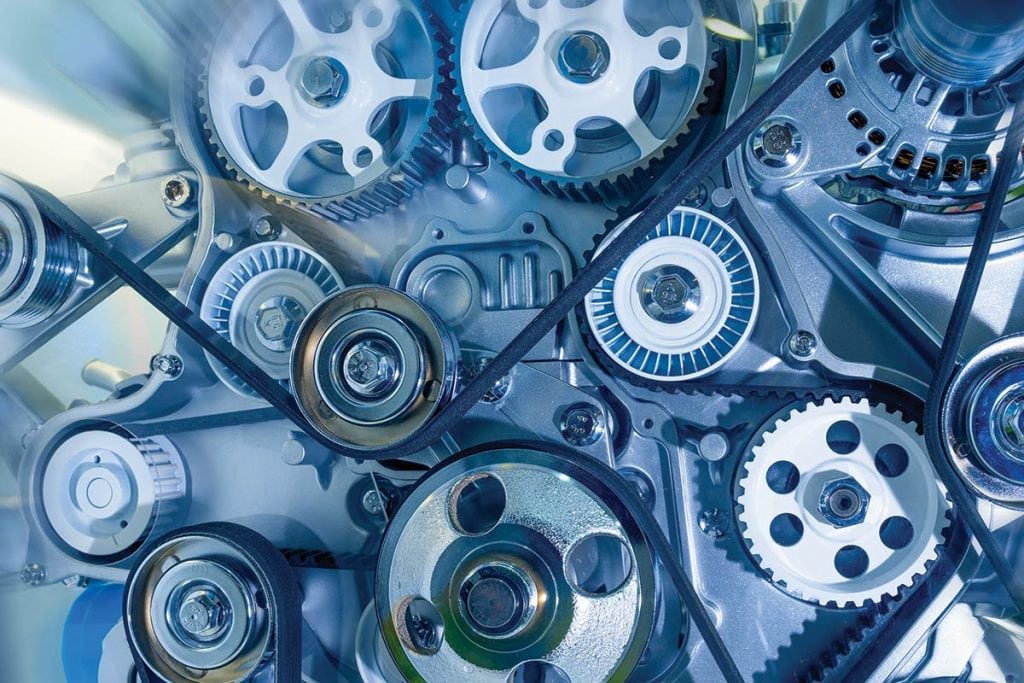
Fix Engine Issues I heard it first. Accustomed to the sound my diesel engines make when running properly, I could ...


1591 E. Atlantic Blvd, 2nd Floor
Pompano Beach, FL 33060
Office: +1 (954) 522-5515
Contact us: info@southernboating.com