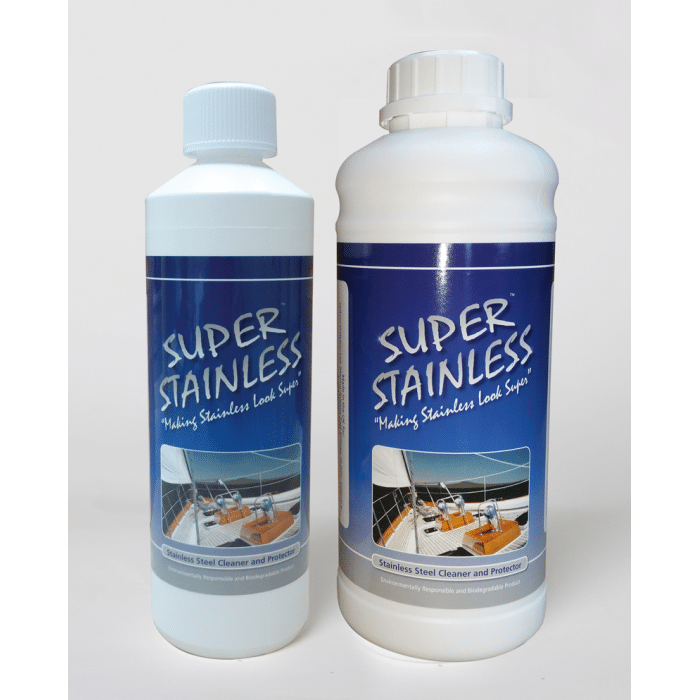
Tides Marine’s Stainless Cleaner
Tides Marine's Super Stainless cleaner offers simple removal of unsightly rust or staining from stainless steel. The simple brush-on, rinse-off ...
Tides Marine's Super Stainless cleaner offers simple removal of unsightly rust or staining from stainless steel. The simple brush-on, rinse-off ...
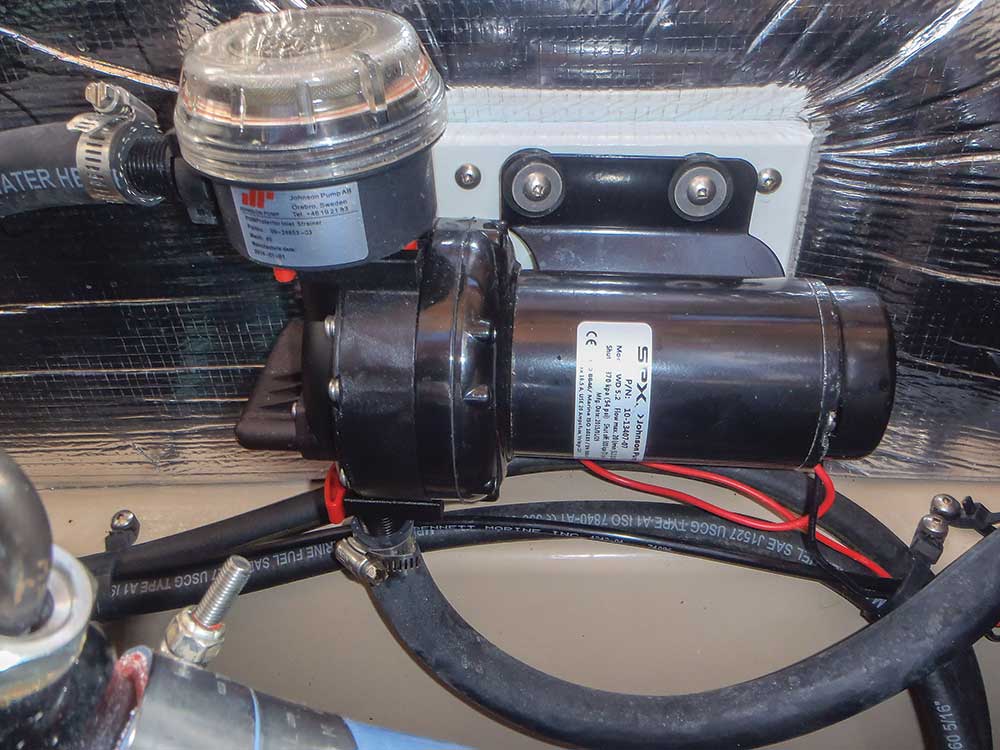
Add a deck washdown system for a squeaky clean boat. As a marine surveyor I’ve often wondered why many boat ...
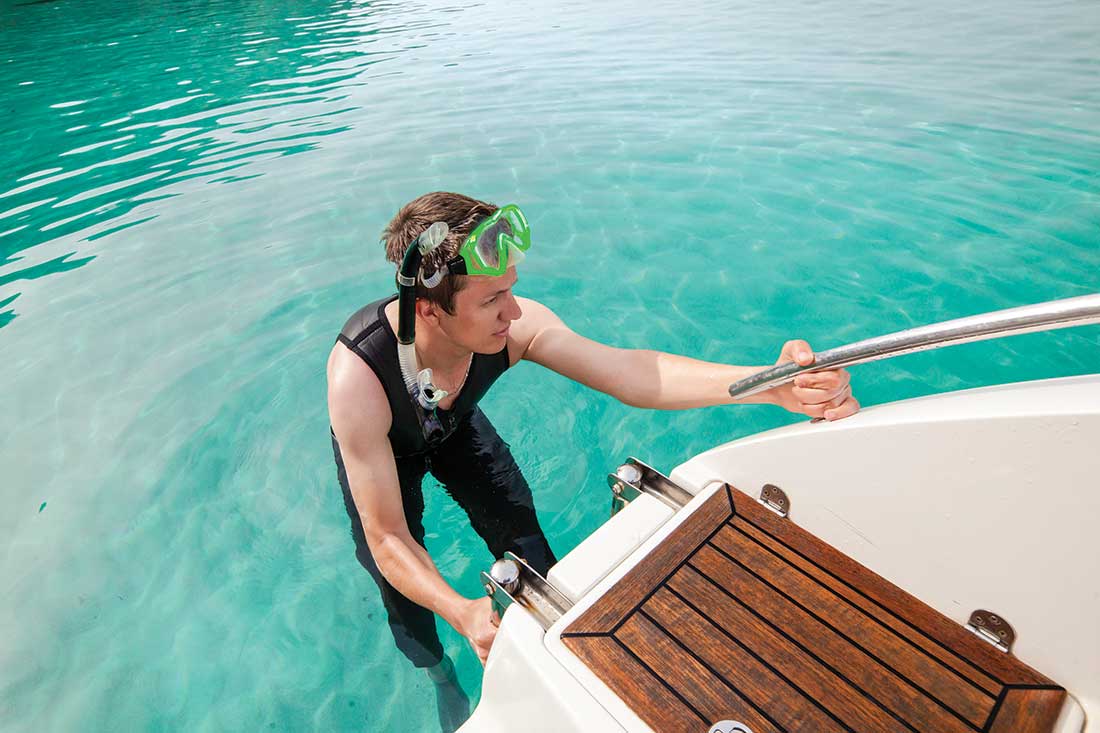
Installing a boarding ladder? If you're an avid cruiser, you'll need one! Spend time at any yacht club tiki bar ...
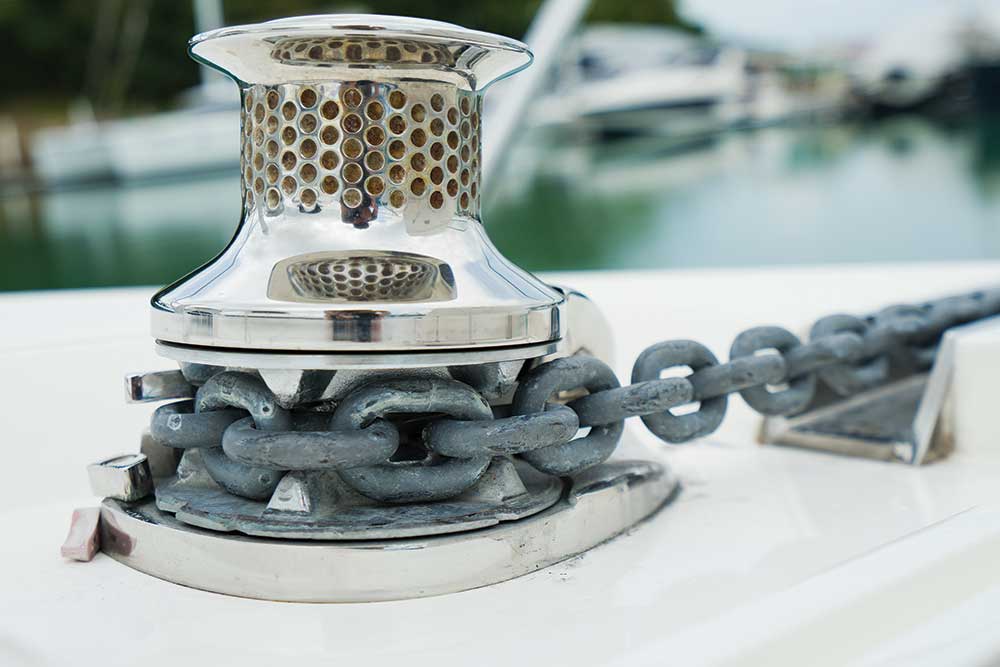
Heavy-duty lifting is this marine powerhouse’s job. Dropping anchor in a beautiful cove is often the goal of cruisers, who ...


1591 E. Atlantic Blvd, 2nd Floor
Pompano Beach, FL 33060
Office: +1 (954) 522-5515
Contact us: info@southernboating.com