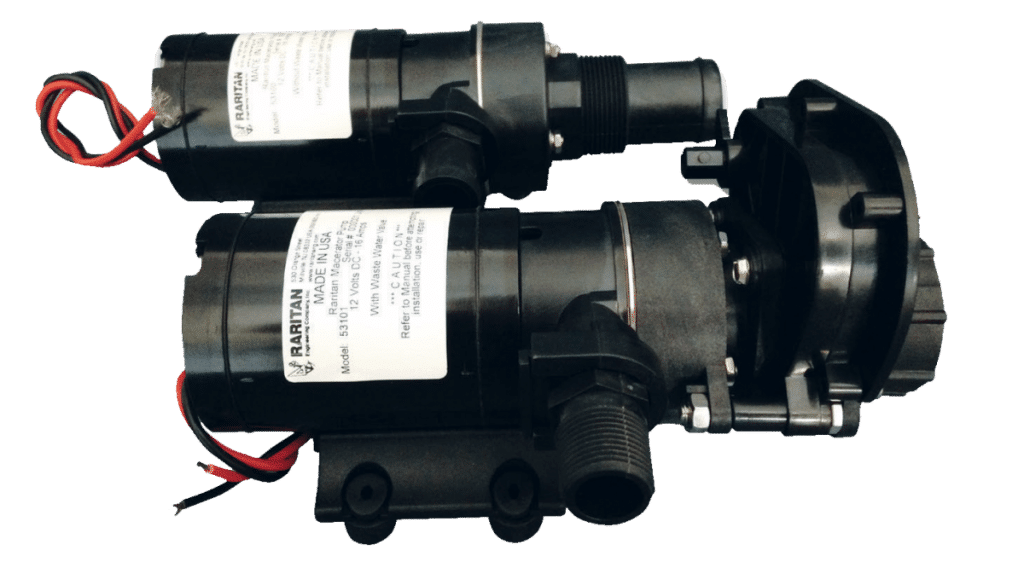
Rartian Engineering’s Macerator Pump
Rartian Engineering's Macerator Pump with Waste Valve makes marine sanitation service quick and easy. This technical innovation, recently awarded a U.S. patent, has ...
Rartian Engineering's Macerator Pump with Waste Valve makes marine sanitation service quick and easy. This technical innovation, recently awarded a U.S. patent, has ...
How to install soundproofing for quieter cruising For most, boats are a way to escape the rat race of terrestrial ...
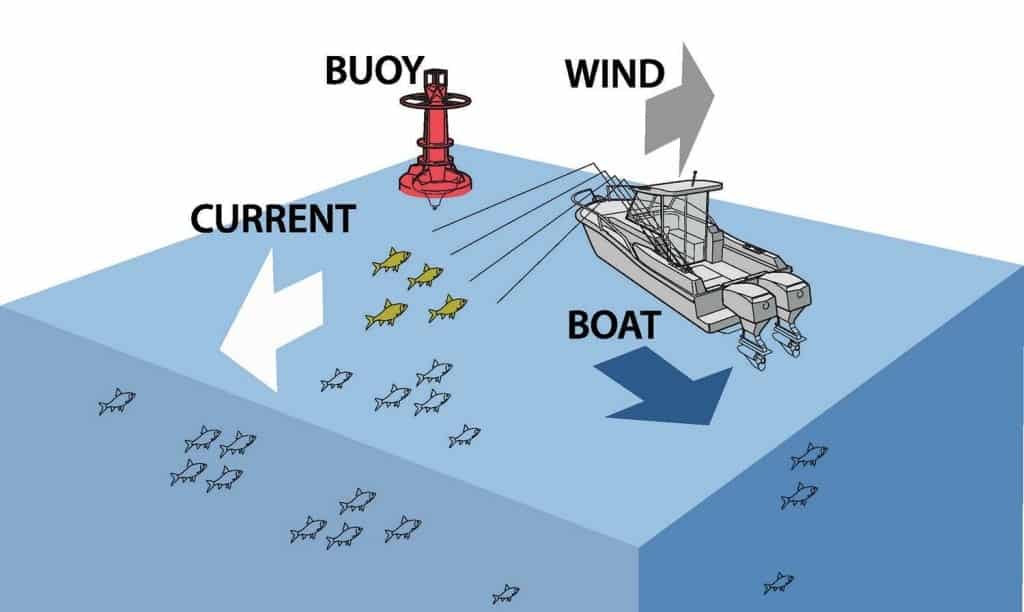
New technology can keep your outboard-powered boat stationary with safety and angling benefits. Sportfishing is a hit-or-miss proposition—you drop a ...
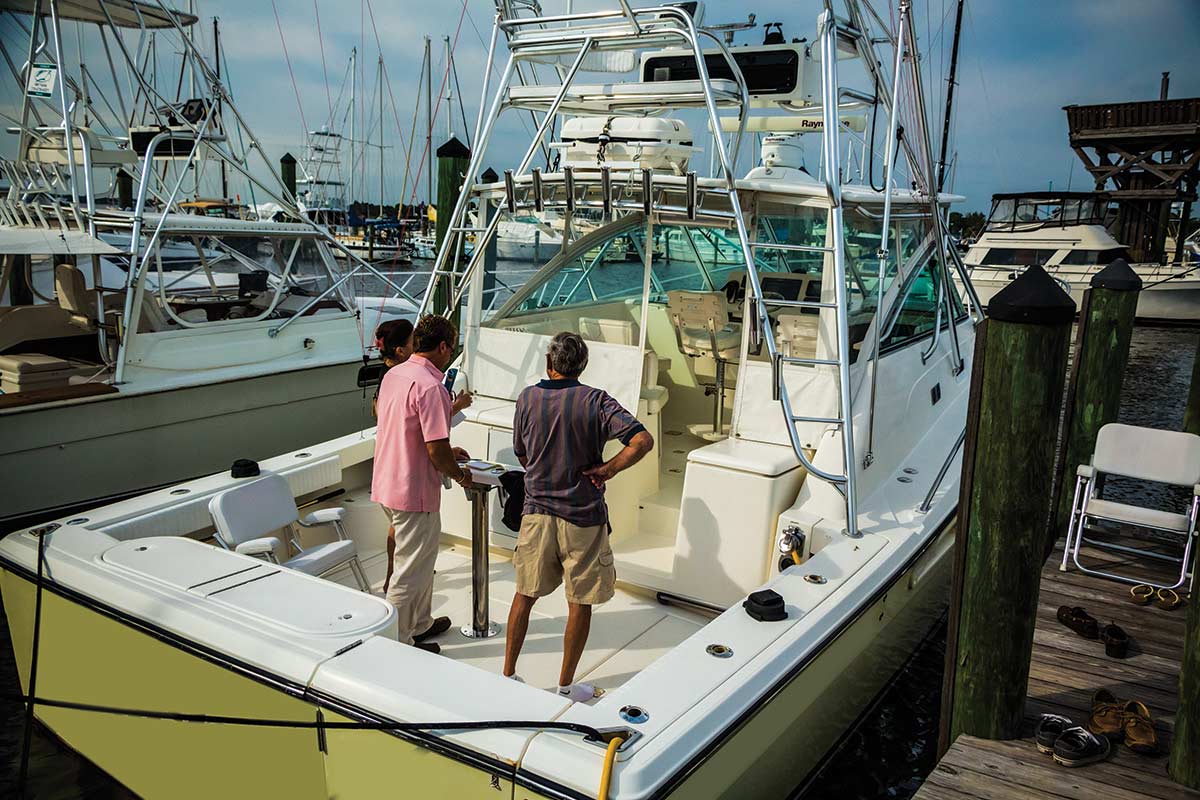
A marine surveyor offers advice based on more than 35 years of experience. There’s a reason why sales of pre-owned boats ...
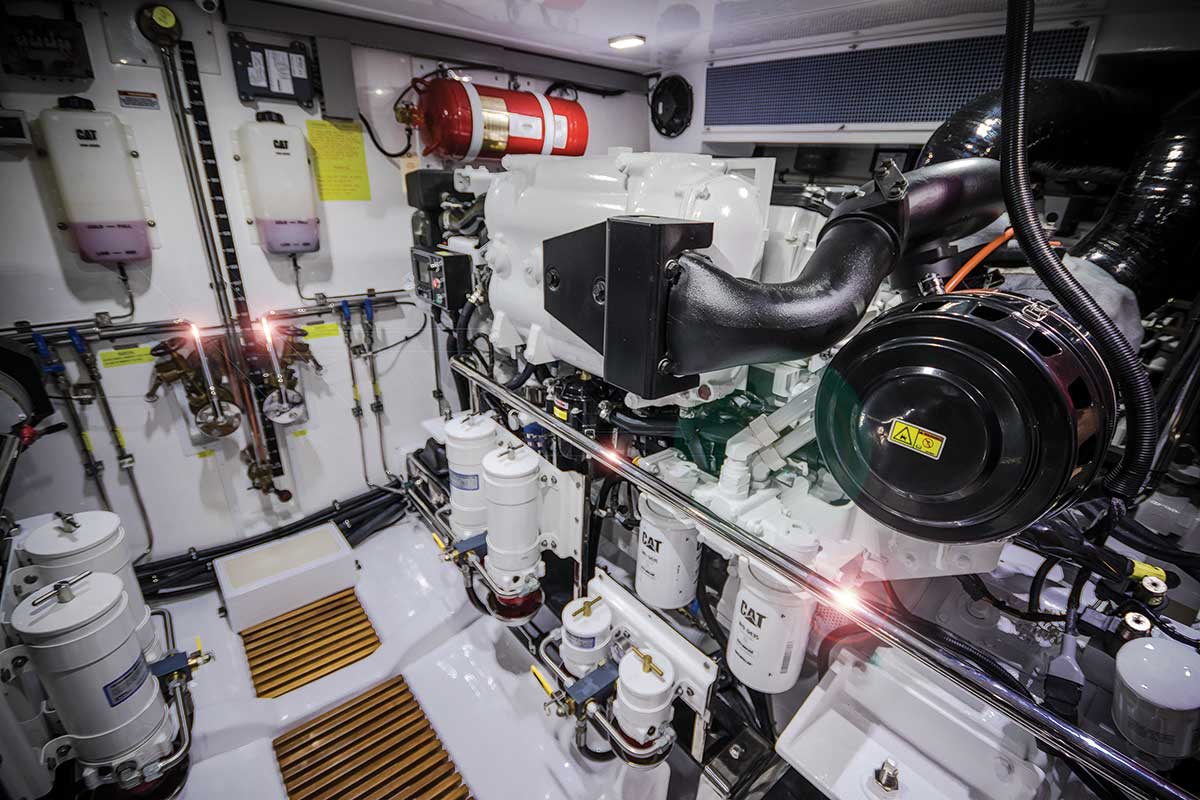
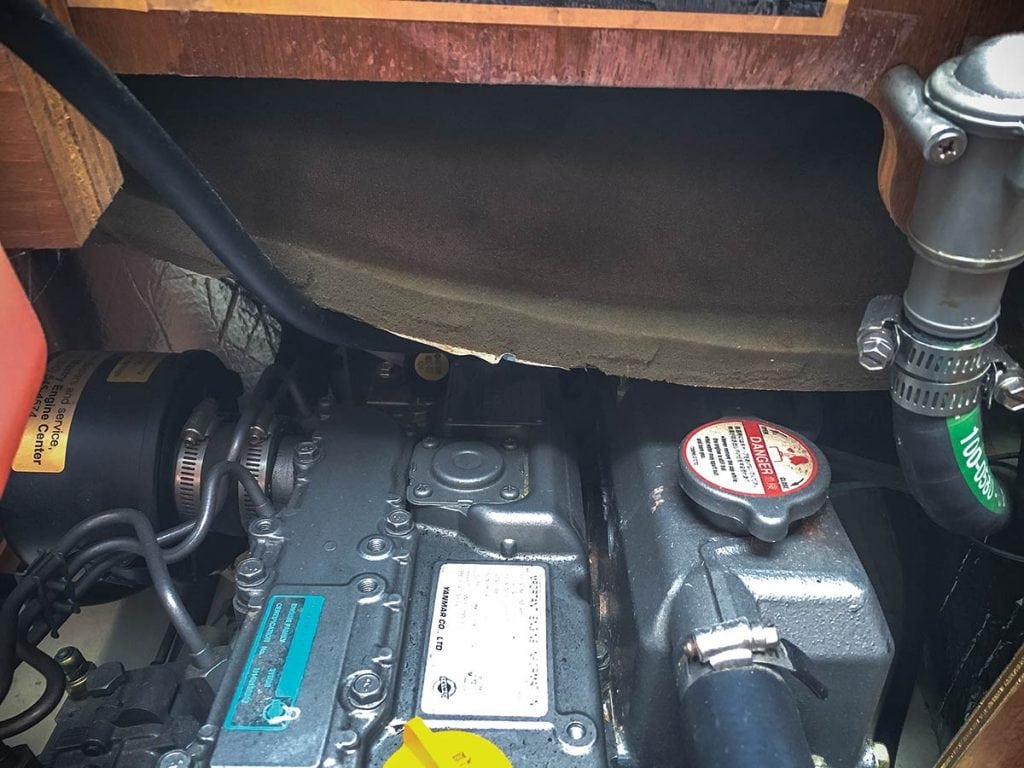
Spring cleaning your engine room has long-term benefits. A dirty engine room is like dirty fingernails; it says a lot ...
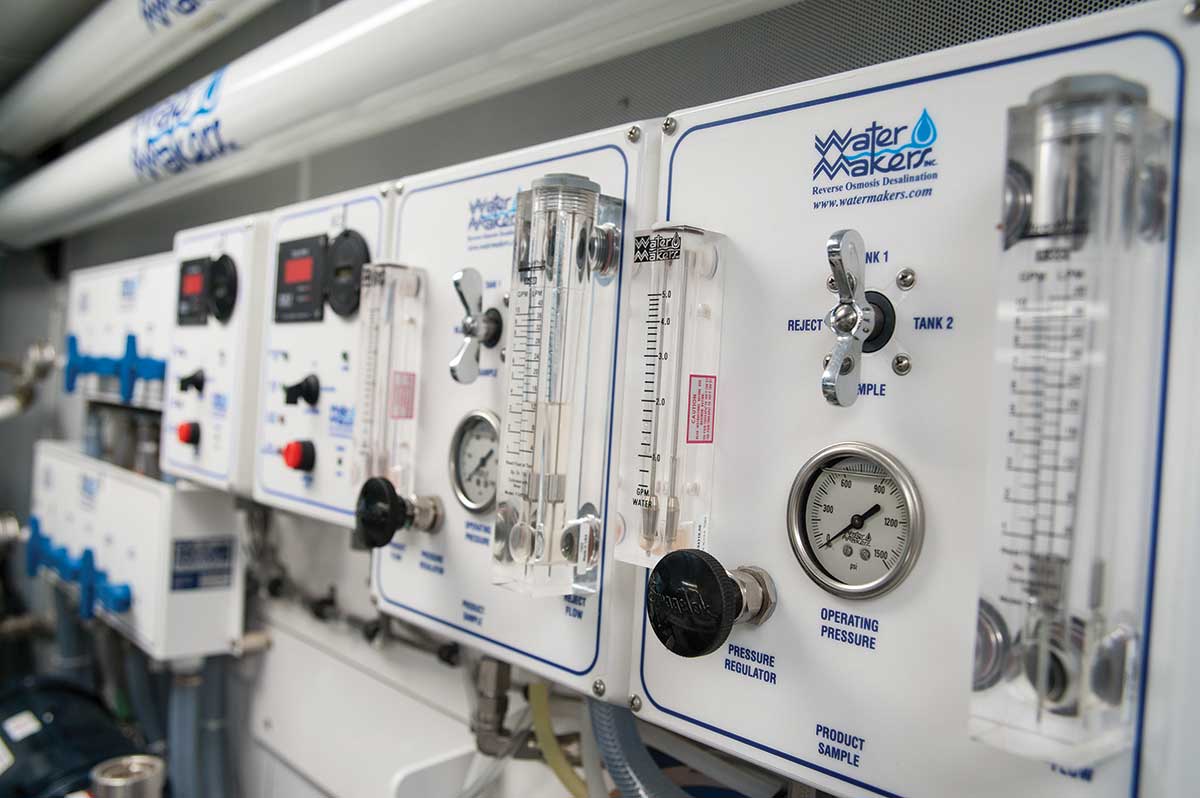
“Water, water, everywhere, and all the boards did shrink. Water, water, everywhere, nor any drop to drink.” I can’t read ...
It doesn’t matter if you are a seasoned captain or a boating newbie—safety is paramount. A prudent mariner knows that ...


1591 E. Atlantic Blvd, 2nd Floor
Pompano Beach, FL 33060
Office: +1 (954) 522-5515
Contact us: info@southernboating.com