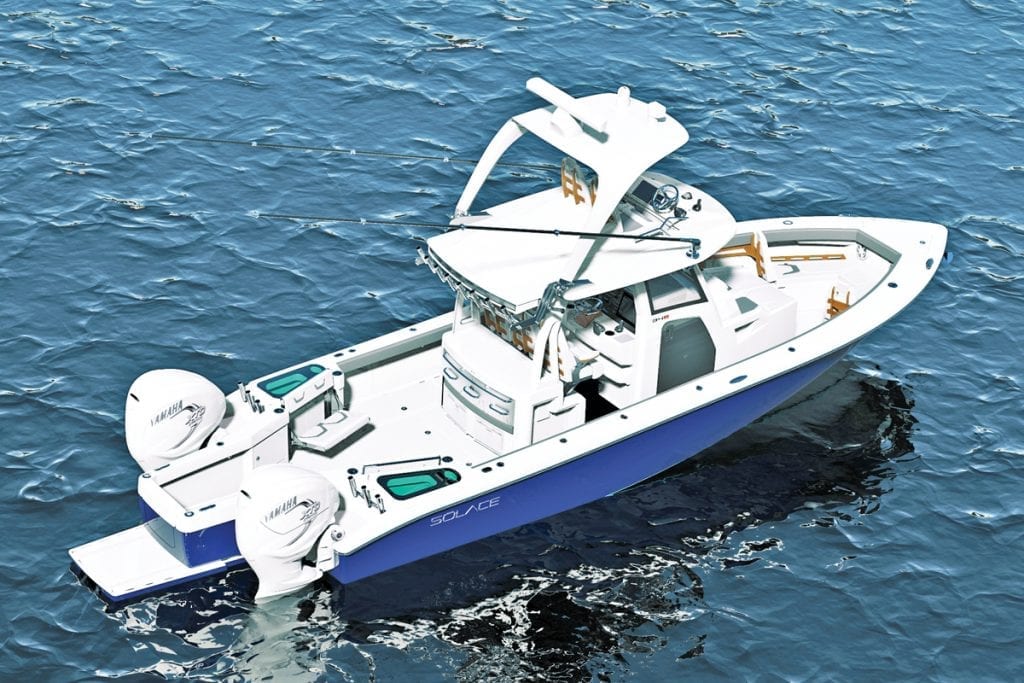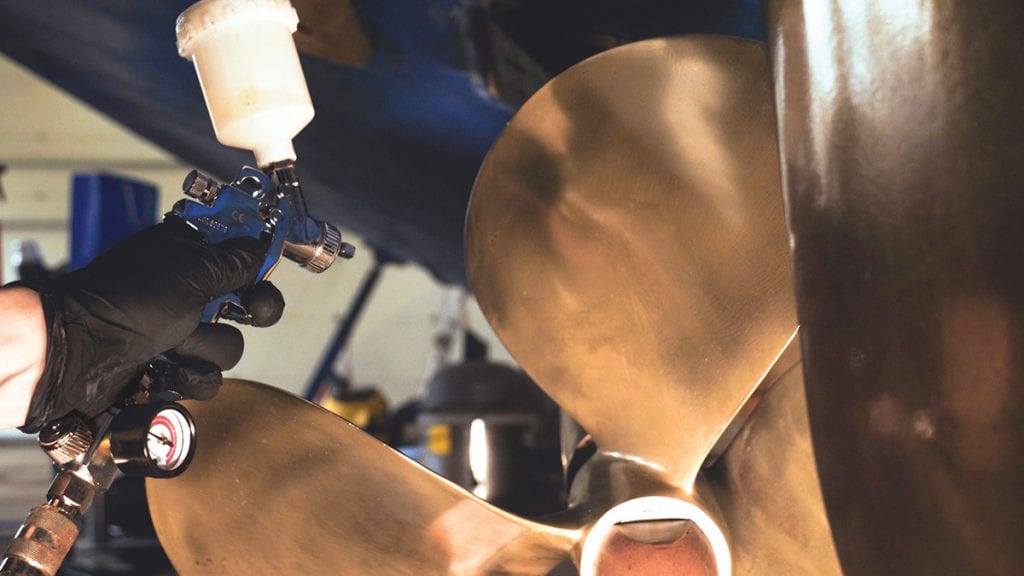
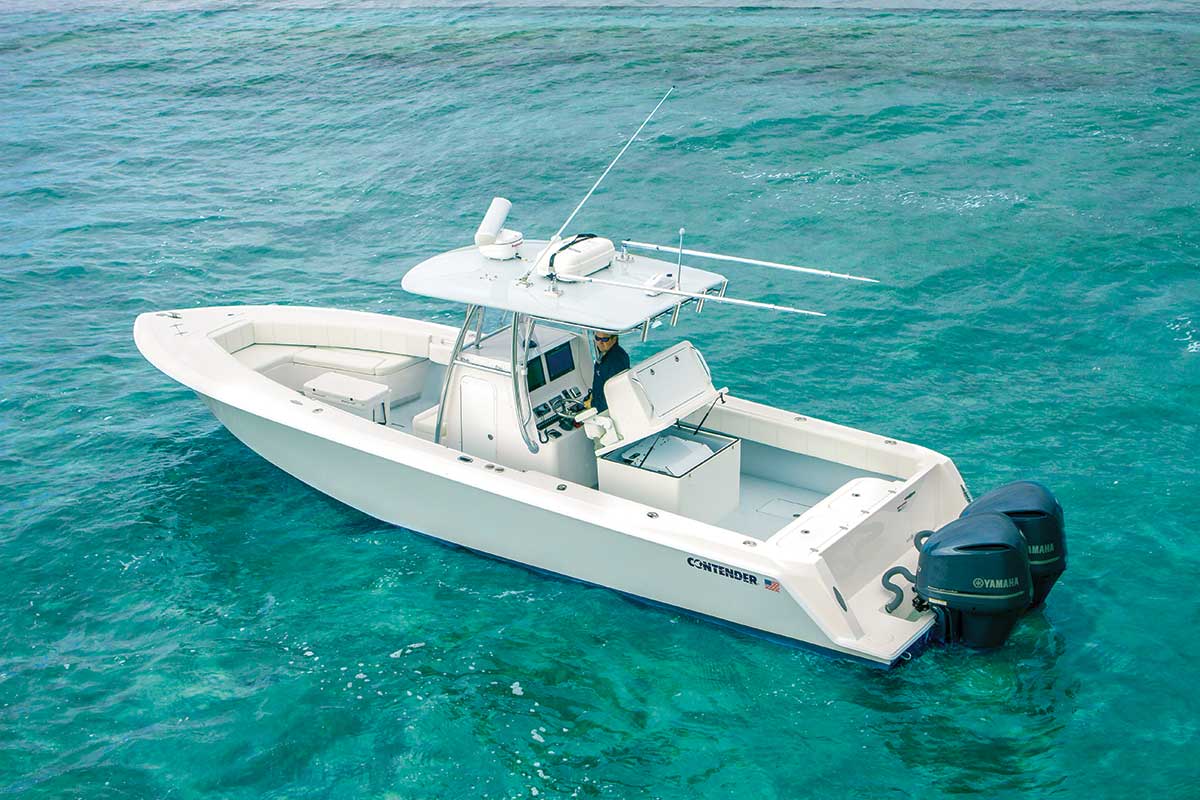
How To Improve Your Prop Performance
How To Improve Your Prop Performance Check other factors before you blame the prop. Here's how to improve your prop ...
How To Improve Your Prop Performance Check other factors before you blame the prop. Here's how to improve your prop ...

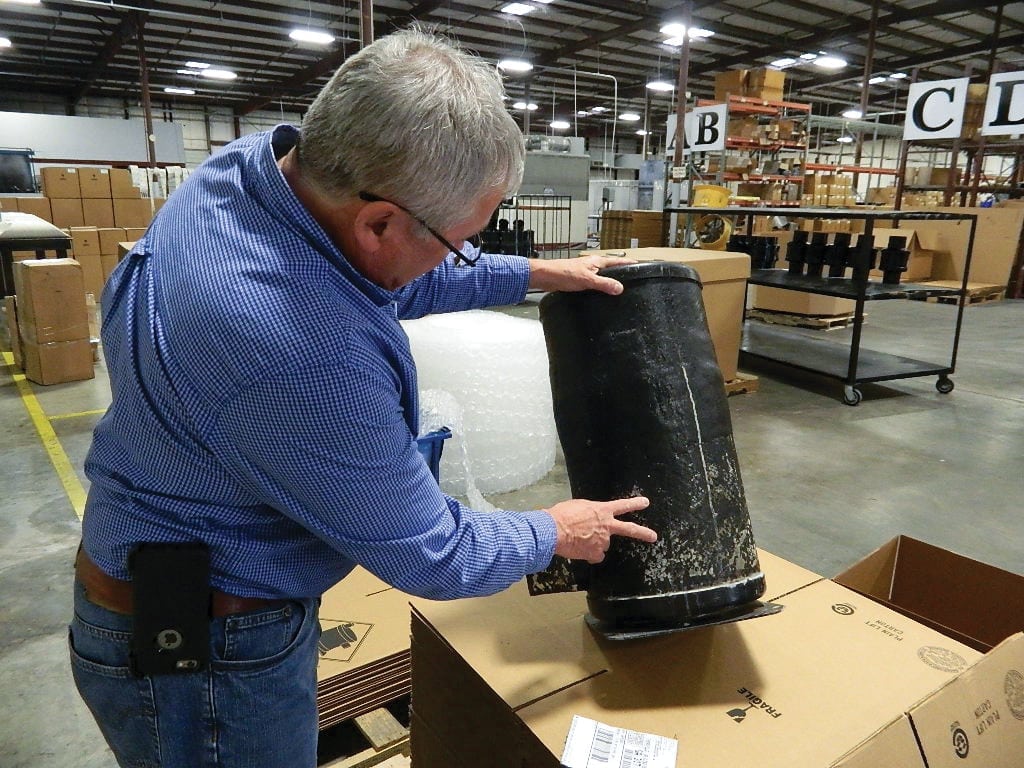
A Southern Boating Magazine Supplement: Annual Haul Out Guide Our annual haul out guide has everything you need to know ...
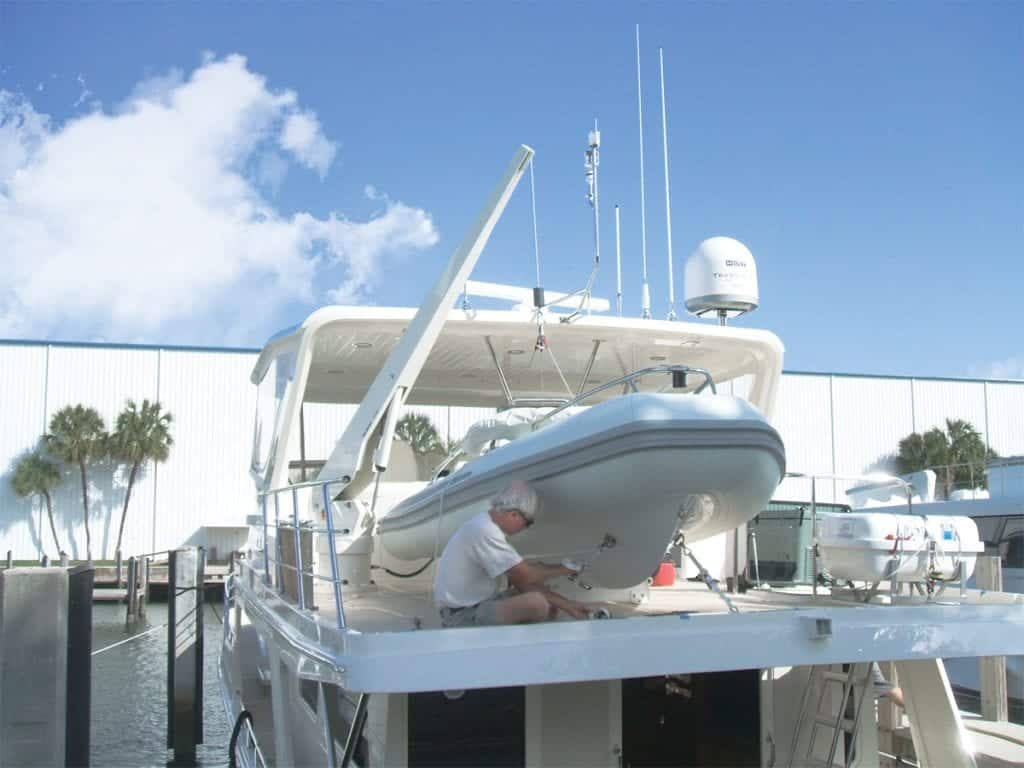
Keep your lift in tip-top shape with some davit maintenance Davits work on boats without fanfare. Akin to heads and air ...
Time for a maintenance check. Don’t skip these oft-forgotten items There’s a lot of terrestrial-based wisdom that just doesn’t ring ...
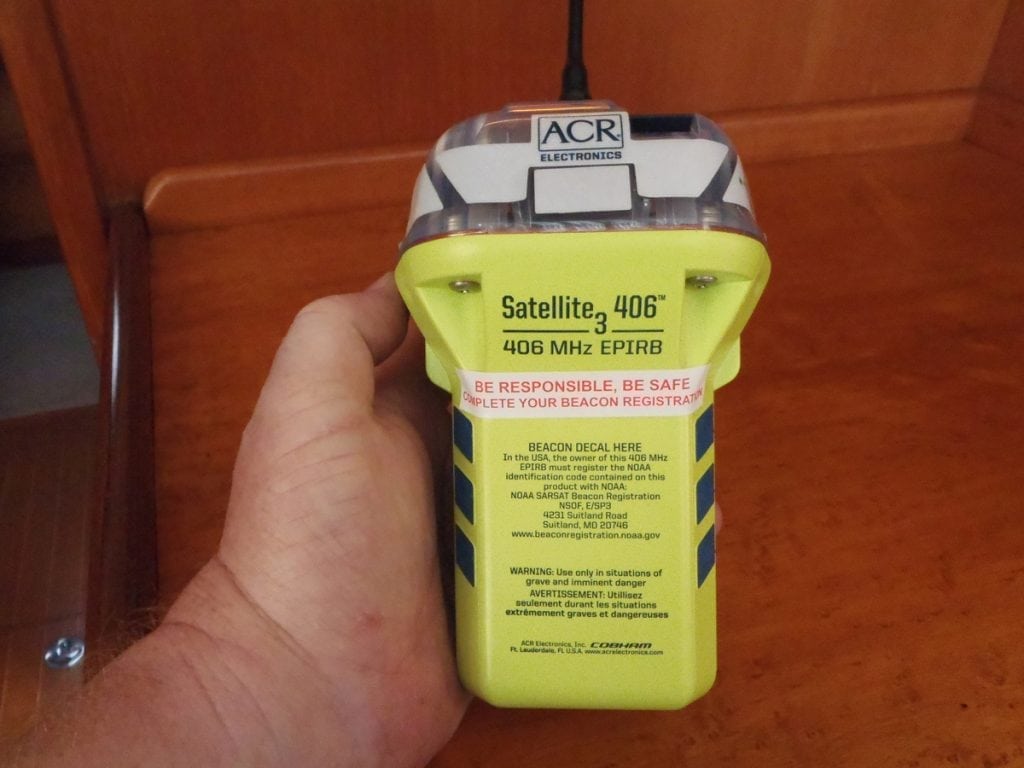
The only thing worse than not having crucial safety gear on board is to have it fail when needed. So ...
Before the heat of summer sets in, make sure your boat engine’s cooling and exhaust system will stay cool. After ...
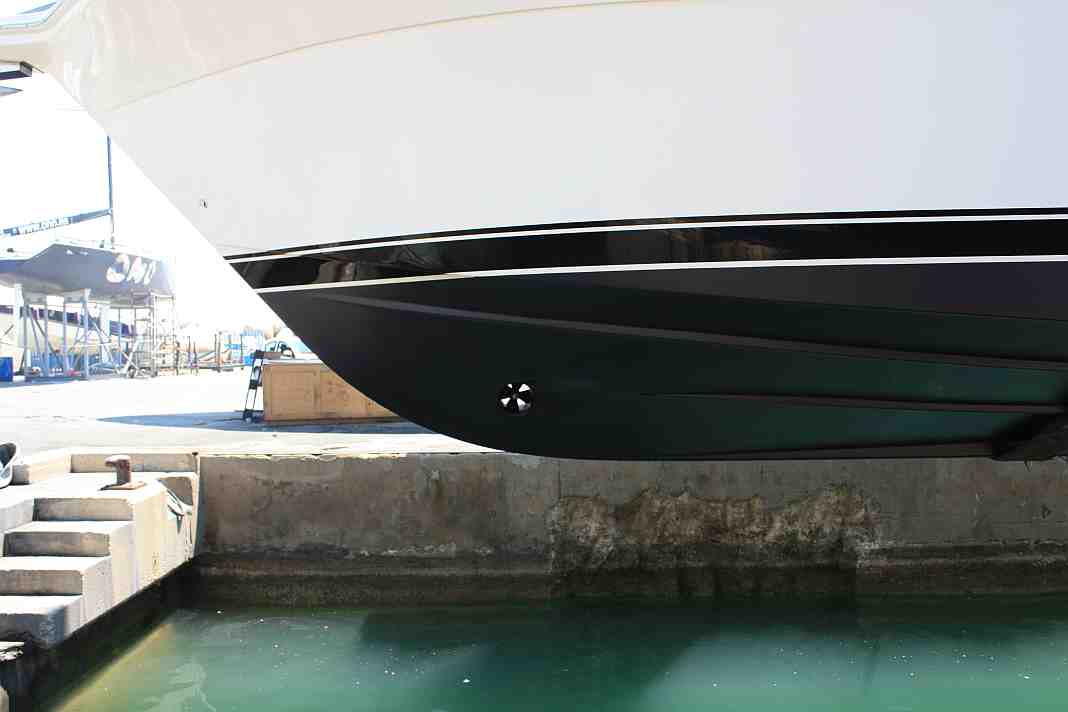
Proper bow thruster maintenance will ensure the best performance from your bow thruster Bow thrusters are part of what I ...
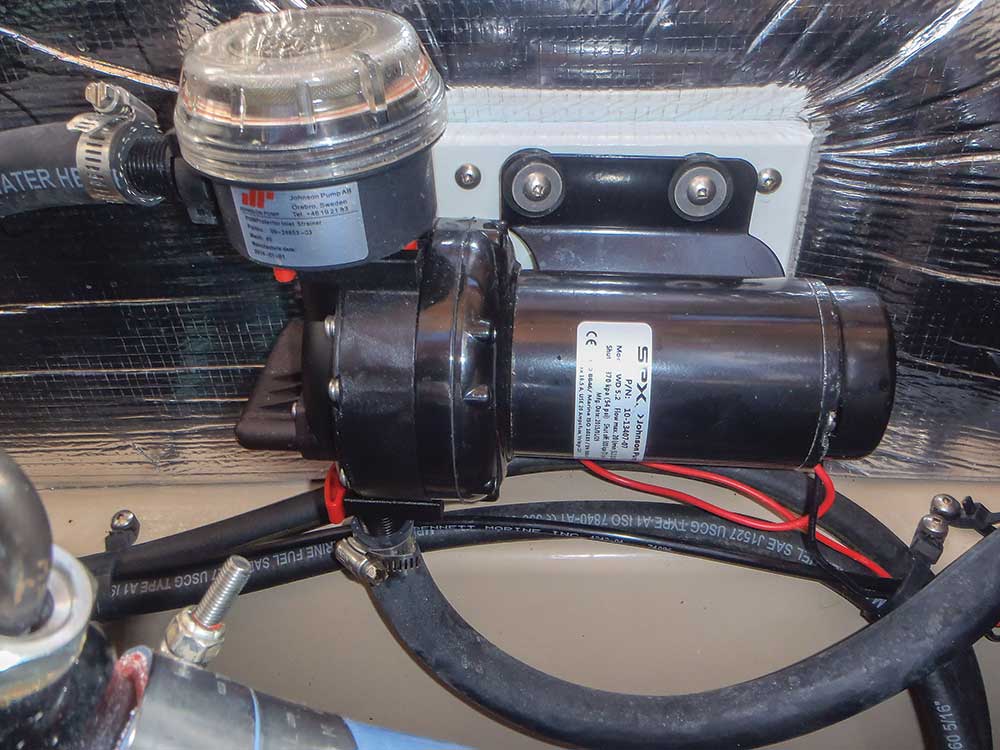
Add a deck washdown system for a squeaky clean boat. As a marine surveyor I’ve often wondered why many boat ...
The new Seakeeper 3 gyro system offers stability previously only available to boats 40 feet and up. It still surprises ...
Fix Engine Issues I heard it first. Accustomed to the sound my diesel engines make when running properly, I could ...
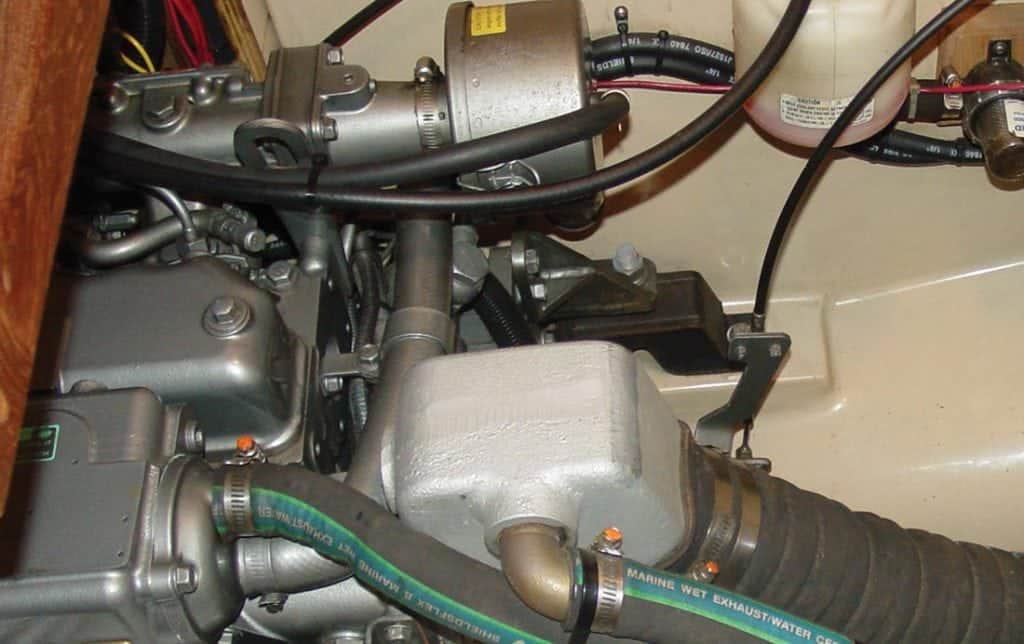
Marine exhaust systems for inboard engines can be divided into two basic types—dry and wet exhausts. Dry exhaust systems have ...

Clear the air after months of layup when marine sanitation systems and air-conditioning ducts may be filled with stale, foul ...
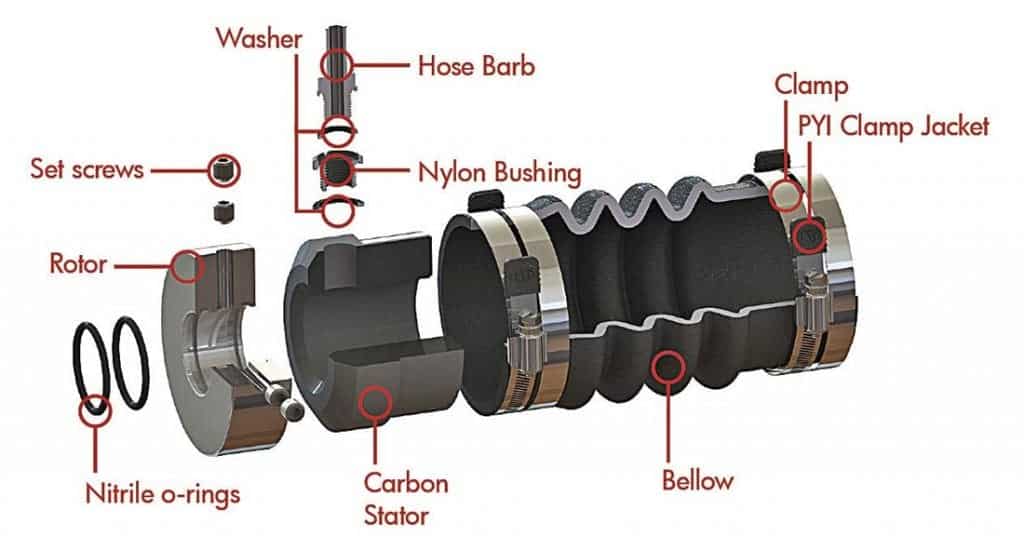
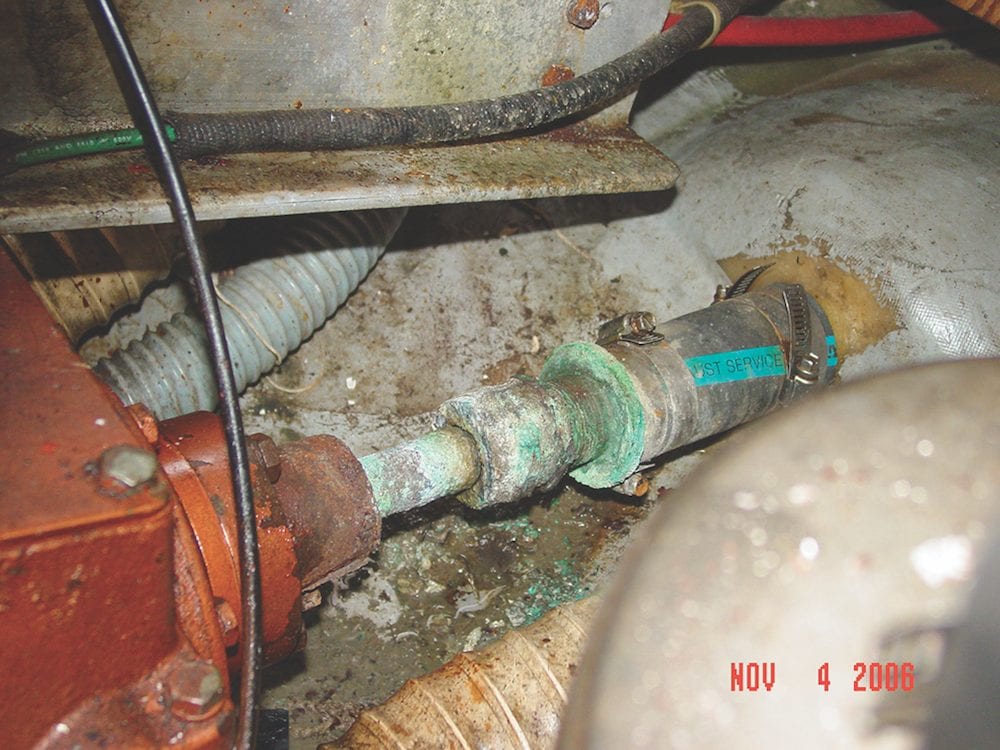
Shaft seal maintenance should be part of your boat's regular check-up. Ever since the first prop was connected to the ...
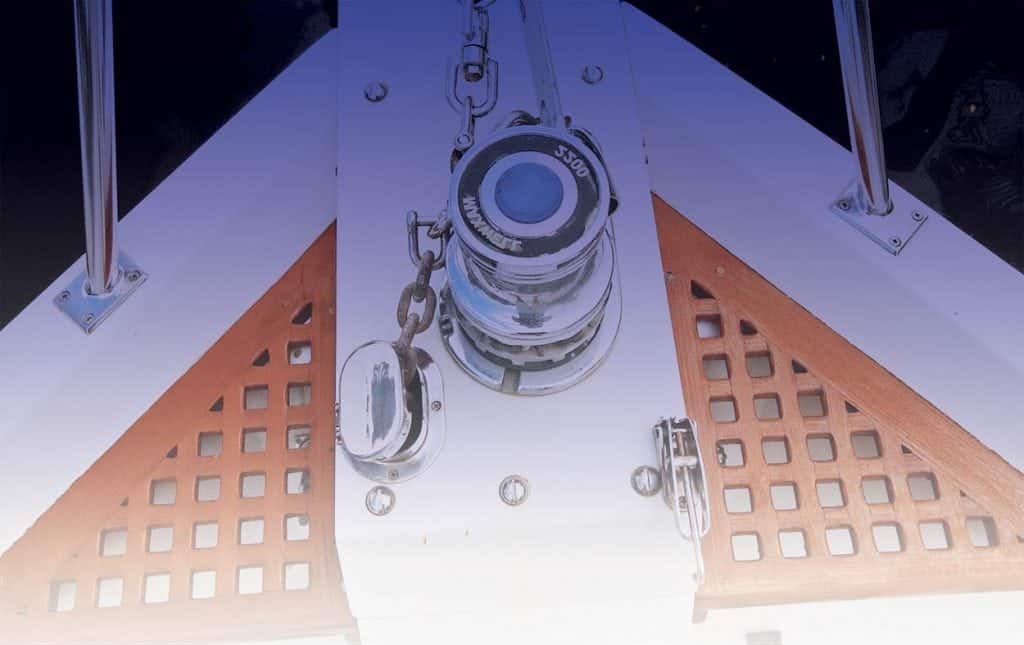
Windlass Wellness


1591 E. Atlantic Blvd, 2nd Floor
Pompano Beach, FL 33060
Office: +1 (954) 522-5515
Contact us: info@southernboating.com