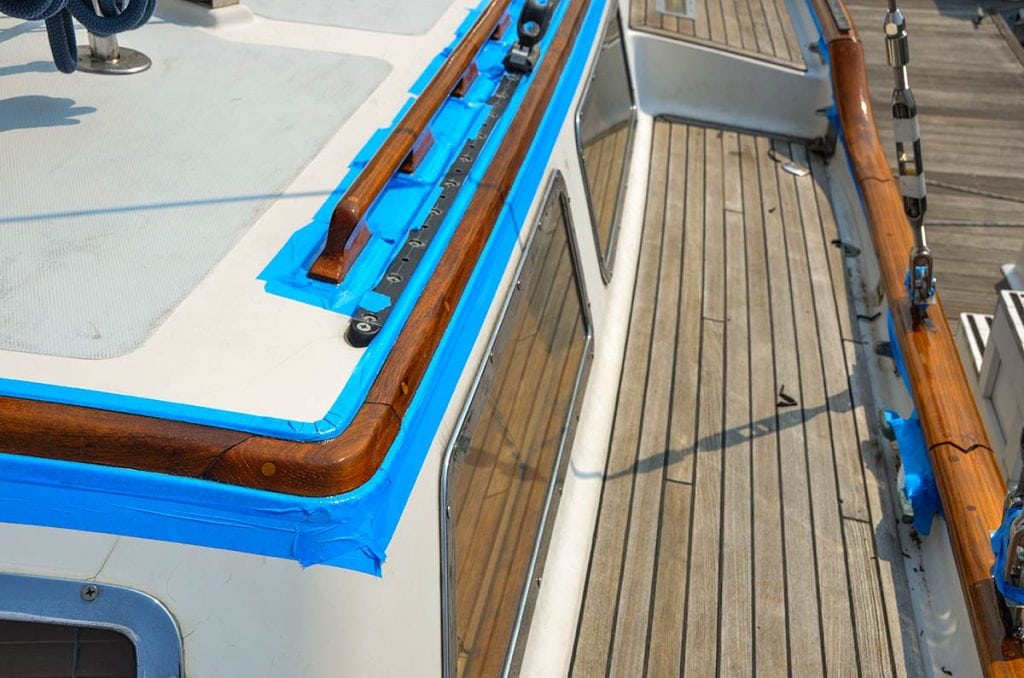
The Damaged Wood Factor
Repair cracked varnish with wood damage. Repairing a varnished surface that has been a bit compromised and damaged the wood ...
Repair cracked varnish with wood damage. Repairing a varnished surface that has been a bit compromised and damaged the wood ...
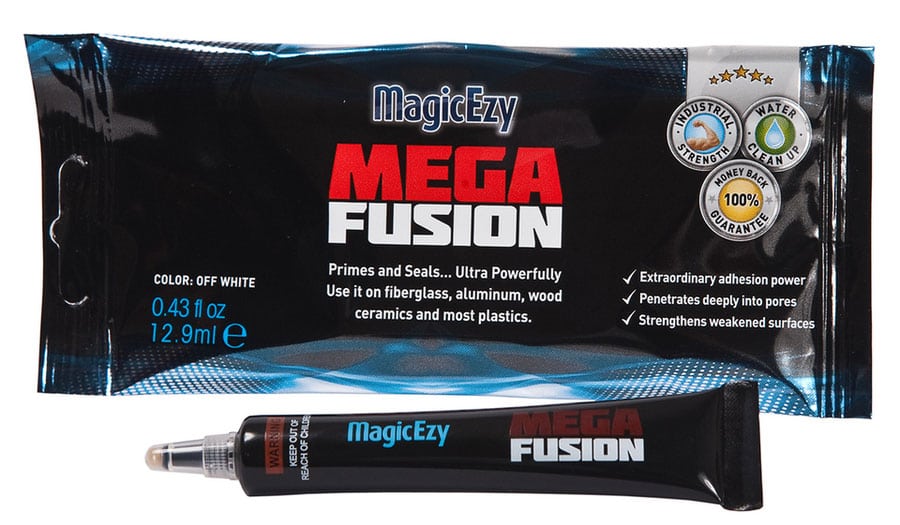
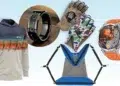
MagicEzy Mega Fusion makes repairs to plastic or aluminum surfaces on your boat, prime them first to maximize adhesion and ...
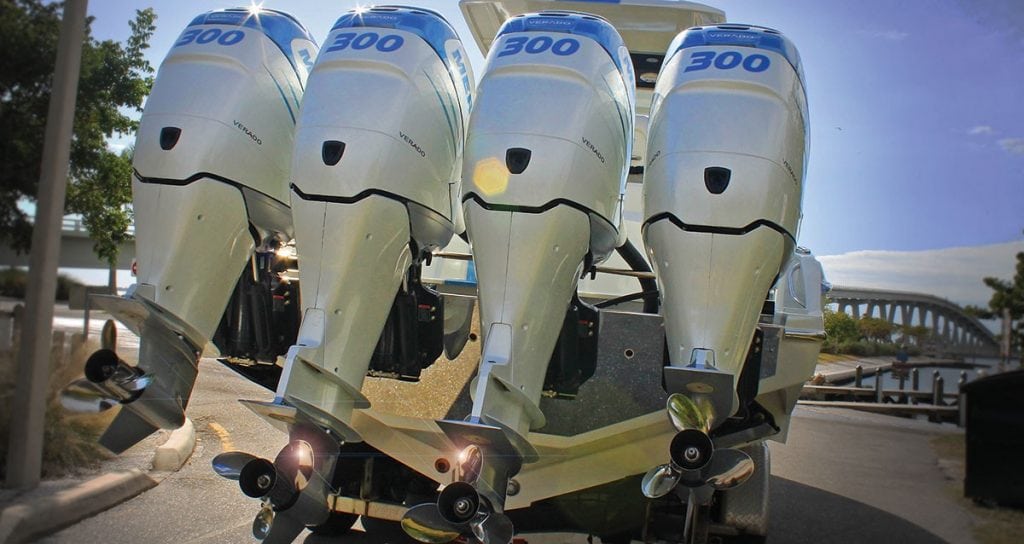
Did your outboard go underwater? Follow these tips to fix a submerged ouboard engine. You'll can fix your dunked outboard, ...
MagicEzy Mega Fusion makes repairs to plastic or aluminum surfaces on your boat look brand new. There’s no fiberglass prep ...
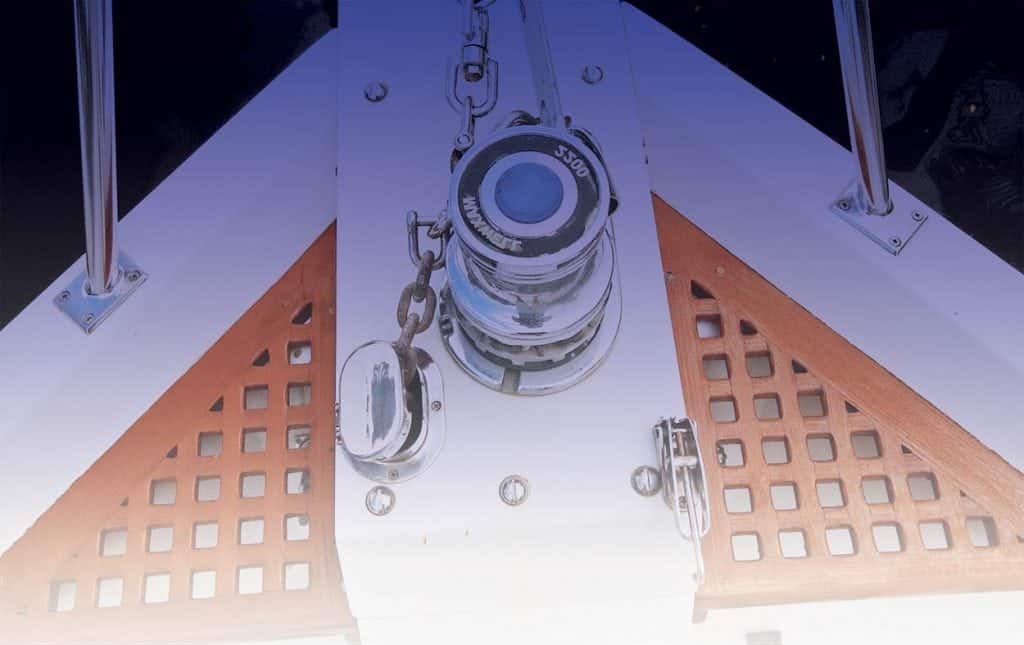
Windlass Wellness
1591 E. Atlantic Blvd, 2nd Floor
Pompano Beach, FL 33060
Office: +1 (954) 522-5515
Contact us: info@southernboating.com