
Maintenance
Boats require a rigorous maintenance routine. Keeping up with boat maintenance is critical to improving performance and preventing repairs. We have expert information on maintaining and repairing everything from heads to hulls.
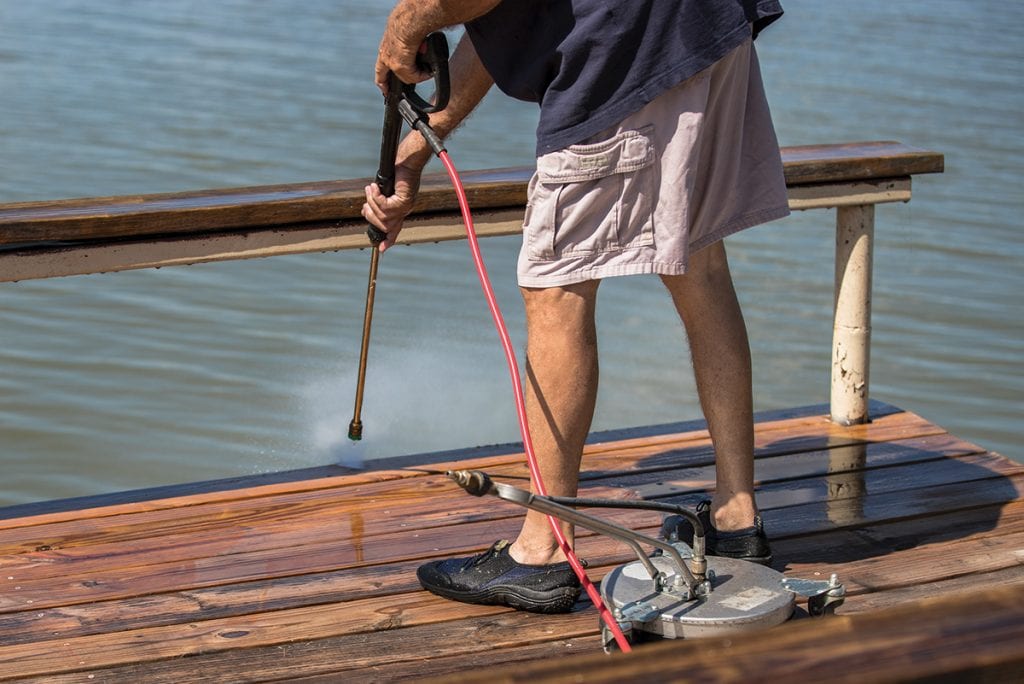
Dock Maintenance
Dock Maintenance Regular dock maintenance will keep it safe for your boat and guests. It wouldn’t be wrong to say...
Read moreDetails
Synthetic Teak
New synthetic teak decking keeps feet cooler. The beauty of real teak wood on boat decks is undeniable, but look-alike...
Read moreDetails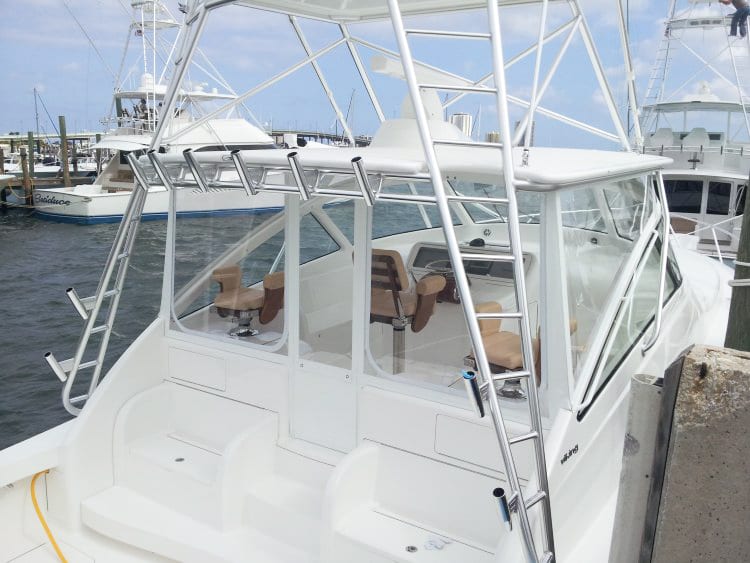
Replace Your Enclosures
Replace Your Enclosures Blurry or worn view? It may be time to replace your enclosures. While under way, if you...
Read moreDetails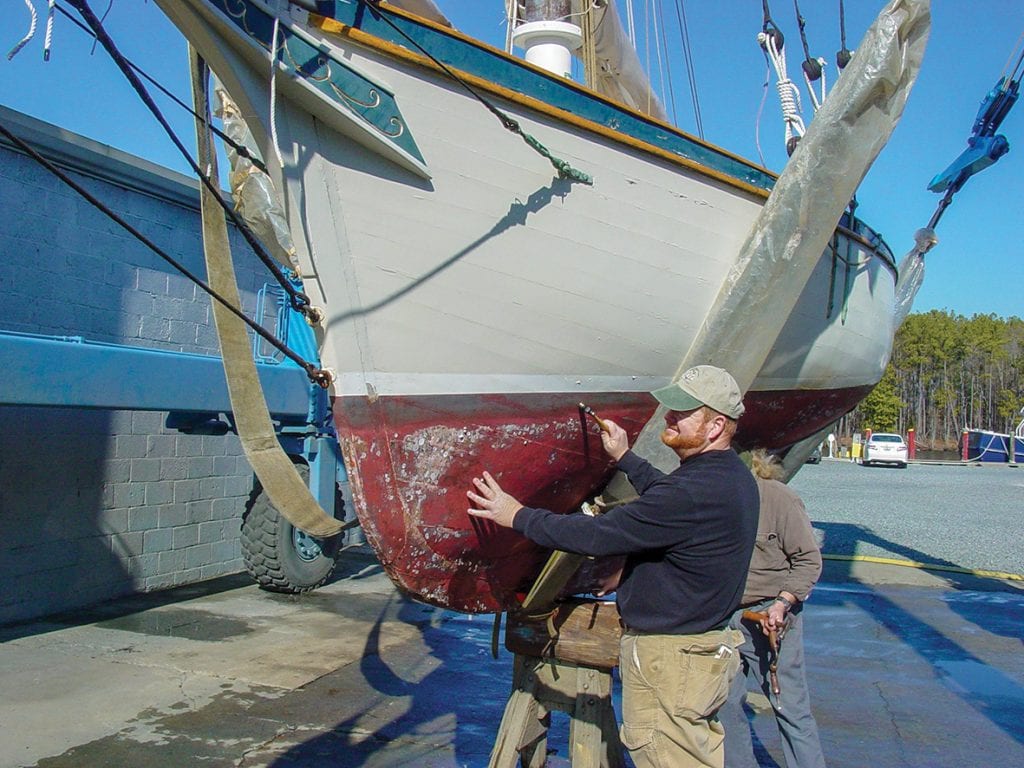
Which Marine Survey Do You Need for Your Boat?
At some point, you'll need a marine survey. We break down the most common marine surveys. Most boat owners will...
Read moreDetails
Check your Clamps and Hoses
Check your clamps and hoses before they check out. Hard slams and big bangs are conditions every mariner endures in...
Read moreDetails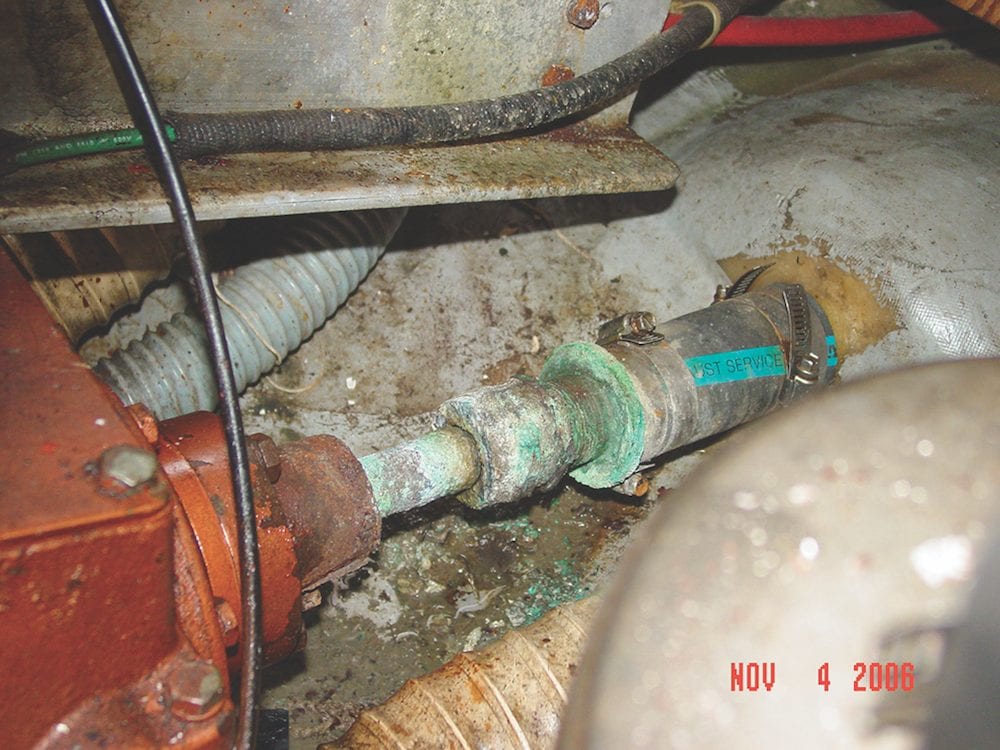
Maintenance Check
Time for a maintenance check. Don’t skip these oft-forgotten items There’s a lot of terrestrial-based wisdom that just doesn’t ring...
Read moreDetails
Forget a makeover. Resurface!
Instead of a complete facelift, save yourself a bundle and resurface. Compared to home interior design trends, boat and yacht...
Read moreDetails
Lose Onboard Weight
Once your boat is back in the water, don't undo the good your yard has done by carrying around unnecessary weight...
Read moreDetails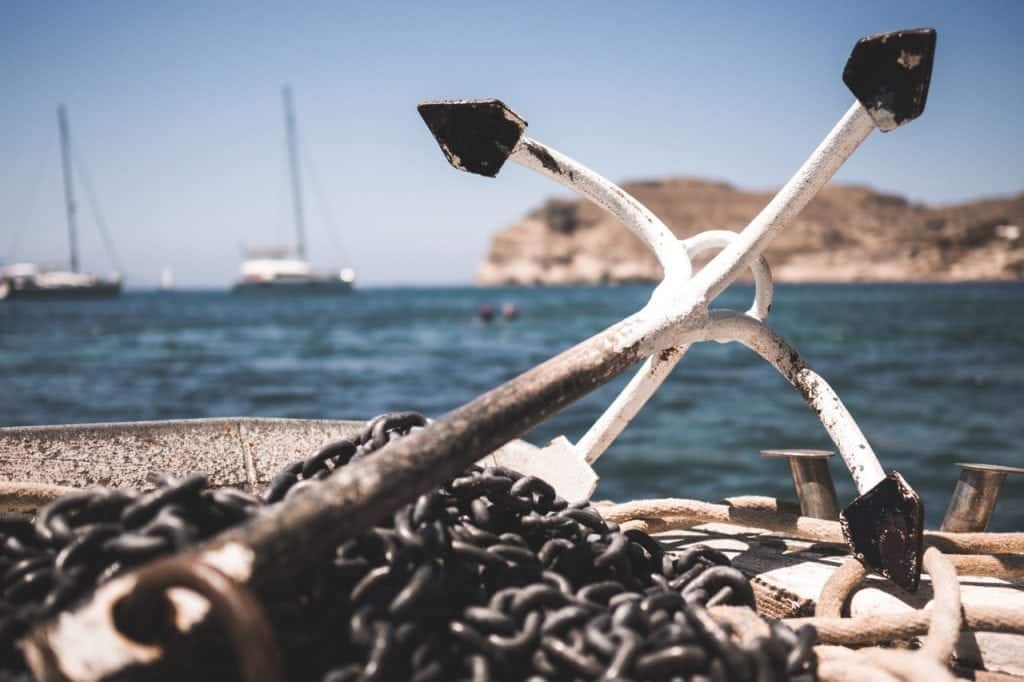
Ground Tackle: to refit or not to refit?
That is the question. The answer is that ground tackle is an essential component to boating. As you prepare for...
Read moreDetails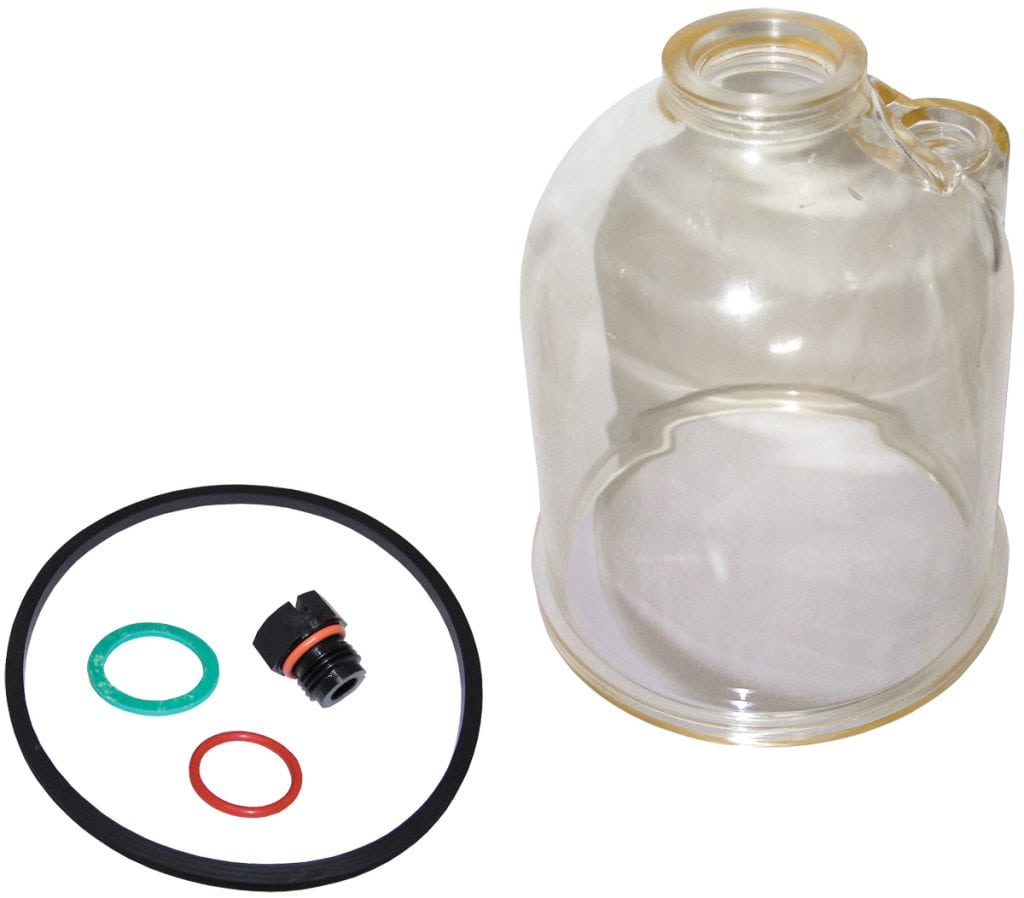
Spare Parts to Keep Aboard
The Spare Essentials: Pack properly for potential problems and keep these spare parts aboard Every boating adventure promises an amalgam of...
Read moreDetails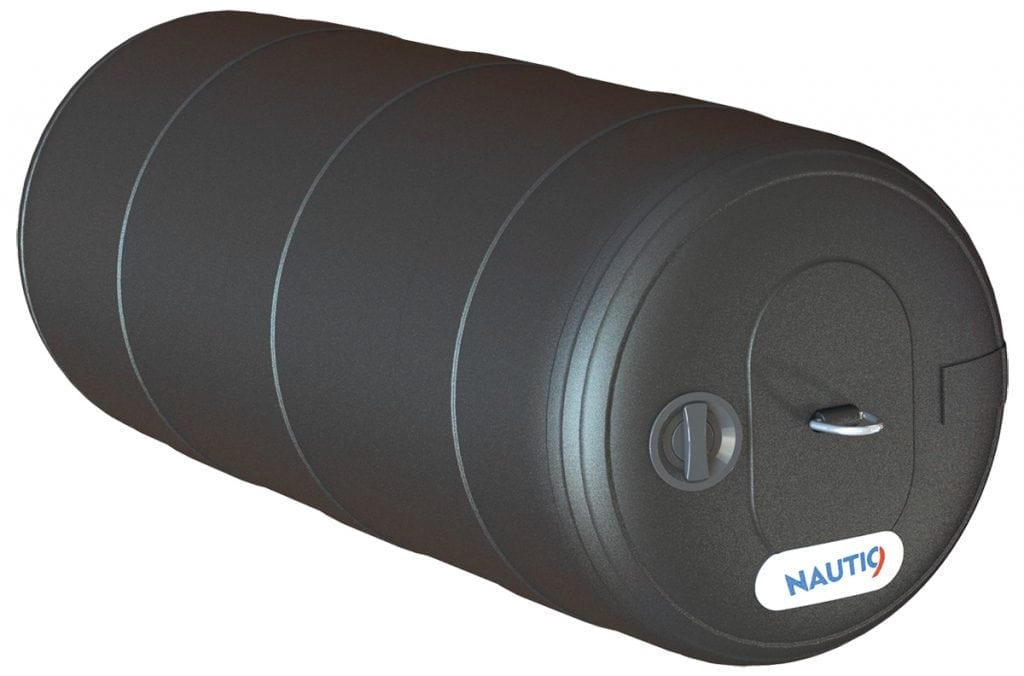
Nautic9 Fenders
Nautic9 Fenders save space on board with inflatable and collapsible fenders from 9- to 48-inch diameters of varying lengths. Fenders...
Read moreDetails
Iosso Water Repellent
In keeping with this month’s Haul Out Guide, protect your boat’s fabrics with Iosso Water Repellent. Invisible protection in a...
Read moreDetails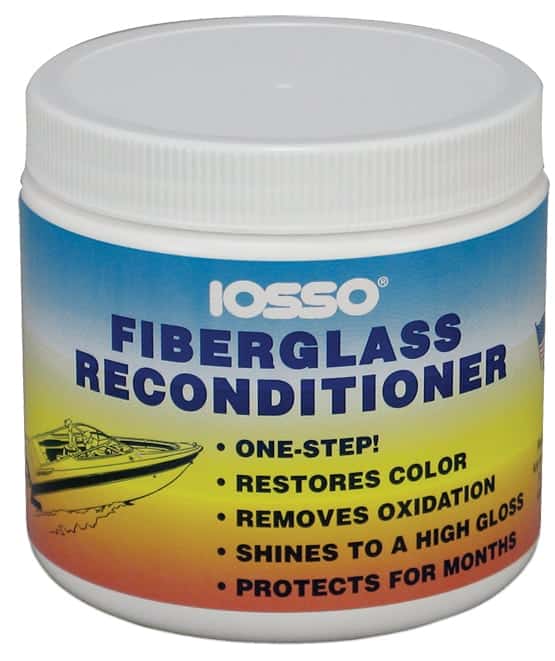
Iosso Fiberglass Reconditioner
Iosso Fiberglass Reconditioner Iosso Fiberglass Reconditioner restores color and protects in one easy step, removing oxidation, chalking, waterline scum, rust,...
Read moreDetails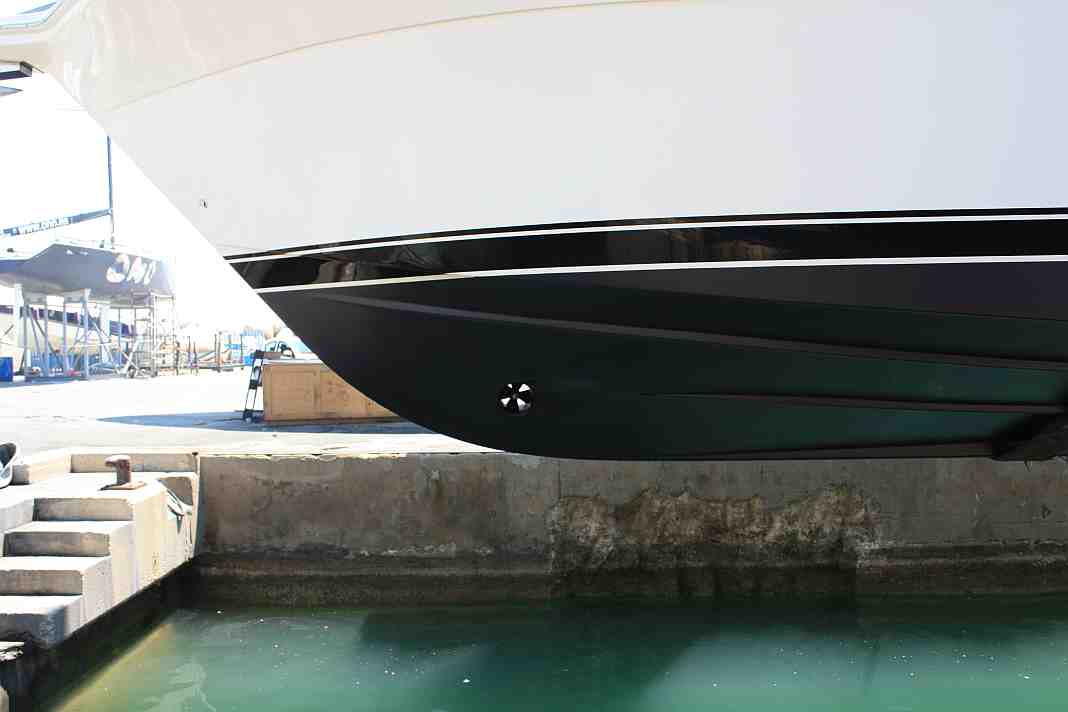
Bow Thruster Maintenance
Proper bow thruster maintenance will ensure the best performance from your bow thruster Bow thrusters are part of what I...
Read moreDetails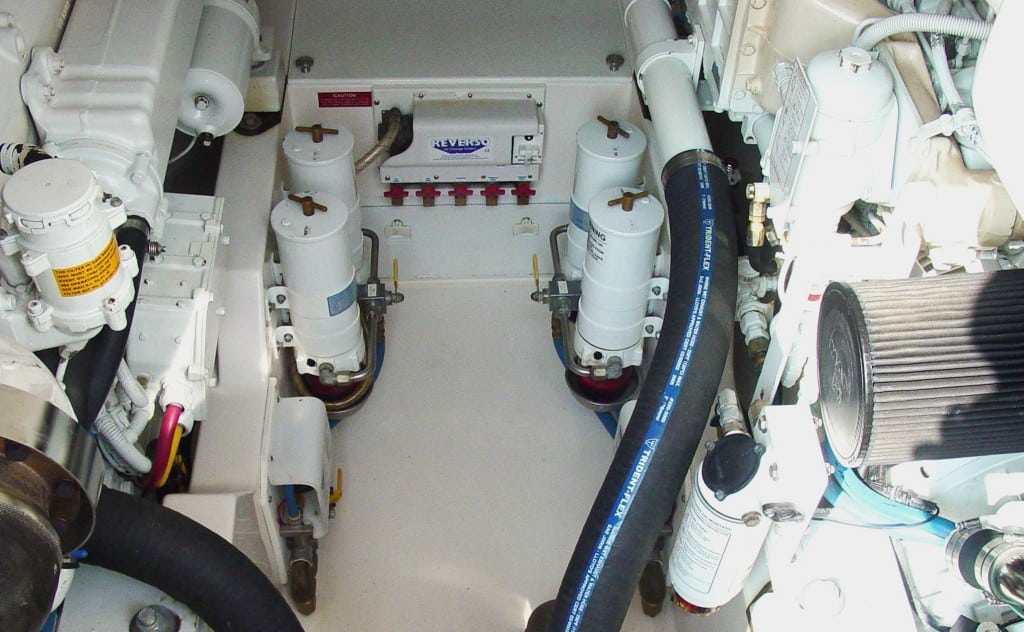
Diesel Engine Murder
Murder! Whodunit? YOU committed diesel engine murder! The deed is done and it is murder most foul. Your loyal diesel...
Read moreDetails

1591 E. Atlantic Blvd, 2nd Floor
Pompano Beach, FL 33060
Office: +1 (954) 522-5515
Fax: +1 (954) 522-2260
Contact us: info@southernboating.com