Understanding the Need for Boat Engine Oil Analysis
Do a fluid analysis on your engine to extend its service life.
A fluid analysis, such as a boat engine oil analysis, aboard your boat includes liquids such as oil, transmission fluid, and antifreeze (otherwise known as coolant). This examination is a quick method of gauging the health of your engine and your transmission. Performing a fluid analysis may help extend the life of your machinery.
It is very much like the lab work your medical doctors ask you to do. They can check and trend any health concerns by knowing what is in your blood sample and prescribe a remedy. The fluid analysis of your boat engine and transmission can also track and identify any concerns that you want your mechanic to address. Just send it into a lab for analysis and a report.
Whether it is marine, automotive, aircraft, or industrial mechanical engines, the analysis company uses a spectrometer to inspect the fluids. It discovers anything in the fluid such as contaminants, wear metals, and fluid breakdown. With this information, you can plan your next step or preventive measures.

Why Get an Analysis?
Before we get too technical, think about when you should learn more about the results of fluid analysis. Your first opportunity is during the boat-buying survey and sea trial process. How do you know the health of the propulsion engines and generator systems? Hire an engine surveyor to accompany the hull surveyor as a part of your initial findings.
The engine surveyor will urge you to consider a fluid analysis in addition to examining the external equipment supporting the engine. This is a good test, but it can be better if the seller has copies of former fluid analysis. Then you can track and trend the history and health of the engine.
If you currently own a boat, consider taking fluid samples prior to changing the oil. This
will help you determine the health of your engine and later, when you sell the boat, you have a record of the engine’s fluid history for the next owner.
How to Perform a Boat Engine Oil Analysis: A DIY Guide
You can hire a mechanic to change your oil and pull samples or you can do it yourself. Either way, you should keep the sample reports in your vessel’s maintenance logbook. Assuming you want to change the oil yourself, simply follow the procedure below. Of course, read the instructions from the lab you are using.
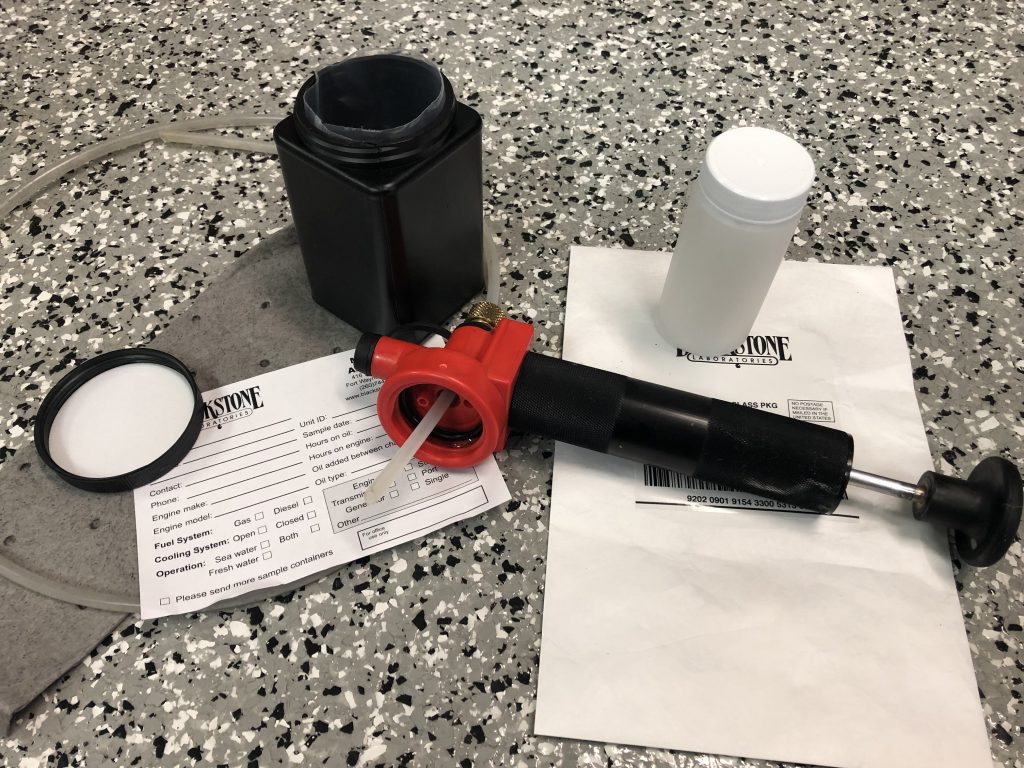
Equipment needed in your oil sample tool kit:
⊲ Sanitary tubing per each engine sample
⊲ Manual suction pump
⊲ Sanitary collection bottle per each engine sample
⊲ Label for each collection container
⊲ Approved mailing package, one per each sample
⊲ Drip tray
⊲ Absorbent pads.
The manual suction pump can be reused with each collection. We advise against using an oil change system to collect samples as cross contamination may occur due to fluid remaining in the hoses. The oil does not come in contact with the manual pump if collection is done properly. It is best to keep the collection bottle in an upright position. After collection is complete, clean the end of the tube before removing it from the manual pump. This prevents unintentionally mixing this sample with future samples. It is recommended to start with a clean, never used tubing and collection bottle. This also prevents cross contamination with other sample collections.

Easy as 1-2-3
Prepare to take an oil sample by running the engine at a fast idle for 10-15 minutes. This will warm the oil and transmission fluid so it’s easier to pump to collect the sample. This also circulates the sediment that may have settled in the bottom of the oil pan.
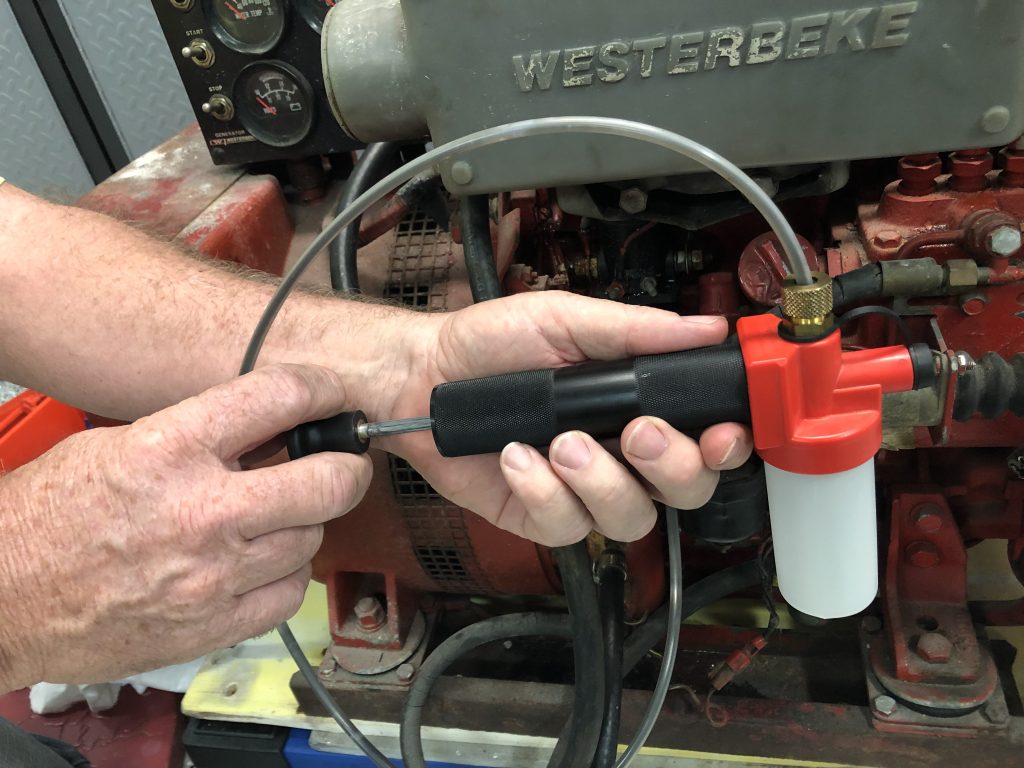
While warming the engine, assemble your equipment. Connect the manual pump to the tubing and connect the collection bottle to the pump. Take care not to contaminate the tubing or collection bottle prior to gathering your fluid samples. Consider prelabeling each container with the equipment make, model, and serial number for main engine, transmission, and generator. Don’t forget to indicate port and starboard for twin engine and transmission.
Caution: The engine will be hot.
Pull the dipstick out and set it aside. Then slide the sanitary tubing into the dipstick tube. Be sure you have the correctly labeled sample bottle.
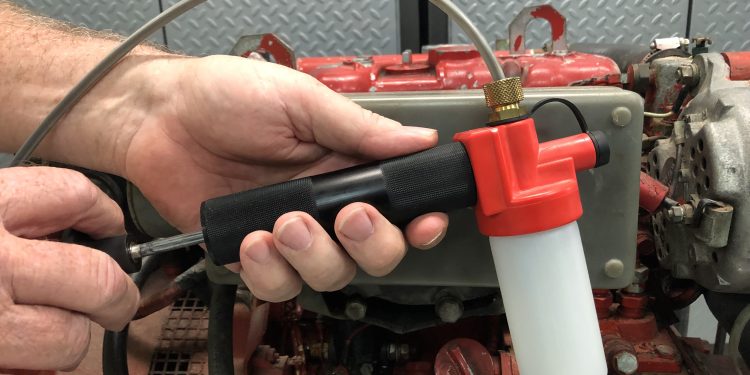
⊲ Extract the fluid sample from the engine into the bottle using the manual pump. Remember to keep the bottle upright. For proper sample size, read your lab’s instructions.
⊲ Unscrew the sample bottle from the pump and cap it to seal your fluid.
⊲ Check your label.
⊲ Wipe the tubing clean and remove from pump.
⊲ Place the labeled bottle in the lab-provided container. Include all completed forms for your marine fluid analysis.
⊲ Place the container in the lab-provided pre-paid shipping envelope.
⊲ Repeat for each engine/transmission/coolant sample.
And the Survey Says…
Now wait for the diagnosis to arrive via email. If your lab only provides the results but not an explanation, call your surveyor or mechanic. Hopefully, they can offer an explanation before it is too late to save the engine from self-destruction. Or if you are planning to purchase this boat, you may think again.


