How To Take The Perfect Fishing Photo
You’ve just caught the fish of a lifetime and want to take the perfect fishing photo to capture the memory. It’s been a terrific day on the water, full of laughs, smashing strikes, and a whopper of a late-day “whistle fish” you and your compadres will never forget. A couple of quick shots with the camera before pointing the bow toward home, and the memories will live on forever in your new favorite photo gallery.
Or will they?
“Hmmm, that fish looked a lot bigger when we caught it,” you think while reviewing the images later that night. “I thought it was more colorful, too, and I never noticed that blood dripping down the flanks.”
You’re not alone if you’ve experienced a photo letdown after a great fishing trip. Amid all the excitement of decking a lunker—or recording a youngster’s very first catch—there’s lots that can go wrong to dampen the memory with disappointing captures.
“It’s a tough pill to swallow when photos go afoul,” says Capt. Jim Levison, a photographer who has spent decades snapping images of fish across the world (jimlevisonphoto.com). “But there are ways to ensure better results going forward. Good photos don’t just happen, they are generally the result of planning and hard work.”
Subscribe Here For More Fishing Content
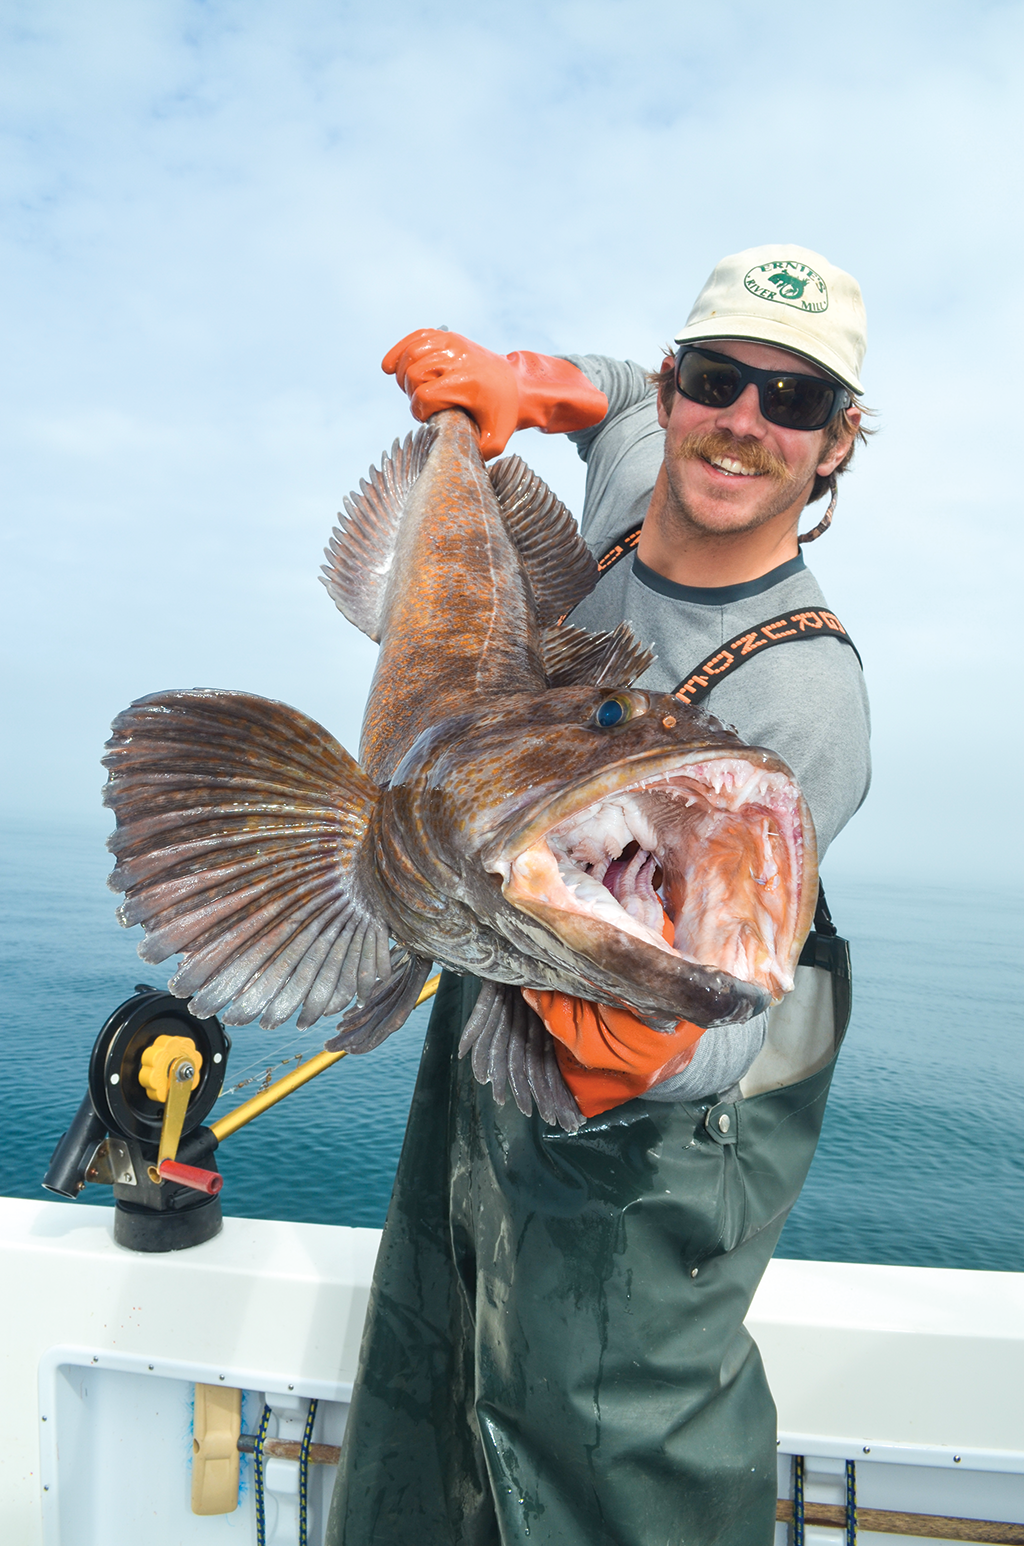
Most anglers who enjoy photographing their catch these days recognize the basic tenants of taking a suitable fishing picture. They realize early morning light and dramatic sunsets make for good mood shots, that fish held out a reasonable length from the body appear bigger in photos, and that setting up so the sun shines on the star of your shoot makes for sharper images and good color saturation.
Those are solid starting points, according to Levison, but to really capture some super shots, put down your fishing rod and pick up your camera for a little while. “People go on exotic bonefish trips and fish all day long. Do you really need to be casting for ten hours?” asks this salt skipper. “Take thirty minutes at some point to photograph the surroundings, a member of your party in colorful fishing clothing, or compose interesting close-ups of the fish being caught. Time spent dedicated solely to photography usually results in better images.”
One point Levison always brings to the forefront is to focus on the fish’s eyes in portrait or close-up shots. Focusing on the fish’s body usually leaves the eyes a little “soft,” he explains. “Humans are unconsciously drawn to the eyes so make them count whenever possible. Some sophisticated cameras today have eye-tracking capability in their auto-focus modes. Learn to use that feature if you have it,” he says.
Photographer and videographer Tim C. Smith, who covers the fishing scene from Florida to the Northeast, stresses that preparation makes for better photos (timcsmith.com). “Be ready to shoot the second that fish hits the deck because once it starts to lose color, the opportunity for a great shot is gone,” he advises. “Even if your fish will soon be swimming on ice, it should look ready for a quick release when you take your shot.”
To that end, Smith likes to have a bucket of water or access to the boat’s washdown at the ready to immediately rinse off blood and ensure the fish is clean and shiny. He also goes by a rule of one fish per person. “Nobody wants to see anglers kneeling on the dock next to a pile of dead porgies or bluefish,” he quips.
It’s also vital to consider the background before snapping the shutter, Smith says. Yes, today’s post-session software can remove fishing rods sticking out of an angler’s head, smokestacks, and landing nets from the background, but the cleaner the photo you start with, the better your results will be. “You’ll also want to use a wide-angle lens when shooting on a small boat,” he adds. “There’s just not enough room to squeeze in everything and everyone in most small boat fishing situations when using a telephoto lens.”
Chris Paparo has a national reputation for outstanding wildlife photography, yet he, too, is sometimes disappointed by fishing photos (facebook.com/fishguyphotos/photos). “It usually happens when I ask someone to take a shot of me with a trophy fish,” he laughs. “It’s amazing how many people fail to fill the frame with the subject. Fish look small in full body shots, so zoom in on that lunker, or the face or upper body of the angler holding it. There’s no reason to see anyone’s feet.”
Paparo notes that unless he needs high-resolution raw files, he’ll usually opt for a cell phone when fishing on smaller boats thanks to the ease of auto-focusing features. Still, he keeps a traditional camera with a 150 to 600 mm zoom lens secured on the dashboard, cushioned by a couple of towels, for unexpected wildlife encounters such as an osprey diving on bunker or a whale that suddenly explodes on the scene. “It’s often the unscripted shots that really make your day,” he says.
Quick Tips for Fishy Shots
Get on it: Be prepared to shoot as the fish comes aboard. Two or three minutes is all you need to get a good shot and still have time for a live release.
Background check: Position the boat with an uncluttered background and be sure that fishing rods, nets, and gaffs have been removed from behind all subjects.
Factor the sun: Sunlight is best light. Position the boat or angler so the light shines across the entire fish.
Tilt that hat: Tilting hats up and using a little fill-flash helps eliminate harsh shadows on anglers’ faces.
Size it up: Fish look larger when held out toward the camera.
Fill the frame: Zoom in on fish and the anglers that catch them to fill the frame. Full-length body shots make fish look smaller and can lack detail.
Tell a story: Show a lure, rod and reel, or net in your photo to help tell the story of how your prize was caught.
Polarizing effect: To really make a blue sky “pop,” use a polarizing lens and shoot at a right angle to the sun.
Keep it fun: Anglers sometimes forget to smile when holding fish for photos. A quick reminder helps brighten most shots.
-by Tom Schlichter
A Perfect Fishing Photo:


