

DIY Gelcoat
Gelcoat care, protection and minor repair of this finish are essential to your boat’s maintenance. Here’s the lowdown on DIY gelcoat.
Think of your boat’s hull or any other layered component, such as hatches, decks or superstructure, as a piled-up, sky-high, multi-decker sandwich. Only instead of your favorite combo of meats and cheeses with some lettuce, tomato and a bit of mustard or mayonnaise garnish, you have resins, various configurations of fiberglass matting, perhaps even some carbon fiber material, complex catalysts, and other chemically brewed side dishes thrown in to help create your boat and its myriad parts.
Gelcoat is the first coat during the build process that is applied to the mold before any subsequent layers are put down. The smooth, strong, flexible, reflective, and water-resistant layer, with thicknesses ranging from 1/64- to 3/64-inch and varies from manufacturer to manufacturer along with the age of your boat, has one prime directive: to protect the underlying substrate consisting of resin-saturated or resin-infused,
layered fiberglass coring material.
Should water intrude due to a crack or other opening, blistering and the even more serious condition of delamination could take place. “If it hasn’t been so severely degraded or damaged, most surface gelcoat problems can be rescued by using the right products
in the correct manner and a regular preventive maintenance regiment,” says Sam McGinley of Shurhold Industries.
Maintenance

Oxidation occurs when a combination of sun, salt deposits, seasonal storage, and local environmental issues form a layer on the gelcoat. As the corrosive
chemical reactions take hold, the result is a degradation of the shiny finish. This is doubly important for boaters who have a 12-month season in mostly sunny climes.
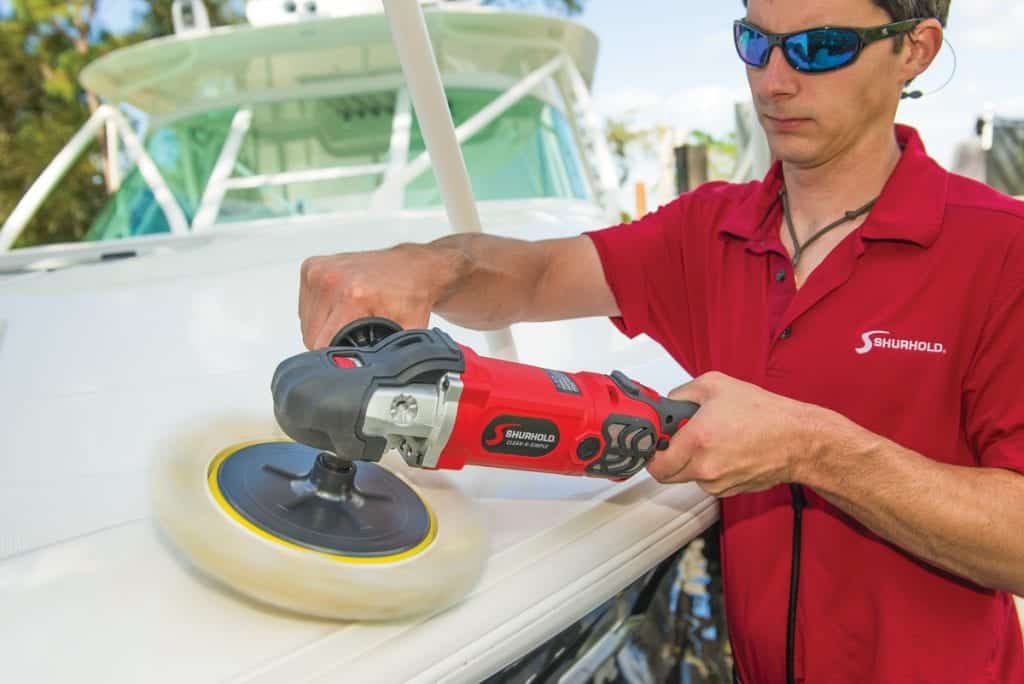
“Try to pick an inconspicuous area and go through the process to restore that section,” suggests McGinley. Start with the least aggressive polish applied by hand, brush or a compounding pad and a dual action machine. “Our Buff Magic, applied by ‘painting’ it
on, is a variable grit compound that starts off fairly aggressive and breaks down as you use it.”
Pick Your Poison
When you use a machine and a particular product, apply it to the pad and place it on the space before powering up to avoid spinning things away. Should the area come clean and shiny, you can proceed with the rest of the job. If the entire hull needs attention, do it all at the same time for a uniform finish.
“With compounding being the corrective process and waxing the protective process, the latter is the single most important course of action you can use to protect your boat’s gelcoat,” says McGinley and recommends an easy-to-apply, polymer sealant product applied by hand or with a dual action polisher.
In sunny, year-round climes, it is suggested to apply the sealant every three months, while in limited boating seasons, once before you launch and again at haul-out before the boat is stored for the season. “Should you choose our products, they are all matched for use in regards to pad and polish/wax,” says McGinley. Remember that pads need to be
changed with buildup.
Minor Repair
If you have noticeable scratches or surface abrasions, you may want to have a go at it 

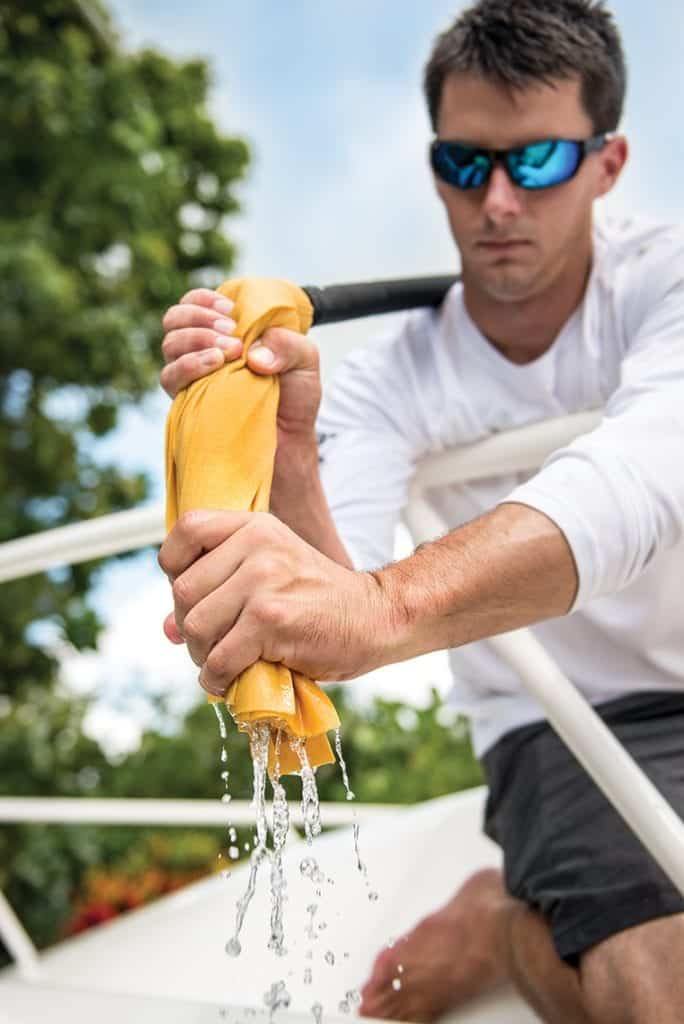
Clean the area, usually with acetone, to remove any surface contamination. Lightly wet-sand the area with 1,000-grit paper, and finish it off with 1,500-grit paper so as not to remove the gelcoat. Wash the area clean with some soapy water and dry. You can then go to the section with your sealer and buffer.
If there is any significant damage, it’s best to call in an experienced fiberglass repair person to handle it. Digging out deep scratches, cracks, gouges, or dings usually requires
working with special tools, fillers, and other products. You may need grinding tools and color matching is difficult.
It’s better to avoid creating a bigger job than what you started with. You can keep your gelcoat and your boat looking great with a little time, effort and care.
By Ken Kreisler, Southern Boating April 2019