How to Install LED Lights on Your Boat
How to Install LED Lights on Your Boat When you install LED lights on your boat, you'll boost the mood ...
How to Install LED Lights on Your Boat When you install LED lights on your boat, you'll boost the mood ...
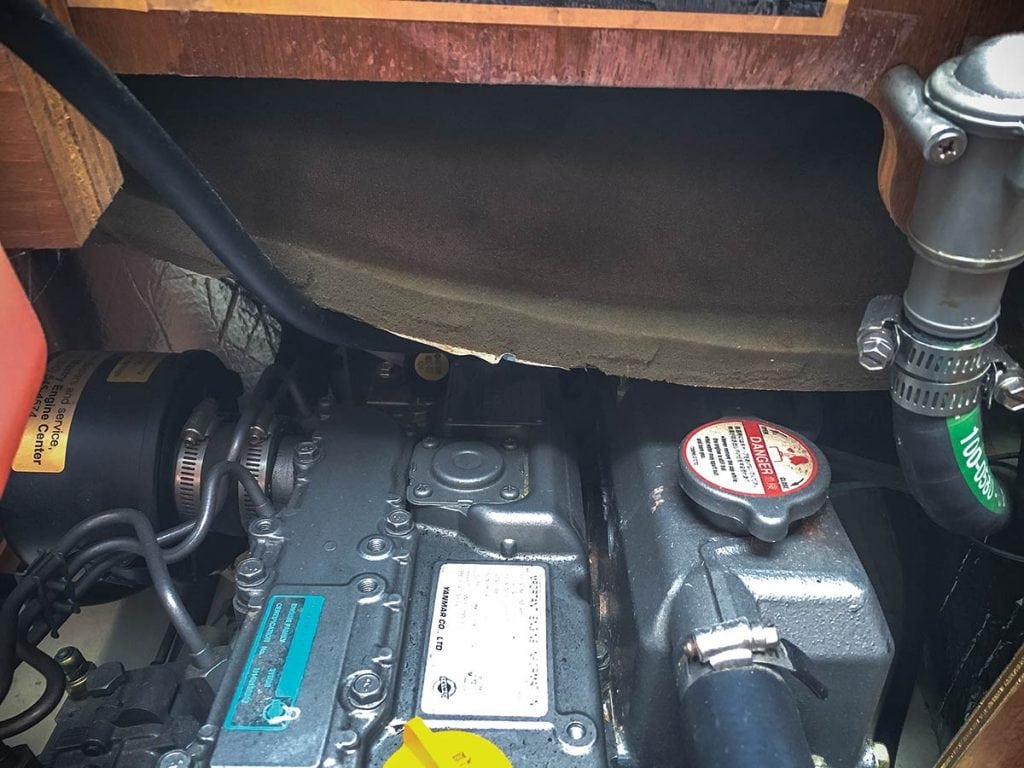
How to install soundproofing for quieter cruising For most, boats are a way to escape the rat race of terrestrial ...
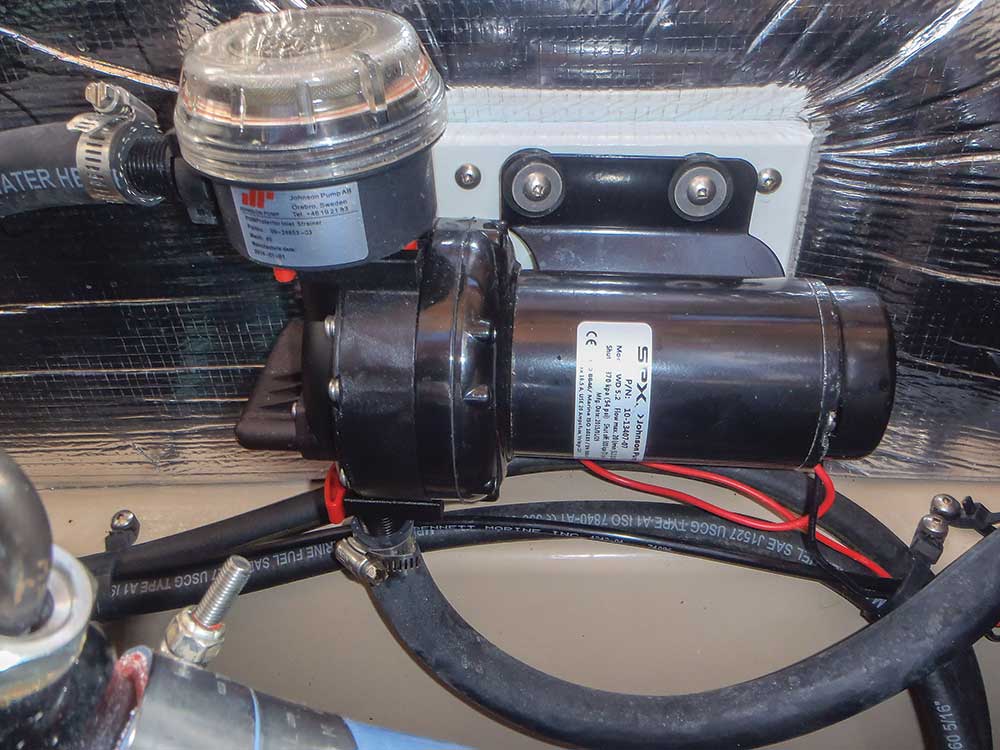
Add a deck washdown system for a squeaky clean boat. As a marine surveyor I’ve often wondered why many boat ...
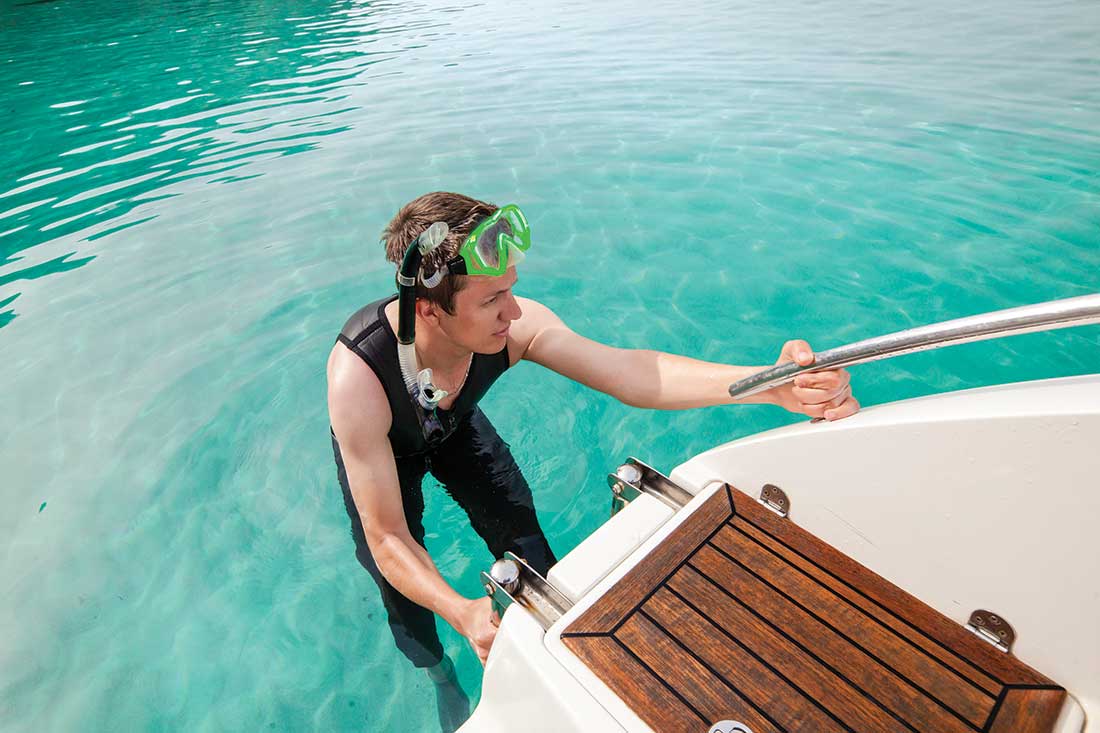
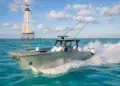
Installing a boarding ladder? If you're an avid cruiser, you'll need one! Spend time at any yacht club tiki bar ...


1591 E. Atlantic Blvd, 2nd Floor
Pompano Beach, FL 33060
Office: +1 (954) 522-5515
Contact us: info@southernboating.com