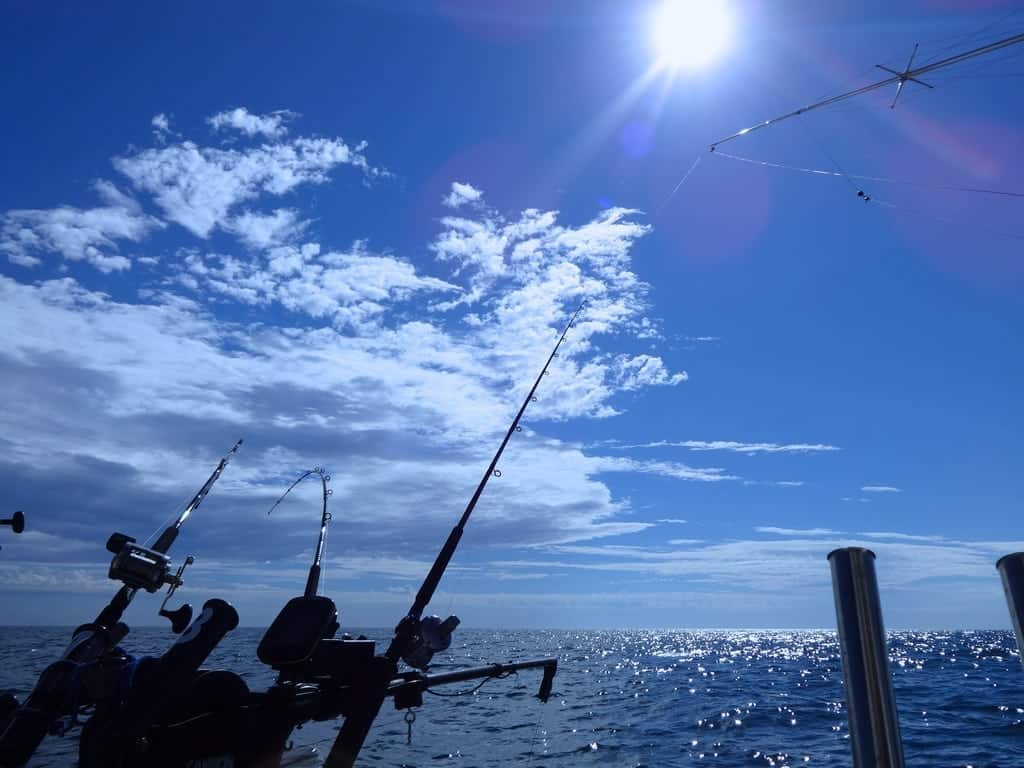
Most boat owners have experienced moments when that one missing thing on board would help make boating easier. Take, for instance, an extra rod holder in the gunwale. wouldn’t that be nice? That’s why you should learn how to install rod holders.
It could improve the chance of landing a trophy, provide a place to insert a pole to tie up a canopy on a hot, sunny day, or it’s a convenient place to attach a barbecue. Many boats are outfitted with a couple of rod holders in the gunwale at the boat’s stern, but unless your boat is already rigged for tournament fishing with rocket launchers, outriggers and additional rod holders installed at the factory, short of the pain of drilling holes in your boat, to install rod holders for a multitude of functions is relatively simple and straightforward.
Besides the rod holders used for storage or those that allow easy access to a variety of rods set up for particular fish or techniques, having a few along the rail offers more options for the style of fishing preferred on any given day. There are a number of rod holders available with a variety of purposes, such as fixed, removable and adjustable. It is vital to know size and type when you install rod holders.
Each has three main mounting systems: side, clamp-on, and flush. They also are made from various materials such as nylon, fiberglass, and aluminum, but stainless steel is recommended due to its durability and rigidity for handling rough water. It’s also recommended to use stainless steel hardware no matter which material you choose for the holder. So, let’s install a flush-mount rod holder in the gunwale.
Select the Appropriate Holder
Flush mount receptacles generally are available in three fixed angles: 0, 15 and 30 degrees. For your barbecue or if setting up a canopy (with the use of poles), the 0-degree, straight angle holder most likely will be the choice. For kite fishing, 15-degree holders are typically used and are set at 90 degrees to the gunwale with three or four holders required for the kite and the lines.
In that setup, having the holders within arm’s reach is advisable, but another option is to use a trident holder that will convert one receptacle into three. When trolling, 15-and 30-degree holders are used with the angle to the gunwale set between 22.5 and 45 degrees.
Choose Placement Wisely
Carefully analyze where you want to install rod holders before making any cuts in your boat. Take into account how many you plan to install so they are mounted where you want and within reach. Be aware of the angle to the gunwale as you don’t want rods to interfere with each other. As the saying goes, “Measure twice, cut once.” Working with fiberglass and patching a big hole is a different kind of beast.
Installation
Check the proposed location for the rod holder and make adjustments for wiring, plumbing, and other equipment. When the exact location is decided, tape the area. This helps avoid splintering or cracking the surrounding gelcoat. If taped, be sure to mark the hole’s center on the tape. Some holders will include a template to make the cut outline.
Ensure your hole saw matches the diameter of the rod holder. For a straight, zero-degree holder, the cut is a basic straight-in circle. But for the angled holders, you will cut a somewhat elongated hole. Free cutting the hole is fine, but the hole saw is round, so you will need extra cuts to accept the angle of the receptacle.
Try these tips for simpler and more accurate cuts when you install rod holders:
- Take the holder, flip it upside down and hold it next to the marked spot matching the angle you want the holder to face, and use it to free guide the drill as you saw the hole; or
- Take a small piece of wood (an inch or so thick), use the process just mentioned and cut a hole that matches the angle of the holder. Test the cut by inserting the holder in the piece of wood and make sure it mounts flush. (This will guide the saw more accurately as you cut the gunwale.) Clamp the piece of wood over the marked spot and make the cut.
- If you’re satisfied with the cut, and the holder mounts flush in the gunwale and the angle of the holder to the gunwale fits, mark the screw holes by drilling pilot holes. This will depend on the location, a 30-degree holder may not fit at a 90-degree angle.
- Remove the holder and finish drilling the screw holes.
- Remove the tape and use sandpaper or a Dremel with a burring bit to smooth the edges and prevent cracking. Include a gasket for the receptacle’s flange and, if feasible, include a backing plate to attach the flange bolts, and recheck the holder’s alignment in the hole.
- Once you’re sure it fits properly, remove the holder. Apply a bead of adhesive sealant around the main cut. Also, seal the screw holes (especially if you’re not using a backing plate). This ensures a permanent, watertight seal. Replace the holder and tighten everything in place. You now have a new flush-mount rod holder along with another chance to stock the fridge with a fresh catch.
By Steve Davis, Southern Boating
June 2018


