Boats and Thru-hull Holes

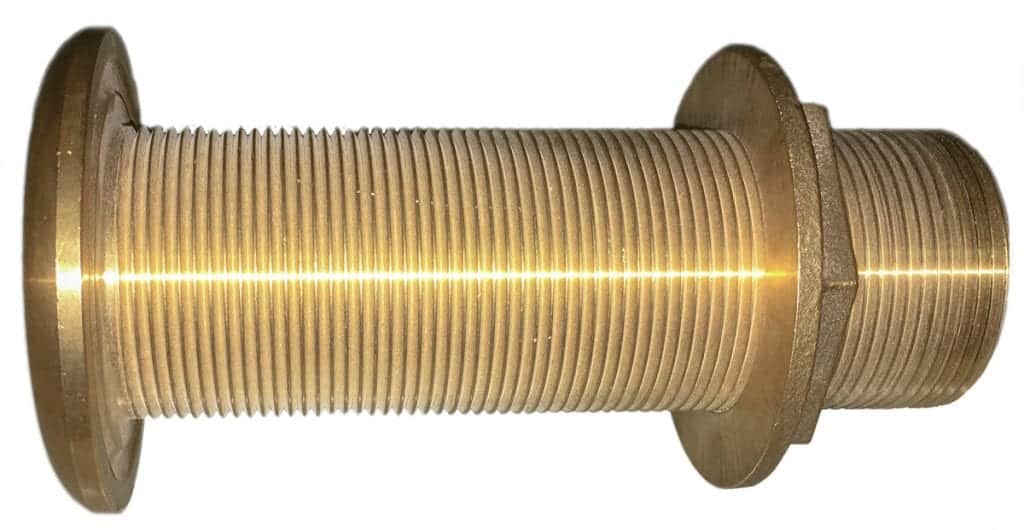
When you have to install thru-hull holes, do it right the first time.

Most any boat maintenance guru worth his Veda will advise you to avoid adding additional
thru-hull holes if at all possible. Tapping into an existing discharge or intake thru-hull is often recommended but may not always be an option. While drilling a hole in your boat’s hull is not ideal, the actual process to install a new thru-hull is pretty straightforward.

Let’s walk through a hypothetical installation of an air conditioning system that requires two new thru-hulls, one that’s below the waterline intake and the other above the waterline discharge.

Preparation

American Boat & Yacht Council (ABYC) standards call for the installation of a seacock on thru-hulls located below the vessel’s maximum heeled waterline. For the purpose of this
article, we’ll say the discharge thru-hull does not require a seacock; however, the raw water intake thru-hull (located below the waterline) does.

The discharge thru-hull for our example will be bronze. The seacock will be a typical flanged bronze unit with a compatible bronze thru-hull, although Marelon polymer seacocks and thru-hulls would be another option. Just keep in mind that the seacock and thru-hull must always be of the same material.

When planning the installation, choose a location that provides good access to the thru-hull. For our intake thru-hull, verify that the seacock can be accessed quickly in the event of an emergency and that the handle can be fully operated (i.e., no frames, bulkheads, etc., that block the throw of the handle).

In addition, avoid locating the thru-hull in front of a depth transducer or knot log, both of which could be affected by the turbulence a thru-hull generates.  Once you’ve identified a suitable location, mark the center of the thru-hull and drill a small pilot hole from inside the vessel. This gives you one last chance to check the location on the outside of the hull to verify all is well prior to cutting the hole.

Hole saw time

Select a hole saw the same diameter or slightly larger than your thru-hull, one with a pilot drill bit, which prevents the hole saw from walking when drilling. Using the small location hole you drilled as a guide, start drilling from the outside of the hull and be sure to keep the drill perpendicular to the hull surface. Drill until the pilot bit of the hole saw penetrates the hull, then move inside and finish drilling the hole. Smooth any rough edges of the hole with sandpaper.

For a cored hull, excavate the coring around the hole to a depth that encompasses an area at least as large as the thru-hull or seacock flange. Then fill the void with thickened
epoxy and allow it to cure before proceeding. This epoxy compression ring provides a solid base for the thru-hull and prevents water from entering the core.

Backing plates

A backing plate provides additional support to the hull and a flat mounting surface for the thru-hull nut or seacock flange should there be any hull curvature. A fiberglass backing plate glassed into the hull is the ultimate solution, however, marine-grade plywood is commonly used and perfectly acceptable.

Backing plates should be two to three inches larger in diameter than the thru-hull nut or seacock flange. Cut a circular backing plate from ¾-inch marine plywood, then drill
a hole in the center with the hole saw used to drill the thru-hull hole in the hull. Use a sander or wood rasp to shape the backing plate as needed to match the curvature of the hull. Once fitted, mark the backing plate so you can properly orient it later.

Test run

Always dry fit the thru-hull/seacock prior to final installation. Remove the backing nut and insert the discharge thru-hull from the outside. On the inside, fit the backing plate over it,
then install and snug up the flange nut. The intake thru-hull will screw directly into the seacock. Remove the thru-hull nut, insert the thru-hull into the hull, fit the backing plate, thread the seacock onto the thru-hull, and tighten until snug.

For bronze thru-hulls, a special tool called a step wrench is used to grip the ears inside the unit and hold it securely during tightening. A wedge of plywood inserted in the thru-hull also works well in a pinch.

WHEN IS A SEACOCK NOT A SEACOCK?

Many builders utilize inline valves attached directly to the thru-hull. However, there are a number of problems associated with this approach. To start with, in-line valves use NPT (National Pipe Taper) threads, which are not compatible with the NPS (National Pipe Straight) used in most thru-hull fittings (unless the thru-hull fitting is machined with “combination thread”).

Installing an in-line valve onto an NPS thru-hull fitting creates a mismatch of threads resulting in a weaker, less waterproof joint (due to less thread engagement). As it has no mounting flange, an in-line valve can turn or loosen from the thru-hull fitting due to vibration or through normal use. Finally, unlike proper seacocks, in-line valves are not fitted with grease nipples, bonding wire tabs or drains, each of which can create potential maintenance and winterization issues.

Once inserted into the seacock and moderately tightened, there should be a sufficient length of thru-hull inside the seacock but not enough that the thru-hull bottoms out.

If the thru-hull is too long, cut it to length. If the thru-hull is too short, use thinner plywood (½ inch, for example) to construct the backing plate. Most flanged seacocks have three mounting holes to prevent the seacock from turning once installed. There are two acceptable methods to secure the seacock. The first is to drill holes through the backing plate and hull (using the flange as a guide), then install bolts through the hull and secure everything together.

The second is to screw the seacock flange to the backing plate only. This is the option we’ll go with for our example. Regardless of the method chosen, ensure the mounting bolts or screws are of the same material as the seacock. Either stainless steel or bronze is acceptable when mounting nylon seacocks.

Installation

Once the dry fit is complete, disassemble everything and seal both backing plates with three to four coats of epoxy and allow to dry. You’ll need a second set of hands to hold the thru-hull in place during installation and while tightening. Apply a generous amount of marine-grade sealant (polyurethane or polysulfide) to the thru-hulls mushroom
flange, then insert it into the hull.

On the inside, apply sealant to the hull (around the inserted thru-hull) and hull side of the backing plate. Slide the backing plate over the thru-hull, orient as required and press down, bedding it to the hull.

For our discharge thru-hull, the next step is to add a thick bead of sealant to the top of the backing plate hole around the thru-hull, install the thru-hull nut and tighten snugly. You should see a ring of sealant ooze from beneath the thru-hull nut. For the intake thru-hull, apply sealant to the seacock’s flange (again, enough to see “squeeze out” all around once tightened), and then thread the seacock onto the thru-hull and tighten.

Once the seacock is properly positioned and tightened, use the flange as a template to drill the mounting holes into the backing plate. Be sure to drill into the backing plate only,
not into the hull (use a drill stop or piece of tape attached to the bit to prevent this). Clean the mounting holes of debris, add sealant to the holes and threads of the mounting screws, then install.

Once the installation is finished, fit the seacock with an appropriately sized tailpiece/hose barb (using thread sealant) and attach the cooling system intake hose to it. Attach the air
conditioning discharge hose to the hose barb of the overboard thru-hull, and it’s pa’u hana!

By Frank Lanier, Southern Boating March 2019

Return to the Haul Out Guide

Exit mobile version