
Last updated: July 24, 2019
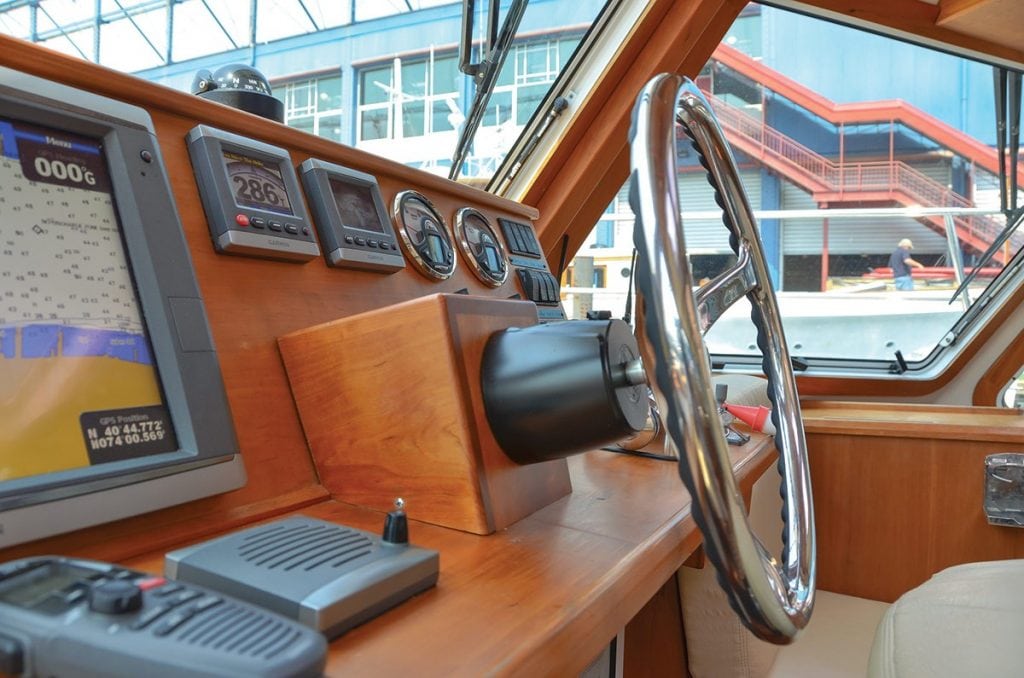
Keep your varnished wood trim or rails in Bristol fashion.
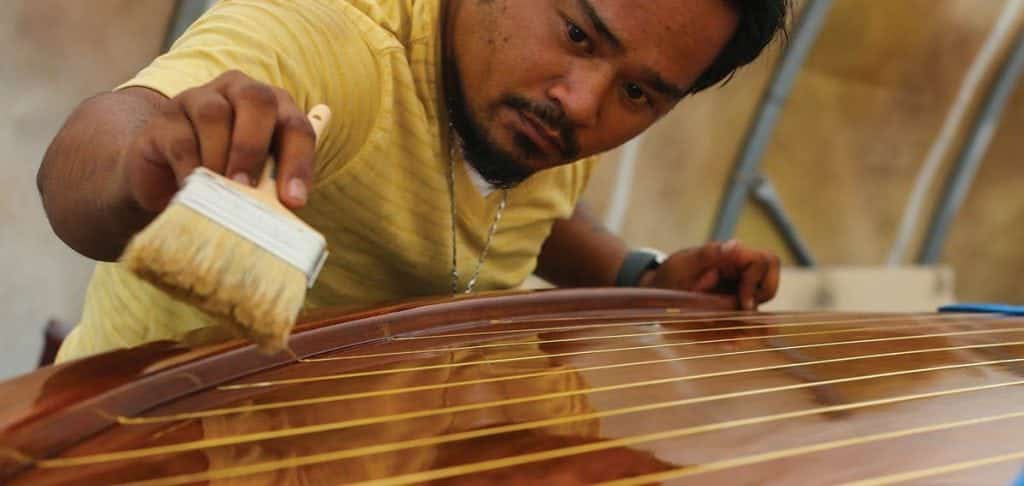
Back in the day, during high school summer vacations, I was a yard snipe at what was then the Schatz Brothers Marina in the Sheepshead Bay section of Brooklyn, New York. I came under the tutelage of a crusty old salt who I quickly find out knew everything about anything that had to do with boats. On one particular early morning job, while he prepped a section of teak rail, I caught him taping the water line. “C’mere kid, I wanna show you somethin’,” he said as he walked over to his well-traveled van, opened the latches on a wood box and showed me the contents.
“Paint brushes?” I asked.
“Nah, ya knucklehead. These are badger brushes, and they’re for varnishing.”

That was my first lesson in what some call the “black art” of wood finishing filled with mystery, concern, and at times, fear in getting the finish just right: deep and beautiful. But no matter whom you ask, wood finishing is 90 percent preparation and 10 percent application, both parts being equally important to achieve the desired results. There are many surface conditions to deal with such as starting with bare wood, deep gouges, checking and splitting, as well as rot and stains. (All require a whole different approach.) Here, however, we deal with good, clean wood that, due to age or sun exposure, is in need of a proper maintenance coat or two to bring back the shine.
Before you even deal with product or brush selection, or get out the several grades of sandpaper and the ubiquitous blue or green painters’ tape, it’s important to pick the right day and time for the job. A humid, windy day is not preferred as the moisture in the air will cause your finish to dull as well as carry dust and bugs onto your wet surface. Cool, dry weather with filtered sunlight is favored.
1. Tape off the area. Depending on the scope of the job, length of rails or location of trim, this can be a time consuming and somewhat laborious affair that will test your back strength and patience. Go slowly and make sure your line is straight and true. I still remember the administrative cuffs to the back of my head from my tutor when I strayed off course with my taping. As with a perfect water line, there is nothing more nautically professional looking than a razor-edged varnished trim against your boat’s painted surface.
2. Prepare for sanding. You’ll most likely start with 220 grit and work your way up as subsequent coats are applied. Given that the surface has several coats on it already, there is no need to get aggressive with sanding. Use a sanding block or fold the paper up so that you can switch to a fresh piece as you go along. Remember, there is no need to take off the entire coat; the sanding here is merely to provide a surface that will be able to accept the new coat. Once you have the entire area or the section you are working on scuffed up enough, tack the surface off. Make sure to get a quality tack cloth at your paint supply location. Just like anything else for this kind of project, the better materials used result in a better finish.
3. Apply the first coat. Should you be so fortunate to have a set of badger-hair brushes, you are far ahead of the game. If not, use a new, clean brush. Again, quality counts. I’ve had good results with foam brushes especially on the build-up to the final two or three finish coats when I will bring out my own badgers.
Do not shake your can of varnish, as this will only cause bubbles. Slowly pour your product of choice into a clean and separate container and place the lid securely back on the can in order to prevent dust, bugs or other materials from getting into your varnish. Should some flying pests land on your still wet rail or trim, do not attempt to remove them. What’s done is done. Wait for the next sanding and the interloper will easily disappear.
During application, avoid drowning the entire brush into the container. Instead, dip a bit under halfway and brush in one direction with the grain by “drawing” the varnish on. Do not load up the brush as too much varnish will find its way up into the ferrule and stay there. If you have to “fight” the application, the varnish may need to be thinned out some. Carefully follow the manufacturer’s instructions and gently stir in the thinner with a clean wooden stick. When the brush is lightened up—not too much varnish left—use a featherlike touch to finish off. Continue the application until your entire section is done.
4. Allow the coat to dry fully. Repeat the process with 280 grit and with 320 for the next one or two coats. For the finish coat use 400 grit.
Carefully follow product instructions as directed and do not cut out any of the preparation work. Doing so will allow you to achieve the right outcome. If you have any questions, contact your product manufacturer before beginning as this will hopefully prevent any mistakes in the process. Better yet, track down an old salt in the area and, treading lightly, ask them their secrets to a beautiful varnish job.
By Sam Parker, Southern Boating Magazine November 2015


